
Mountain Bike Tire Pressures – A Quick & Easy Guide
Determining the right tire pressure can spare you a bumpy ride. That is not only essential for the bike's shock-absorbing levels and smooth rides, but it can also save you money. Incorrect tire pressure wears the tires faster, resulting in rupturing. In this article, you will learn some essential factors that need to be considered when determining your ideal mountain bike tire pressure to enjoy a smooth and safe ride.
Mountain bike tire pressures can be determined using a variety of factors, including the bike’s size, the rider’s weight, the preferred riding style, the environmental temperature, the type of tires and rims, as well as whether the terrain will be mostly uphill or downhill.
Tire pressure is not one size fits all, and is often an overlooked aspect of mountain bike care and maintenance. If you want to learn more about mountain bike maintenance then have look at our ultimate mountain bike tools list.

What Is The Ideal Tire Pressure For A Mountain Bike?
Tire pressure is not a uniform number that will fit all types of trails, bikes, and riders. Just like the tire grip, the pressure needs to suit the type of trail.
For a rider that weighs 230 lbs, a tire pressure of 32.8 psi is sufficient. A rider that is 5’6” or taller using 29er tires should have their tire pressure between 18 and 35 psi. A rider using a 27.5-size bike, and using the 29er baseline for each track, would need to add 3 to 4 psi to the rear and front tire pressures respectively. The ideal pressure for a mountain bike tire depends on multiple factors, including the bike’s weight and size, the rider's weight, the type of trail that will be ridden, the weather conditions, and the type of tires and rims installed on the bike.
Our article about choosing mountain bike tires for maximum grip explains the various tire compounds and what types of terrain they are best suited to. If you're constantly changing trails, have more than one mountain bike, or share your bike with someone who has a different physique than yours, you must check and adjust tire pressure before every ride.
Mountain Bike Tire Pressure Factors
If you haven't found your ideal tire pressure yet, you could be deceived by the 'more is better” approach. You might even feel like you're riding faster with pumped-up tires.
Mountain bike tire pressure factors include the rider's weight, bike size, trail and riding style, weather, and the type of tires and rims. The weight of the rider and the bike frame puts pressure on the tires, which requires tire pressure adjustments. The trail and riding style determine the grip level the rider needs, which affects the tire pressure level. Riding in hot weather requires lower tire pressure because the warmth makes the air inside the tires expand. Finally, the tires and rims determine how much pressure they can take respectively.
High pressure often results in higher rolling resistance on hard and even surfaces, less tire wear, and low chances of a puncture, but as this article from Bicycle Quarterly explains reducing tire pressure on rough or unpaved paths will surely reduce wear and prevent punctures. In case you do get a flat tire, our article on how to change a mountain bike tire will come in handy.
Nowadays, we have enough data to know that higher pressure could be doing more damage than good by increasing rolling resistance on rough terrain, which in turn requires the rider to use more energy to pedal forward. In addition, mountain bike tires with high tire pressure have a lower grip and tend to bounce off obstacles. This video tutorial from Global Mountain Bike Network explains this in greater detail.
Low tire pressure was long considered dangerous as it led to flat tires, but today, with technological advancements and as the materials get more robust, low tire pressure is often preferred. It offers a better grip, smoother ride over obstacles, and lower rolling resistance on rough terrain. However, there's still the risk of dropping the pressure too low when taking other factors into consideration.
Weight
The rider's weight and tire pressure are proportional; the heavier the rider, the higher the tire pressure needs to be to maintain stability. On the other hand, lighter riders can ride on lower tire pressure without a problem.
The same applies to bike frames; frames made of heavier material put additional strain on the tires and increase the rolling resistance, so the tires must be adjusted to a higher tire pressure to keep the balance and allow a smooth ride. Chromoly and carbon fiber are among the lightest bike frames with excellent durability, while aluminum and titanium frames are slightly heavier. Our mountain bike buyers guide compares carbon mountain bikes vs. aluminum to help you choose the one that best suits your needs.

Bike Size
The part of the bike that has the greatest effect on tire pressure is the wheel size. Mountain bike wheel sizes start at 26 inches and are also available in 27 and 29-inch sizes. The rider’s height will determine the size of the tire that should be installed on the bike. Shorter riders often choose 26-inch tires which are easy to maneuver but can be uncomfortable for taller people. Mountain bikes with larger wheels like the 29 inches can move faster, but they're harder to control if you are shorter.
The 26-inch wheels for mountain bikes come in several widths, up to 2.125 inches. The 29-inch wheels come in widths up to 3 inches and dominate the market. As a rule of thumb, the narrower the tire, the less pressure it needs, and vice versa.
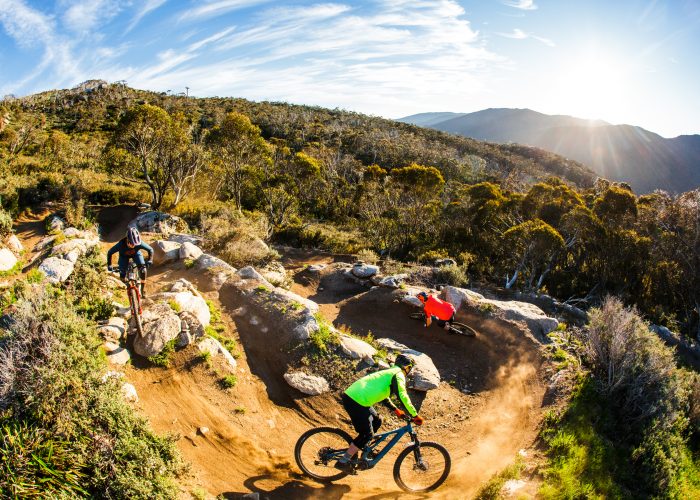
Uphill vs. Downhill
When riding uphill it’s important to remember that tire pressure increases with altitude. While you want the tires to be firm enough to have good rolling resistance, you don't want to overinflate them.
On downhill tracks, lower tire pressure will provide the much-needed contact surface and grip to avoid slipping and help you brake and corner with ease. This article from LetsTalkScience.ca explains how physics and the speed of a bike are related. Pedaling harder doesn’t mean faster speed. Understanding a little bit about dynamics, gravitational force, and friction will help you realize how they affect resistance and your riding speed.
Riding Style
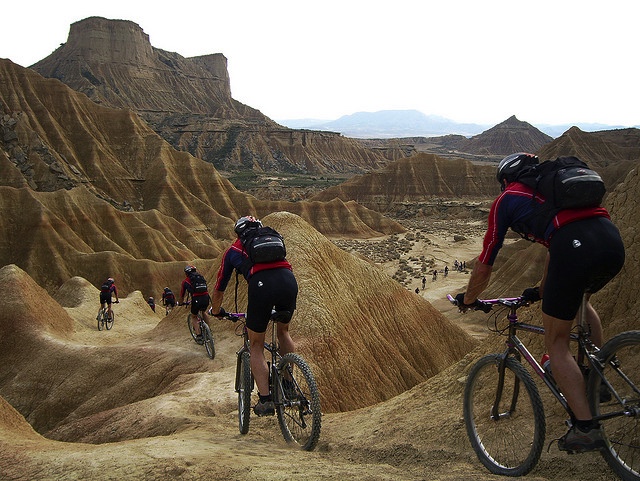
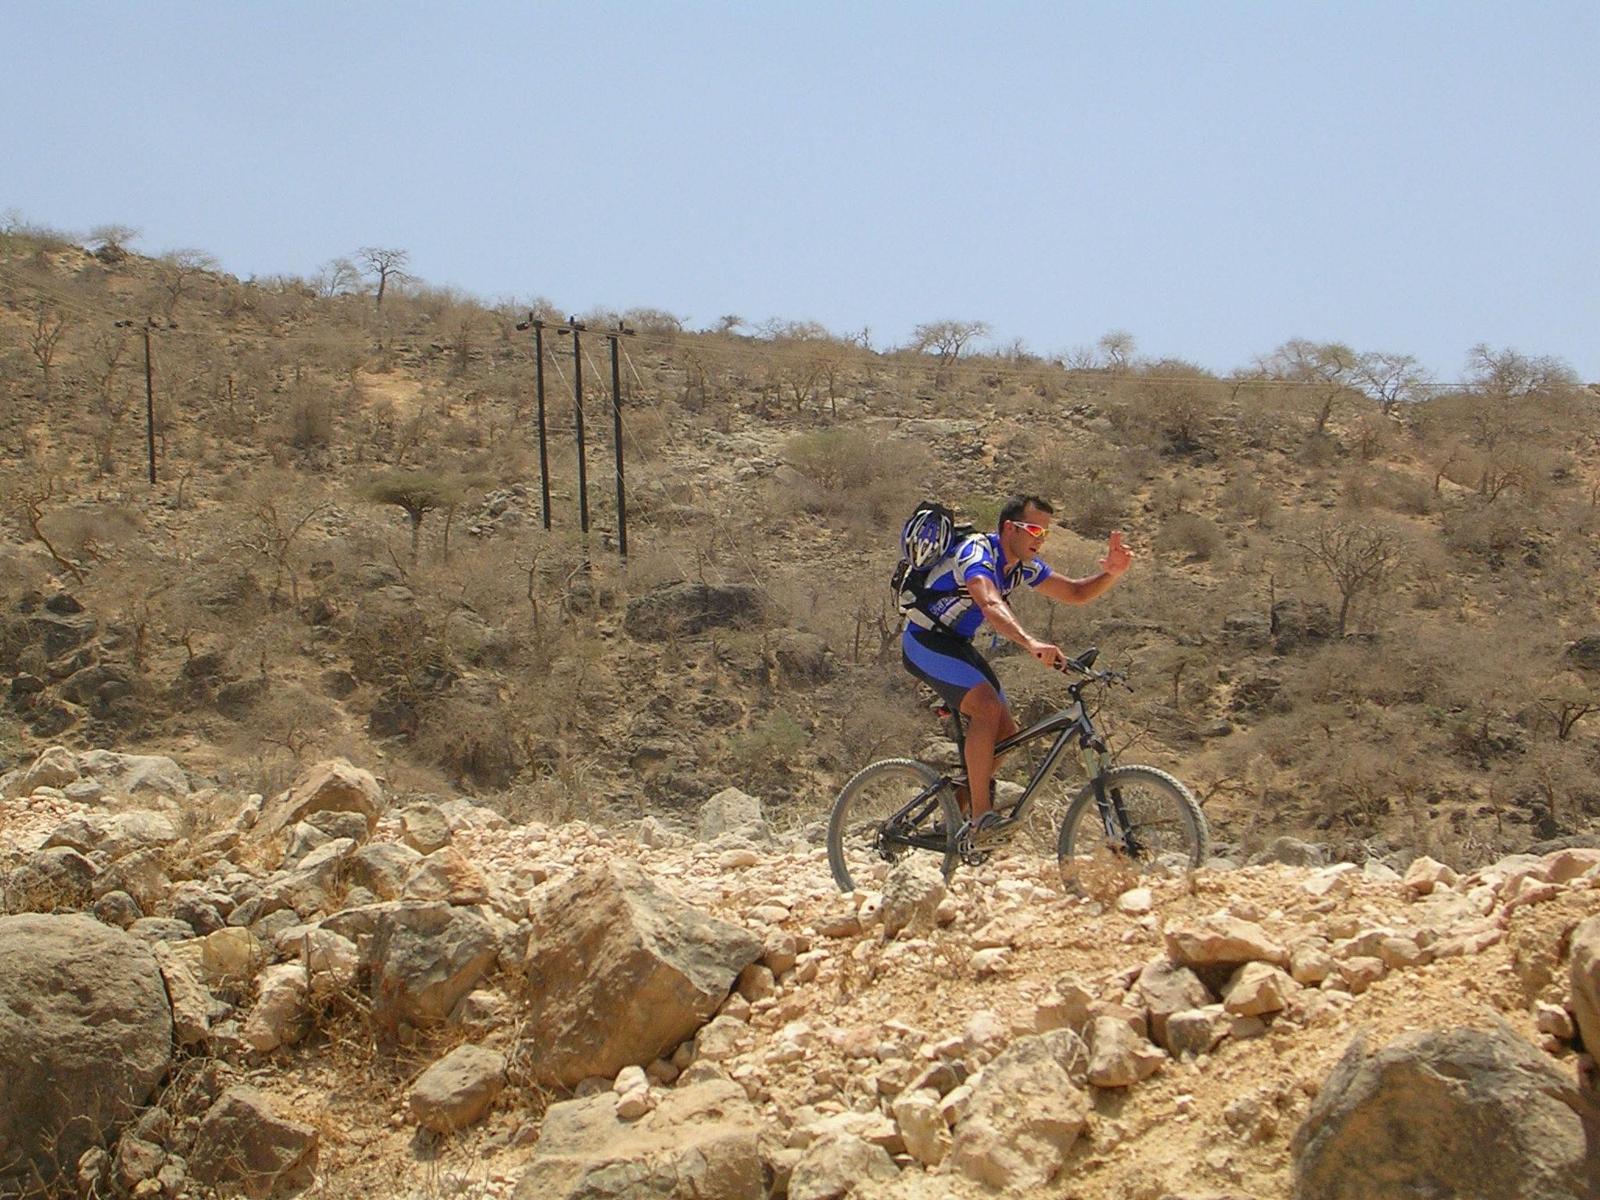
We can't recommend a single tire pressure for all mountain bikes as everyone likes to ride on different terrain. Whether riding on steep terrain or on rocky surfaces—generally speaking—the riding style and trail type will determine the ideal tire pressure.
In order to feel safe and maintain control of the bike on steep and uneven terrain, lowering tire pressure is recommended. This ensures more contact surface and smoother passage over common obstacles like rocks and roots. If you ride on rocky surfaces or prefer a straight track with less fuss, higher tire pressure will be more effective and safer for you because it helps prevent punctures. Extreme terrain demands maximum grip and minimal bounce which can be achieved with lower tire pressure.
Temperature
Air expands at high temperatures and shrinks in cooler temperatures, and while the weather can affect this, your riding style can also heat up or cool down the tires.
A downhill track demands a lot of handbraking, which creates friction. This friction heats the tire up, which leads to the expansion of the air inside. While tires do cool fast, a long descent can create a significant rise in temperature and increase tire pressure.
Most mountain bike trails enjoy some shade thanks to the natural vegetation, but some tracks are completely exposed, which means the sun can heat the surface on a sunny day. Unfortunately, this can also result in raised tire temperature and pressure.
Type of Tires
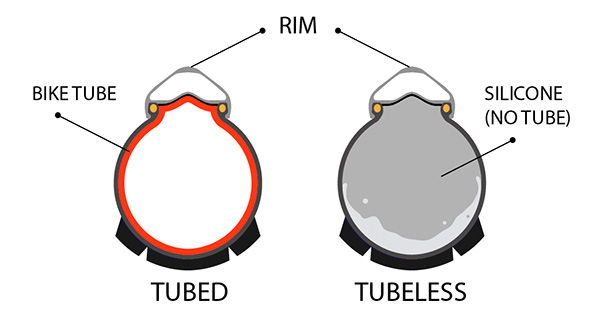
When it comes to bike tires, you have two options, tubeless and tubed. Tubed and tubeless tires don't ride at the same tire pressure. Tubeless tires like these have an advantage—they're less prone to punctures which means you can safely ride them at a lower pressure. However, they're also more expensive and more complicated to install. If you're looking for good grip and the ability to ride at a lower tire pressure, tubeless tires can provide that.
Tubed tires like these are better for road cycling. You can ride at a higher pressure which reduces the risk of pinch flats, and punctures are less likely on the road. Many bikers, however, who ride on rough terrain, complain that tubed tires don't give them an authentic feel of the track. Tubed tires can puncture easily and deflate quickly when used on rocky terrain at incorrect pressure levels. To find out more about the difference between tubeless and tubed tires read page 9 of this article from the University of Pennsylvania.
Type of Rim
Rim width is probably the last thing you'd ever consider when it comes to tire pressure. But it does play a significant role because the rim supports the tire. A narrower rim means less support, therefore limiting you to riding at higher pressure, as it won't support the tire 'folding' over an obstacle.
A wider rim on your wheels provides more support with a broader surface that can sustain the tire folding over an obstacle at a lower pressure.
You might also find interest in learning more about mountain bike fender accessories and how to choose the right ones. If so, be sure to read our related article to find out more.
Mountain Bike Tire Pressure For a Heavy Rider
Heavier riders need to pump their tires with a few more PSIs. But how should they do that? There are two main ways—using an already known pressure and adding 3-5 psi for every 20 lbs, or using a formula.
A 230 lb rider should have a rear tire pressure of 34.8. The pressure for the front tire for a 230 lb rider is 31.8 psi. Mountain bike tire pressures for heavy riders should be different than the PSI set for average riders because they add more load to the wheels, especially on the rear of the bike. The tire pressure should be increased or decreased using the following formula: rider's weight in pounds divided by 7, then add 2 for the rear tire and subtract 1 for the front tire.
Mountain Bike Tire Pressure Rider Weight Chart
To calculate the ideal tire pressure for a bike based on the rider's weight, consider the following factors: the trail type, whether it is an enduro or freeride, the trail conditions, the rims, and the tire width size.
| Weight of Rider | 29er Enduro/Trail Ideal Pressure | 29er Downhill/Freeride Ideal Pressure | 26er Enduro/Trail Ideal Pressure | 26er Downhill/Freeride Ideal Pressure |
| 150 -170 lbs | 26 psi rear 24 psi front | 25 psi rear 23 psi front | 30 psi rear 28 psi front | 29 psi rear 27 psi front |
| 180 - 200 lbs | 29 psi rear 27 psi front | 28 psi rear 26 psi front | 33 psi rear 31 psi front | 32 psi rear 30 psi front |
Mountain Bike Tire Pressure 29er Chart
Two-niners (or 29ers) are mountain bikes that use 29-inch wheels. The 29ers are the most popular tires in the market, so if you're 5'6" or taller, you're likely to purchase this size wheel. We'll take the 29 inch x 2.1 tubed tire as a baseline in the chart below.
Mountain bike tire pressure on the 29er should be between 18 and 35 psi depending on the rider’s weight, experience, and terrain.
| Weight of Rider | Type of Riding | 29er Tire Pressure |
| 130 - 150 lbs | Enduro | 28 psi rear, 26 psi front |
| Freeride | 27 psi rear, 25 psi front | |
| Cross country | 29 psi rear, 27 psi front | |
| 150 - 170 lbs | Enduro | 30 psi rear, 28 psi front |
| Freeride | 29 psi rear, 27 psi front | |
| Cross country | 31 psi rear, 29 psi front | |
| 170 - 190 lbs | Enduro | 31 psi rear, 29 psi front |
| Freeride | 30 psi rear, 28 psi front | |
| Cross country | 32 psi rear, 30 psi front | |
| 190 - 210 lbs | Enduro | 33 psi rear, 31 psi front |
| Freeride | 32 psi rear, 30 psi front | |
| Cross country | 34 psi rear, 32 psi front |
Mountain Bike Tire Pressure 27.5 Chart
Most mountain bike riders would agree that there's no significant difference between the 29er and the 27.5 bike size, but those 1.5 inches make a difference of up to 4 psi when it comes to tire pressure.
To calculate the ideal tire pressure for your 27.5-size tires, use the 29er baseline for each track, respectively, and add 3 to 4 psi to both the rear and the front tire pressure.
| Weight of Rider | Type of Riding | 27.5 Tire Pressure |
| 130 - 150 lbs | Enduro | 31 psi rear, 29 psi front |
| Freeride | 30 psi rear, 28 psi front | |
| Cross country | 32 psi rear, 30 psi front | |
| 150 - 170 lbs | Enduro | 33 psi rear, 31 psi front |
| Freeride | 32 psi rear, 30 psi front | |
| Cross country | 34 psi rear, 32 psi front | |
| 170 - 190 lbs | Enduro | 35 psi rear, 33 psi front |
| Freeride | 34 psi rear, 32 psi front | |
| Cross country | 36 psi rear, 34 psi front | |
| 190 - 210 lbs | Enduro | 37 psi rear, 35 psi front |
| Freeride | 36 psi rear, 34 psi front | |
| Cross country | 38 psi rear, 36 psi front |
Mountain Bike Tire Pressure 26er Chart
As a rule of thumb, the tire pressure of a 26er should be 11.5% higher than the pressure of a 29er for the rider with the same size, on the same trail. So for a rider using 28 psi rear and 26 psi front on a 29er, adjust the pressure on the 26er to 31 psi rear and 29 psi front.
| Weight of Rider | Type of Riding | 26er Tire Pressure |
| 130 - 150 lbs | Enduro | 32 psi rear, 30 psi front |
| Freeride | 31 psi rear, 29 psi front | |
| Cross country | 33 psi rear, 31 psi front | |
| 150 - 170 lbs | Enduro | 34 psi rear, 32 psi front |
| Freeride | 33 psi rear, 31 psi front | |
| Cross country | 35 psi rear, 33 psi front | |
| 170 - 190 lbs | Enduro | 35 psi rear, 33 psi front |
| Freeride | 34 psi rear, 32 psi front | |
| Cross country | 36 psi rear, 34 psi front | |
| 190 - 210 lbs | Enduro | 37 psi rear, 35 psi front |
| Freeride | 36 psi rear, 34 psi front | |
| Cross country | 38 psi rear, 36 psi front |
Mountain Bike Tire Pressure Tubeless Chart
Tubeless tires are less prone to punctures and can ride perfectly well at a lower pressure. You need to deduct a few PSIs from the recommended pressure for a tubed tire to get the ideal pressure for the tubeless.
To determine the pressure for a tubeless tire, subtract 4 psi from the baseline pressure.
| Weight of Rider | Type of Riding | Tubeless Tire Pressure |
| 130 - 150 lbs | Enduro | 24psi rear, 22 psi front |
| Freeride | 23 psi rear, 21 psi front | |
| Cross country | 25 psi rear, 23 psi front | |
| 150 - 170 lbs | Enduro | 26 psi rear, 24 psi front |
| Freeride | 25 psi rear, 23 psi front | |
| Cross country | 27 psi rear, 25 psi front | |
| 170 - 190 lbs | Enduro | 27 psi rear, 25 psi front |
| Freeride | 26 psi rear, 24 psi front | |
| Cross country | 28 psi rear, 26 psi front | |
| 190 - 210 lbs | Enduro | 29 psi rear, 27 psi front |
| Freeride | 28 psi rear, 26 psi front | |
| Cross country | 30 psi rear, 28 psi front |
Mountain Bike Tire Pressure For Road Riding
To take your mountain bike on a hard flat surface like a clear road, you must adjust the tire pressure. Since there are virtually no obstacles you'll get the best rolling resistance with high tire pressure.
Mountain bike tire pressure for road riding should be higher. High pressure reduces the risk of pinch flats. The tire pressure for road biking should range between 25 and 40 psi.
| Weight of Rider | Size of Bike | Tire Pressure |
| 130 - 150 lbs | 29 | 29 psi rear, 26 psi front |
| 27.5 | 31 psi rear, 28 psi front | |
| 26 | 32 psi rear, 29 psi front | |
| 150 - 170 lbs | 29 | 31 psi rear, 28 psi front |
| 27.5 | 33 psi rear, 30 psi front | |
| 26 | 34 psi rear, 31 psi front | |
| 170 - 190 lbs | 29 | 32 psi rear, 29 psi front |
| 27.5 | 34 psi rear, 31 psi front | |
| 26 | 35 psi rear, 32 psi front | |
| 190 - 210 lbs | 29 | 34 psi rear, 31 psi front |
| 27.5 | 36 psi rear, 33 psi front | |
| 26 | 37 psi rear, 34 psi front |
Mountain Bike Tire Pressure Downhill Riding
For safe downhill riding your tires need to provide superior grip. While this mainly depends on the tire’s compound composition and age, the tire pressure is also a factor. Lower pressure will prevent bouncing and keep the ride smoother, but not slower.
Mountain bike tire pressure for downhill riding is affected by the friction caused while braking, which induces a temperature rise and air expansion inside the tire. A lower psi is recommended for downhill riding, between 27-32 psi for 29-inch bikes, between 30-36 psi for 27-inch bikes, and between 31-36 psi for 26-inch bikes.
| Weight of Rider | Size of Bike | Tire Pressure |
| 130 - 150 lbs | 29 | 27 psi rear, 25 psi front |
| 27.5 | 30 psi rear, 28 psi front | |
| 26 | 31 psi rear, 29 psi front | |
| 150 - 170 lbs | 29 | 29 psi rear, 27 psi front |
| 27.5 | 32 psi rear, 30 psi front | |
| 26 | 33 psi rear, 31 psi front | |
| 170 - 190 lbs | 29 | 30 psi rear, 28 psi front |
| 27.5 | 34 psi rear, 32 psi front | |
| 26 | 34 psi rear, 32 psi front | |
| 190 - 210 lbs | 29 | 32 psi rear, 30 psi front |
| 27.5 | 36 psi rear, 34 psi front | |
| 26 | 36 psi rear, 34 psi front |
How To Choose The Best Mountain Bike Tire Pressure Gauge
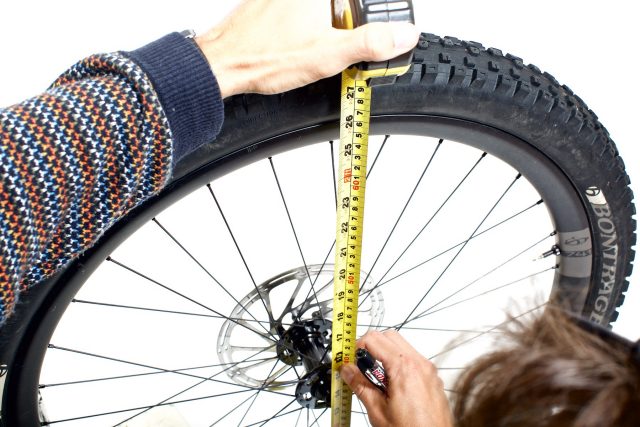
Adjusting the tire pressure is easier than ever with the help of a small tool called a gauge. The gauge reads the current pressure, so you will know if you need to release some air or pump the tire up.
Look for a mountain bike tire gauge that is lightweight, has an LCD reader, a quick reading time and an automatic shut-off, a compact but sturdy design, and a flashlight so that locating the tire valves in the dark will be quicker and easier.

Mechanics
The pressure gauge also has to be designed to fit most valves, like this Topeak SmartGauge, which has a rotating head to perfectly fit the valve. This video tutorial shows exactly how it works.
Pay attention to the pressure release method too—this Blackburn Honest Digital Pressure Gauge has an air-bleed button that releases air with micro precision.
You also want to look for a sound sensor that alerts you when your desired pressure is reached, and an automatic shut-off so you don’t over-inflate your tires. A simple beep can save you a lot of trouble.
Digital Display
Digital gauges are easier to read, lightweight, and oftentimes more accurate than their analog counterparts. Digital display gauges often come with a small integrated flashlight so you don’t have to hold another light or your phone’s flashlight trying to fit the gauge over the valve.
If you're still not convinced that digital is the way to go or want to keep things retro, this Meiser Prest Accu-Gage is a low-pressure gauge that is a stylish yet helpful accessory. Be aware that it only goes up to 30 psi.
Weight
You need the tire gauge to be small and light so that it doesn’t weigh down your backpack or tool bag when riding. For more tips about reducing tool bag weight read our article with tips to fix a tool bag that is too heavy. Most gauges weigh around 65 to 100 grams, but this tiny BBB BMP-90 is only 35 grams.
Power
Pressure gauges can be battery-powered or USB chargeable. A battery-powered gauge like this means you can always have spare batteries and change them if the old ones die mid-reading. But it's less environmentally friendly and more expensive. On the other hand, this USB charged gauge means you must always charge it before a ride.
Warranty
More expensive gauges come with a manufacturer's warranty of up to 2 years that covers malfunction. So if you're a regular mountain bike rider, we'd recommend investing in a gauge that offers a warranty and coverage. Casual riders might prefer the more affordable gauges. However, they often come with no coverage, and fixing a defect is challenging due to the tool's size.
Design
Most pressure gauges are made from plastic which makes them more resistant and lighter. Because you’ll be riding and tweaking your tire pressure outside on the trail, you want the gauge to be able to withstand a fall or two.
An ergonomic design might not be the first thing you look for in a gauge, but after several uses, you’ll soon realize that you’d like to simplify the process and do your pressure readings one-handed. This Slime Digital Sport Gauge is one of the most ergonomic gauges with a smooth exterior, cleverly positioned buttons, and measures from 5 to 150 psi.