
Easy Steps to Fix a Mountain Bike Seat That Keeps Sliding Down
Several factors influence riding comfort, including the components of the bike and how it is being used. A malfunctioning bike seat will make riding much less enjoyable and dangerous. One of the most common and annoying problems with bike seats is when they don’t stay in the required position. This article provides easy steps to fix a mountain bike seat that keeps sliding down.
To fix a mountain bike seat that keeps sliding down, check the seat post, frame, and seat clamp. If the seat post is slipping, try cleaning it, roughening it, or adding a small amount of lube. If the clamp is not working correctly, check whether it is the right size, that the bolts are the correct type and fastened correctly, and that the clamp is assembled correctly. For a carbon seat post, use carbon assembly paste to add more grip.
In this article, we will discuss the parts a bike seat consists of, why a bike seat slides down, the materials needed to fix a sliding bike seat, several ways to stop your bike seat from sliding, and the best way to prevent a carbon bike seat from sliding.
You may also be interested in learning how to choose the right mountain bike handlebar upgrades. If so, be sure to learn more with these tips and tricks. Additionally, be sure to check out these tips and tricks to finding the right mountain bike handlebar upgrades.
Effects That a Sliding Bike Seat Has on Riders
Setting a seat to the preferred angle and height ensures your bike fits your position and riding habits. A sliding seat post can change your riding position and lead to injury or accidents.
A sliding bike seat is dangerous because it causes instability when riding. A constantly sliding seat affects the rider’s pedaling and handling because it alters the rider’s posture and position at inopportune times. Set the seat to the desired angle and height and make sure that the seat post clamp maintains a secure hold to avoid accidents or injury.
According to this paper by the Journal of Sports Medicine, a saddle that is set at the wrong height for the rider can lead to injuries, especially related to the knee joints. Additionally, you may find interest in learning what mountain bike seat tube length you need or the optimal mountain bike seat tube angle. If so, be sure to read our related articles to find out more.
Parts of a Mountain Bike Seat
Bike seats are adjustable and composed of several parts that are attached together by clamps, bolts, and nuts.
A mountain bike seat consists of the saddle, the seat post, the seat tube, and clamps. The saddle is mounted to the seat post, and the seat post is connected to the seat tube with clamps. The components are mostly made of carbon, aluminum, metal, and plastic.
Our article that explains how to choose the proper mountain bike saddle height explains how to adjust these clamps and bolts so that you can alter your seat’s position for optimal comfort and safety.
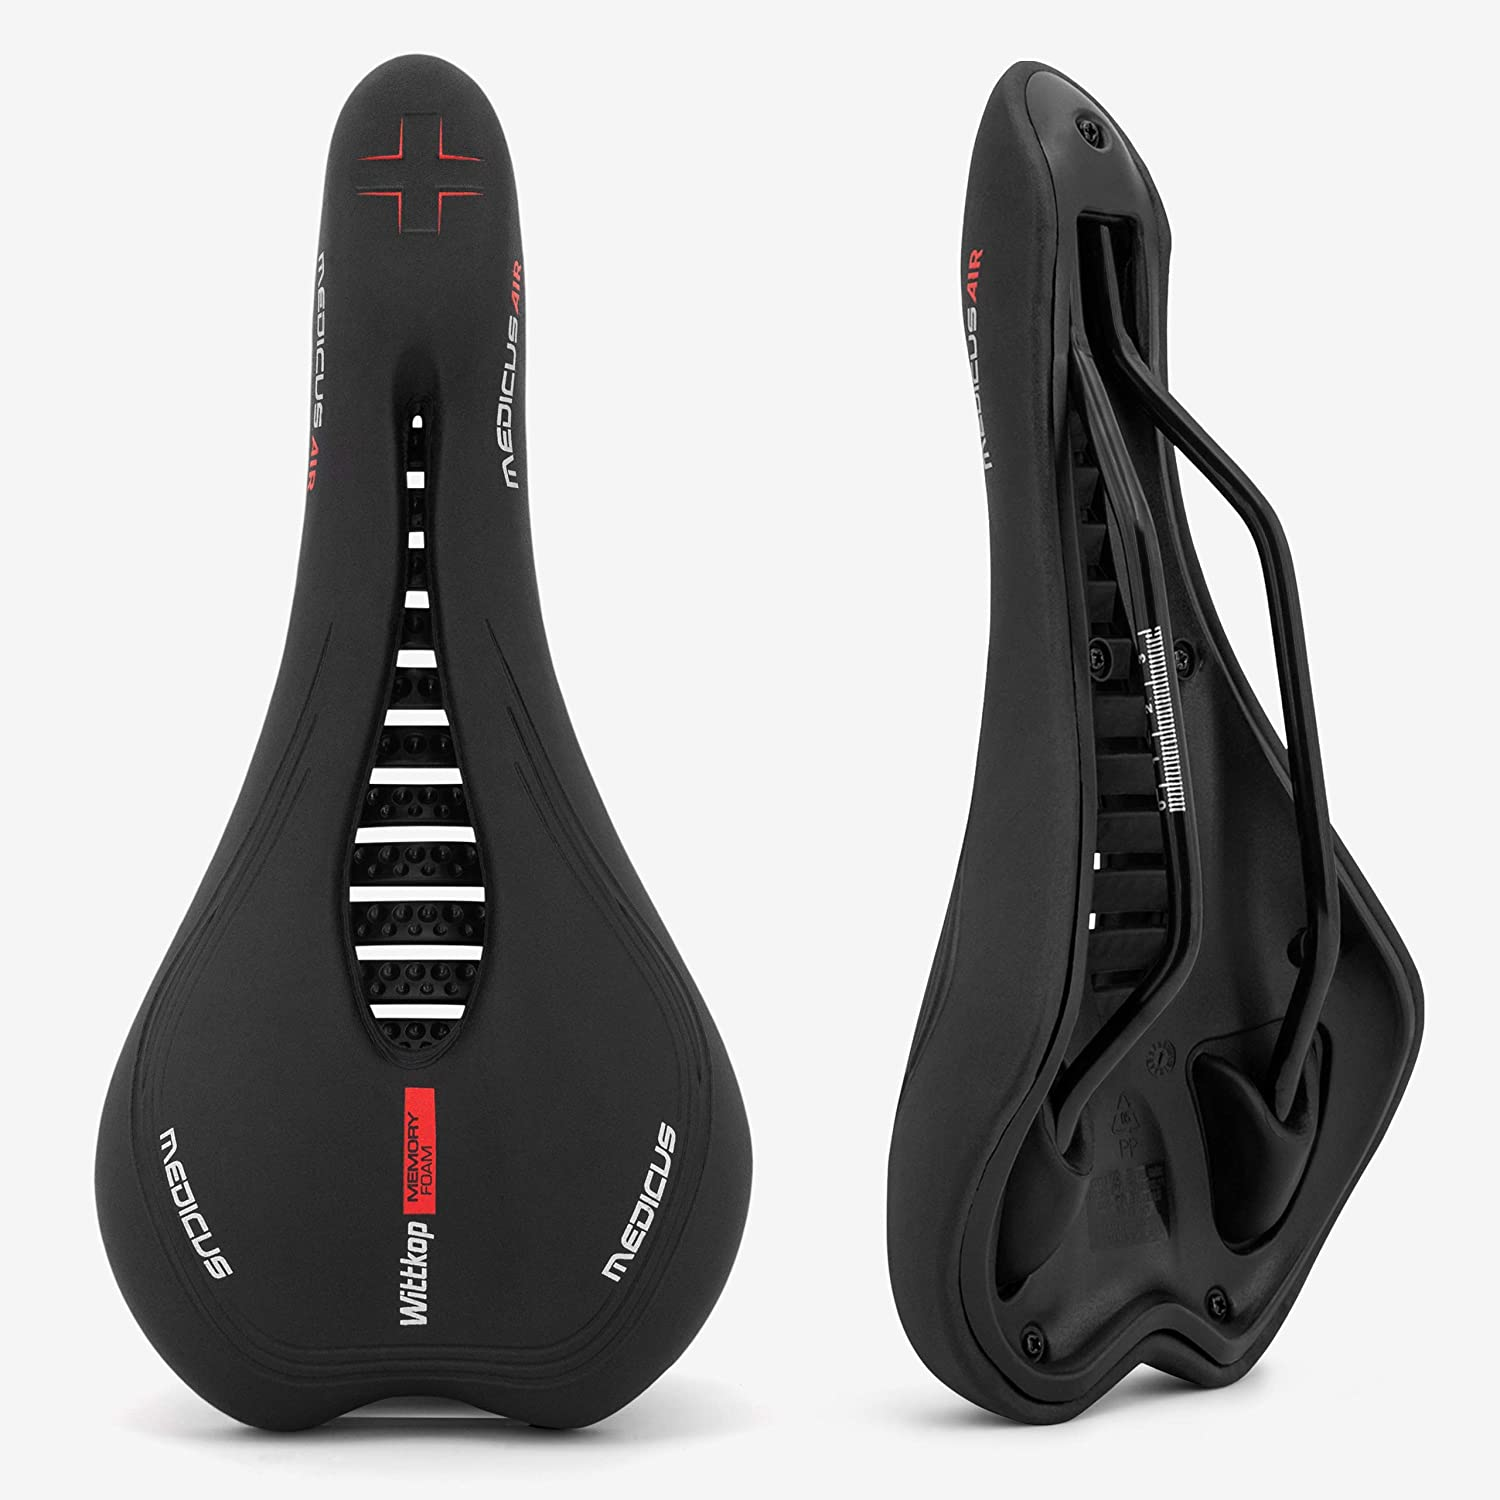
Knowing about the components of the bike seat and how they are attached will help you understand why your bike seat keeps sliding down as you ride, and how to stop it from happening. Selecting a saddle that has rails on its underside like this one will give you more flexibility in terms of fine-tuning your seat position and angle on the seat post.
What Is Bike Seat Sliding?
A mountain bike seat that keeps sliding down will typically slide down into the seat tube. Your seat post is usually attached to the seat tube with clamps that prevent this from happening. A worn or ill-fitting clamp can cause this to happen.
Seat sliding is when the seat post slides down into the seat tube.
The seat tube is the fixed portion of the bike frame that extends from the bottom bracket and typically has an angle of 70-75 degrees. The seat post, that the saddle is attached to, fits snugly into the seat tube. Seat posts like this one can be purchased separately if you want to alter the seat tube angle or suspension slightly. Read our article about the optimal seat tube angles to learn more about how seat tube angles affect handling and control on various terrains.
Why Does Your Mountain Bike Seat Keep Sliding
It can be annoying and quite dangerous if your seat starts to slide down while you are on a ride through very technical terrain or in harsh weather.
The main causes of a sliding seat post include a loose or damaged clamp, lack of friction between the clamp and the seat tube, an inappropriately fixed clamp, and a lack of lube between the seat clamp and seat post. Other causes include a rusted seat post and using the wrong size seat post for a rider’s physique.
There are a number of reasons why your seat post could be sliding down and regular maintenance and cleaning routines will help you recognize an issue before it becomes worse. We recommend reading our guide to seat dropper repair as well as our article about common mountain bike problems and how to fix them so that you know how to perform minor repairs.
Materials Needed to Fix a Mountain Bike Seat That Keeps Sliding Down
You will need some tools and materials when fixing your mountain bike seat. The tools you require often depend on the type of material your bike seat is made of, metal, carbon, plastic, or aluminum. Confirm what kind of material your bike seat is made of before purchasing any tools.
The materials needed to fix a sliding mountain bike seat include grease, lube, a damp rag, a carbon fiber assembly compound, Allen keys, and a torque wrench.
Our comprehensive guide to the essential tools you’ll need when mountain biking, is a handy resource that walks you through each tool and its uses.
Summary Of the Tools Needed to Fix a Sliding Seat
| Material or Tool | Why You Need It | Example | Price |
| Grease | Used to hold the seat post and seat tube together | Dumonde Tech Pro-X Freehub Grease One Color, 1oz | ~$20 |
| Lube | Used to stop the friction between the seat post and seat tube | Finish Line 1-Step Cleaner and Lubricant | ~$10 |
| Carbon fiber assembly compound | Used on a carbon seat post to increase the grip between the seat post and seat tube | Park Tool Supergrip Carbon and Alloy Assembly Compound - 4 oz. tube | ~$15 |
| Allen keys | Used for removing bolts | Lichamp T Handle Allen Wrench Set Metric | ~$20 |
| Torque wrench | Used for loosening and tightening bolts | MTB & Bicycle Torque Wrench Tools. Hex/Allen 2-8, Torx 10-30, 100mm Extension Socket | ~$50 |
| Degreaser | Used for removing grease from seat tube | Silca Bio Degreaser Bike Chain Cleaner for All Painted/Unpainted Surfaces | ~$25 |
You may also be interested in learning how to choose a mountain bike extended seat post or the difference between a road and a mountain bike seat post. If so, be sure to read our related articles to find out more.
How to Stop a Bike Seat From Sliding Down By Cleaning the Frame
Dirt is bound to find its way into a bicycle’s parts. The combination of old grease and dirt on the components of a bike affects how it works. The first thing to do when you notice your bike seat is sliding down is to clean the components of your bike seat assembly which include the seat post, tube, and clamps
To stop a bike seat from sliding down, first undo the seat clamp and remove the seat post. Then use a damp rag to clean the seat post, focusing on both its inside and outside. Next, remove the bolt from the clamp and clean its thread.
The steps to stop a bike seat from sliding down by cleaning the frame:
Step 1. Undo the Clamp
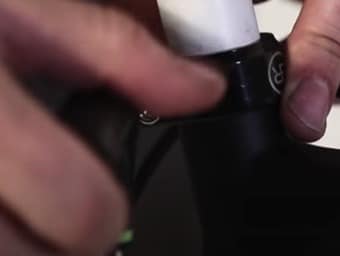
The first step is to undo the seat clamp from the frame. Do this by using either your Allen key or Torque wrench, depending on the type of bolts. Use the tools to loosen the bolts. We suggest that you mark the seat post at the exact height before you remove the clamp, this will help you when you want to reattach the seat post.
Step 2. Clean the Seat Tube, Seat Post, and Seat Clamp
Using a damp rag, clean around the top of the seat and also inside of the seat tube as deep as you can go. Next, clean the full length of the seat post. Also, clean the inside of the seat post tube. It is advisable to use a degreaser like this if the seat post has grease on it.


Step 3. Clean the Seat Clamp and the Clamp Bolts
Use the rag to clean the seat clamp. Undo the bolts from the clamp and clean them, focusing on the threads.

How to Roughen the Seat Post to Stop a Bike Seat From Sliding
A lack of grip between the seat post and the seat tube can be a cause for the bike seat post sliding into the seat tube. If there is no friction between the seat post and the seat tube the post will continue to slide down into the tube.
To roughen up the post, first, remove the seat post from the seat tube, then clean the post, the frame, the clamp, and the bolts of the clamp. Then apply some assembly compound to the seat post including the inside of the tube.
To increase the grip between the components, the first thing to do is to roughen the seat post. Roughening the seat post simply means making the surface that will attach to the seat clamp rough, so that once clamped it will not slide.
Roughening your seat post involves applying elements to its surface. As this excerpt from The Bicycling Guide to Complete Bicycle Maintenance explains, the assembly compound that is best used on bike frames is made of carbon and composite materials. Assembly compound contains particles that make it rough, thereby increasing the friction between the seat post and the seat tube. There are several elements that can be used.
The steps to roughen a seat post to stop the seat from sliding down are as follows:
Step 1. Undo the Clamp
The first step is to undo the seat clamp from the frame. Do this by simply using an Allen key from a set like this to loosen the bolts. We suggest you mark the seat post at the exact height it was removed from. This will help you when you want to fix the seat post.
Step 2. Clean the Seat Tube and Seat Post
Using a damp rag, clean the full length of the seat post. It is advisable to use a degreaser if the seat post has grease or grit on it. Check that there is no evidence of rust on the seat post, and ensure it is dried properly before reattaching it.
Step 3. Apply Assembly Compound to the Seat Post
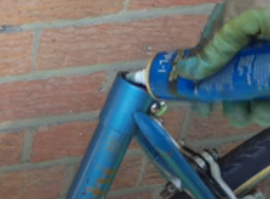
Apply assembly compound like this to the seat post and use your hands to smear it over the entire circumference of the seat post.
Step 4. Assemble the Seat Post and Seat Tube
Re-attach the seat post to the seat tube and firmly clasp the clamp around the seat post to ensure it stays in place securely.
How to Apply Grease to the Seat Post to Fix a Mountain Bike Seat that Keeps Sliding Down
Lube and grease are usually used to prevent friction between two moving parts. Regarding bikes, lubes and grease are used between components that come in contact with each other while in motion, such as the bike's drivetrain.
To apply grease to a seat post, first, remove the seat post by undoing the clamp. Next, apply grease to the seat post using your hands to rub the grease generously around the length of the seat post. Then, apply grease to the inside of the seat tube. Lastly, insert the seat post into the seat tube and fasten the clamp.
Applying lube and grease aids the easy movement of the chain on the cassette and the cogs. Lubes and grease like this kit has, also prevent wear and tear on bike components and prevent rust.
When securing a seat post there are certain types of lube and grease that should be used that act as an adhesive and help firmly hold the seat post and tube together. Instead of preventing friction, the goal here is to increase it. Read our article about how to fix handgrips that keep falling off to learn how lubes both aid in reducing friction and assist with better grip when they dry.
Step 1. Remove the Seat Post From the Bike
Remove the seat post from the bike by removing the clamp and pulling the seat post out of the seat tube.

Step 2. Apply Grease to the Seat Post and the Seat Tube
Apply grease to the seat post and use your hands to rub it around the circumference of the seat post. Also, apply grease to the inside of the tube.
Step 3. Re-Attach the Seat Post To the Seat Tube
After applying the grease to the entire surface of the parts, re-attach the seat post to the seat tube. Firmly clasp the clamp around the seat post to ensure it stays in place.
What Should I Do If My Saddle Clamp Is Slipping?
The bike seat is made up of the saddle, mounted to the seat post, and the seat post inserted into the seat tube. The saddle clamp is what is used to hold the bike seat post in place when it is inserted into the seat tube.
If a saddle clamp is slipping, tighten the bolts. If that doesn’t help check the assembly of the clamp to make sure all parts are working correctly. Finally, if the clamp looks dry, loosen it enough to add lube between the parts.
A slipping saddle clamp is a common problem. Luckily, some knowledge about saddle clamps and a few tools is all you need to fix it.
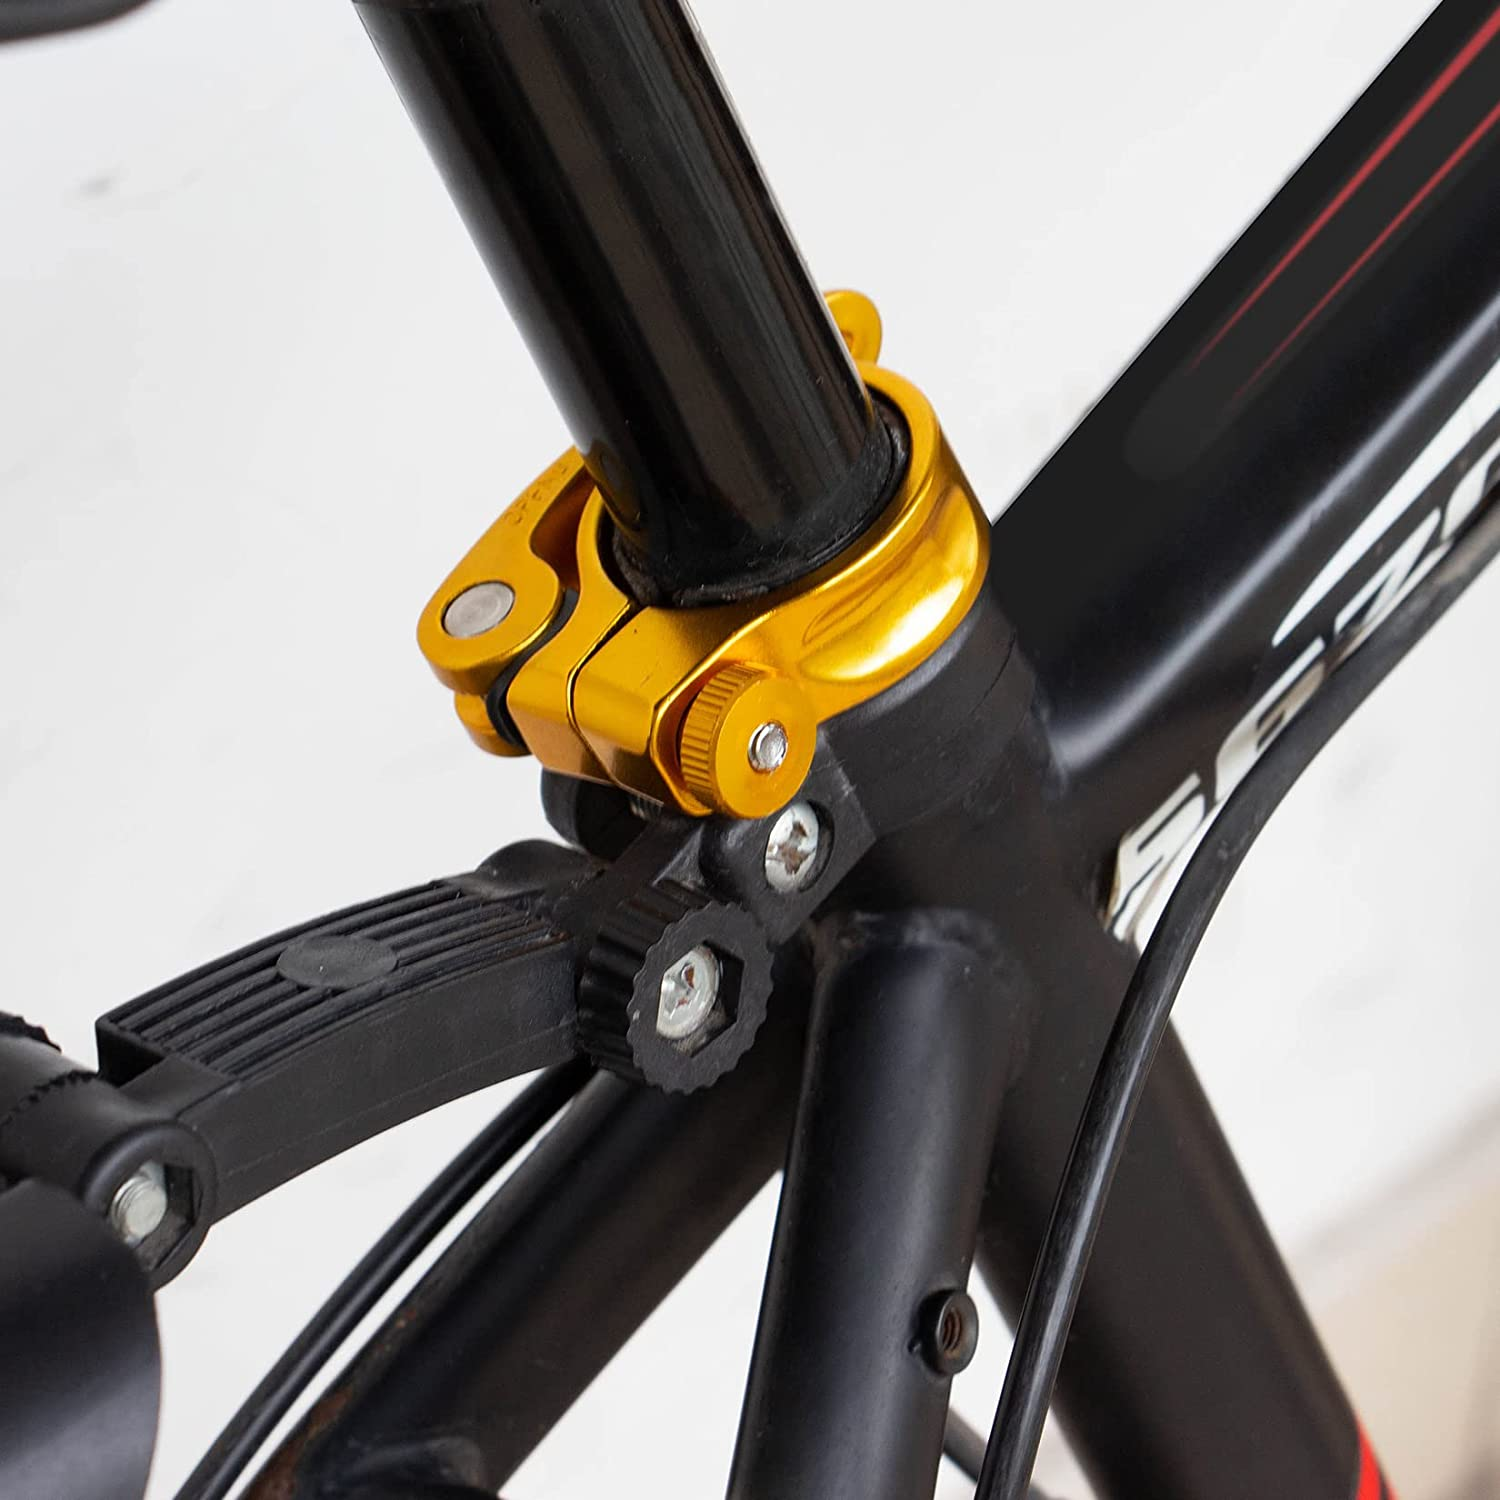
There are two main types of clamps. The quick-release clamp like this and the Allen key seat clamp like this. The quick-release clamp is tightened to the seat post and the seat tube using levers. The Allen key seat clamp requires the Allen key for tightening.
If your saddle clamp is slipping you need to follow the following steps:
Step 1. Check The Bolts
If your bike seat saddle slides when you ride, the first thing you should check is whether the bolts of the clamp are installed and tightened properly. If the bolts were not properly installed, the next step will be to tighten the bolts, usually by using an Allen wrench or torque wrench. Make sure to take your bike for a test ride to check if the sliding has stopped.
Step 2. Check the Assembly of the Clamp
There are cases where the problem of a slipping seat clamp is a result of the clamp itself. This occurs more frequently with clamps bought independently and added to the bike. These clamps are often not assembled by the manufacturer or are not suitable for your bike. If you suspect this is the problem, consider buying another type of clamp. Read our article about seat tube lengths to learn more about the various sizes that tubes come in so that you make sure to buy the correct size clamp like this for your bike frame.
Step 3. Check the Lube
As explained earlier, lubing the bike seat post and the seat tube increases the grip between both components. This same principle applies to the bike seat clamp. The application of lube like this to the clamp increases the grip between it and the other components. When your saddle clamp is slipping, loosening the clamp, applying lube, and then tightening it again, might fix it.
At this point, be sure to check out our tips for choosing the right mountain bike handlebar clamp diameter as well for additional information.
What to Do if a Bike Seat Clamp Won’t Tighten
There are several reasons why a bike seat clamp won’t tighten. Sometimes seat clamps come attached to the frame of the bike. The only things that can be changed with this type of clamp are the bolts in case of an Allen key seat clamp, or the lever in case of a quick-release clamp.
If the bike seat clamp won’t tighten, make sure that it is the right size for the seat post, make sure the seat post is the correct circumference to fit the frame, and check that the bolts of the clamp are the correct size

These are the possible reasons for your bike seat clamp not tightening:
Reason 1. Wrong Size Clamp
When you use the wrong size saddle clamp for your bike, you will encounter issues when trying to tighten it. If the clamp is too small, it will not wrap around the seat tube, and any attempt to force it to fit might damage it. If the clamp is too large, the clamp, even if tightened to the extreme, will not be properly attached.
If your bike seat clamp is either too large or too small for your bike frame, it is advisable that you purchase a new seat clamp that fits your bike frame perfectly. According to this article from Chain Reaction Cycles, the diameter of the seat tube rather than that of the seat post should be used to determine the right size clamp.
Reason 2. Incorrect Bolts
When the wrong bolt is used to attach a clamp to the seat tube, the bolt will loosen over time due to the movement of the bike as you ride. To solve this issue, you need to completely change the bolts and replace them with an appropriate type and size.
How to Fix a Dropper Post That Keeps Slipping Down
A dropper post is a seat post type that is standard in new mountain bikes. These saddle posts can be adjusted in height as you ride your bike. This means the rider does not have to stop every mile to adjust the height of the seat post.
To fix a dropper post that keeps slipping down, first remove the dropper post from the seat post and check that the cable is not damaged. Next, adjust the cable tension, install the dropper post lever and increase the pressure in the dropper post cable.
Dropper posts make riding over different terrain easy, as you can easily adjust the height of the seat post with hydraulic pressure to match the necessary riding style for each terrain. Unfortunately, even dropper posts are prone to slipping.

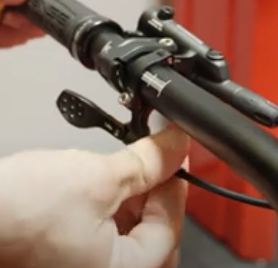
The Cause of Dropper Post Slipping Down
The dropper post is controlled by a lever on the handlebar. A problem occurs when the dropper post slips without you triggering the lever to adjust the height. This can be inconvenient and even dangerous if it happens while you ride.
To fix a dropper post that keeps sliding down, repair the cable or reduce the cable tension by turning the barrel adjuster clockwise.
This thread on mtbr will give you an idea of how a dropper post works and common issues riders experience with them. A dropper post can also slide due to a damaged cable connecting the lever to the dropper post, or there being too much tension on the cable so that there is not enough friction to stop it from sliding. Check out this video tutorial by The Official INTENSE, on how to troubleshoot dropper post issues.
How To Stop a Carbon Seat Post From Slipping
Mountain bike seat posts are either made of metal or carbon. The procedure for stopping seat posts from slipping remains the same for both metal and carbon seat posts.
To stop a carbon seat post from slipping, undo the clamp, clean the components, then apply a carbon assembly compound to the surface of the bike components in order to increase friction.
The only difference is the type of lube needed. You can use grease on a metal seat post but not on a carbon seat post as it would damage it. So rather use an assembly compound to prevent the seat post from sliding down into the seat tube.
The steps to stop your carbon seat post from slipping are as follows:
Step 1. Undo the clamp
The first step is to undo the seat clamp from the frame. Do this by using an Allen key or torque wrench from a multi-tool like this to loosen the bolts. We suggest you mark the seat post at the exact height before it is removed.
Step 2. Clean the Seat Tube, Seat Post, and Seat Clamp
Using a damp rag clean around the top of the seat and also inside the seat tube as deep as you can go. Get rid of all dirt. Next, clean the full length of the seat post. Ensure the post and tube are completely dry and free from grit.
Step 3. Apply a Carbon Assembly Paste
Apply a carbon assembly compound like this to the seat post and use your hands to cover the entire circumference of the seat post. Apply some assembly compound inside the seat tube an inch or two deep (or as far as you can reach) to ensure the seat post will encounter enough friction to prevent it from sliding further into the tube.
Step 4. Re-Attach the Seat Post To the Seat Tube
After applying the grease to the entire surface of the parts, re-attach the seat post to the seat tube. Firmly clasp the clamp around the seat post to ensure it stays in place.