
How to Fix a Mountain Bike Seat That Keeps Moving
Whether an amateur or professional cyclist, having your bike run smoothly on your ride is a very satisfying and rewarding experience. It makes riding much more fun and comfortable. Unfortunately, any number of things can go wrong when riding and your seat becomes loose. This is not only frustrating but also quite dangerous. In this article, we’ll help you fix a mountain bike seat that keeps moving.
To fix a mountain bike seat that keeps moving, first tighten the seat clamp, then clean and grease the post, tube, and clamp, and replace any faulty components.
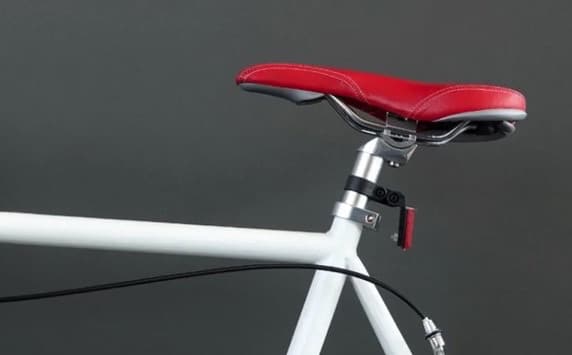
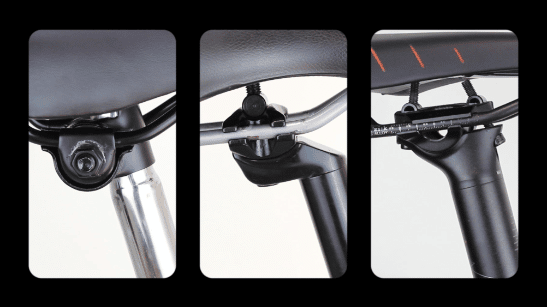
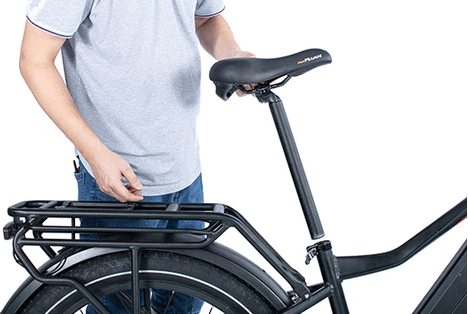
Mountain bike seats are held in place by three main components: the seat post, seat tube, and clamp or bolts. The seat post, also known as the saddle pole, is a tube that connects the bike seat to the bike frame. It allows you to adjust the saddle height and position for your body type, riding style, or terrain. The seat tube is the tube in the bike frame that holds the seat post. Finally, the seat clamp is a circular metal collar that secures the seat post at the right height. It could either feature a quick-release lever or hex bolt. Issues with moving bike seats usually arise from a problem with one of these parts.
Apart from a loose or wobbly bike seat, other factors that can ruin your biking experience include a mountain bike chain that keeps coming off or a mountain bike chain hitting the bike frame. Our guides delve into effective solutions for these issues in detail.
Why is My Mountain Bike Seat Loose - the Underlying Causes
Research proves the importance of saddles while mountain biking, especially on rough and harsh terrains and conditions. However, the saddle can develop movement issues with time and use, such as twisting, moving from side to side or up and down, and tilting forward and backward.
Bike seats move due to a loose seat post, wrong seat post diameter, a dirty seat clamp and post, loose saddle rails, wrong seat clamps, and insufficient or excess grease.
According to this paper from the International Research Journal of Engineering and Technology (IRJET), bike seats are essential for cyclists’ riding experience as they help to diminish the effects of vibrations on varied terrains. In addition, this study from the Sports Medicine Journal reveals that adjusting saddle height can help to significantly improve cycling performance and reduce the risk of knee injuries.
Apart from the pedals and handlebars, the bike seat is the only other contact point between the rider and the bike. It bears the rider's weight and reduces pressure on the soft tissue region. For more information on pedals, check out our article on choosing the right type of bike pedals. Our guide that explains how to choose between drop bars vs. flat bars will also come in handy when trying to make a choice.
Here are the reasons for your mountain bike seat moving:
Reason 1. Loose Seat Post
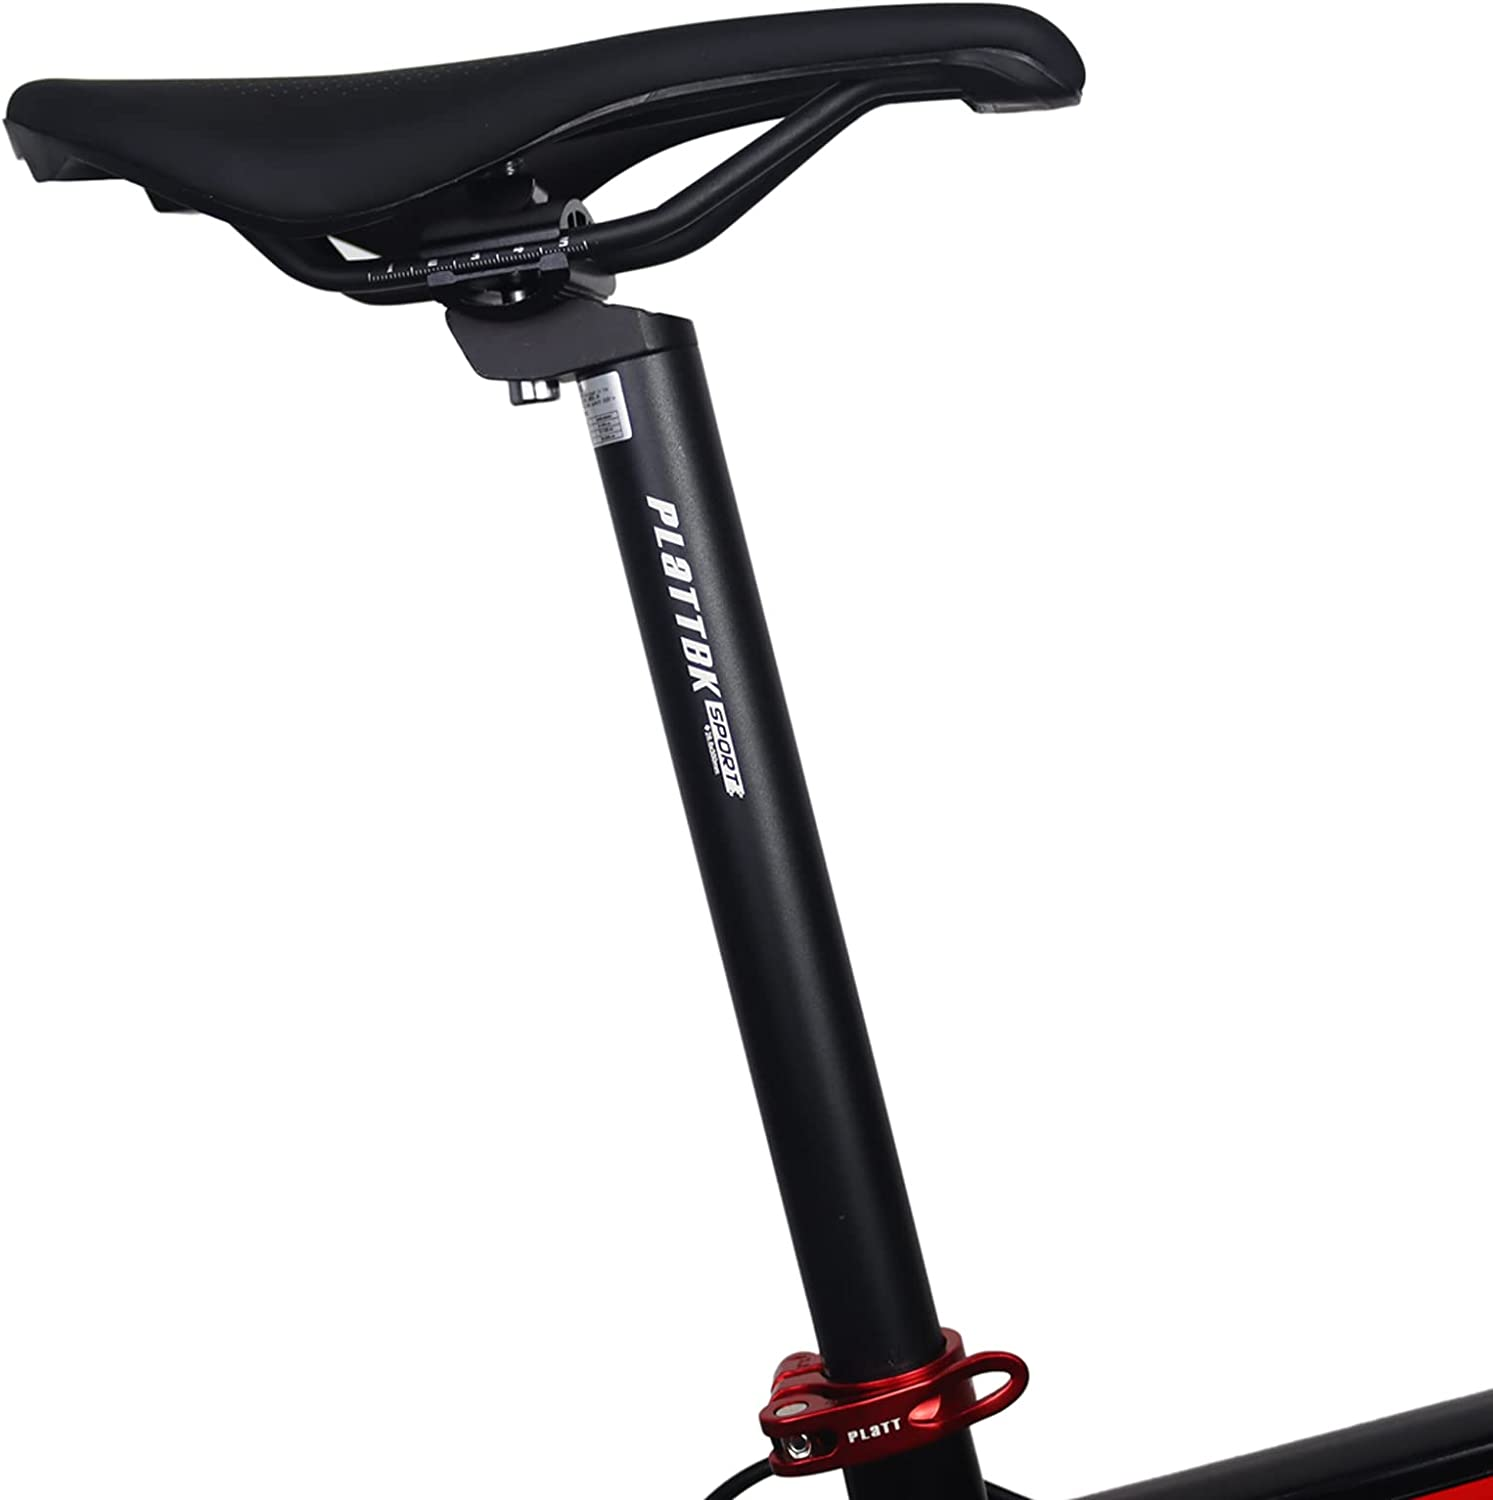
This is one of the major reasons behind loose or moving bike seats. As stated earlier, the seat post like this one, helps to connect and support the seat on the bike frame. Several types include rigid seat posts, suspension seat posts, dropper posts, aero seat posts, and integrated seat posts. The post is connected to the seat by the clamp, either with a lever or nut and screw connection. However, if the clamp is not tightened enough, it could cause the saddle to wobble or shake on the post. The clamp could either not be adequately tightened during installation or after cleaning or simply come loose over time.
A properly positioned and tightened saddle with have a slight and stable tilt at the nose. If only the saddle changes pitch or shifts up and down while riding, then you probably have a problem with loose clamp nuts. On the other hand, overtightening the clamp could strip and damage the bolt. This would affect the functioning of the seat post, causing it to get stuck or sink when you sit.
Reason 2. Wrong Seat Post Diameter
Another reason for moving bike seats is installing a seat post that is not the right diameter for the seat tube. The seat post should fit the tube smoothly and properly without any lateral movement or play. As a result, the outer diameter of the post should be almost equal to the inner diameter of the tube. Too much room between the post and seat tube will lead to the bike seat moving from side to side.
The diameters are usually measured in millimeters. Standard sizes for the seat post diameter include 27.2 mm, 30.6 mm, and 31.6 mm. Bike frame tubes are constructed with materials of varying thickness and so will fit different seat posts. As such, you must always choose seat posts that match the size of your seat tube. You can check this YouTube video tutorial for help in finding the proper size seat post.
On the other hand, forcing oversized seat posts into the tube will lead to stuck posts. If your seat post is too wide for the tube, you can try sanding it down with sandpaper like this to decrease the diameter. This thread on bike forums discusses reducing seat post diameter in more detail.

Reason 3. Dirty Seat Clamp
Dirty clamps tend to come loose and slip, leading to shaky and tilting bike seats. Many clamps feature a serrated surface with teeth that fit into one another and help to tighten or adjust the tilt of the saddle. However, dirt, grit, and grime tend to build up with time between the teeth of the clamps. This can lead to friction loss and cause some slippage. As a result, proper and regular maintenance of your seat post is vital to preserving its function. Our steps to clean a mountain bike chain and lube it and to do quick and proper mountain bike chain maintenance show you how to care for your bike chain which you can also apply to other components of your bike.

Reason 4. Loose Saddle Rails
Another reason for moving saddles is loose rails that do not have a good fit on the clamp. The rails run under the seat and connect it to the bike. The seat post clamps to these rails to support and secure the saddle. If the clamp doesn't tighten over the rails enough, the seat will tilt forward and backward. This could be due to dirt and debris build-up or worn-out bolts and nuts. Worn-out nuts and bolts fail to secure the rails properly, leading to loosened and tilting bike seats. Once you notice stripped or cracked bolts, it is time to replace them with bolts like these.

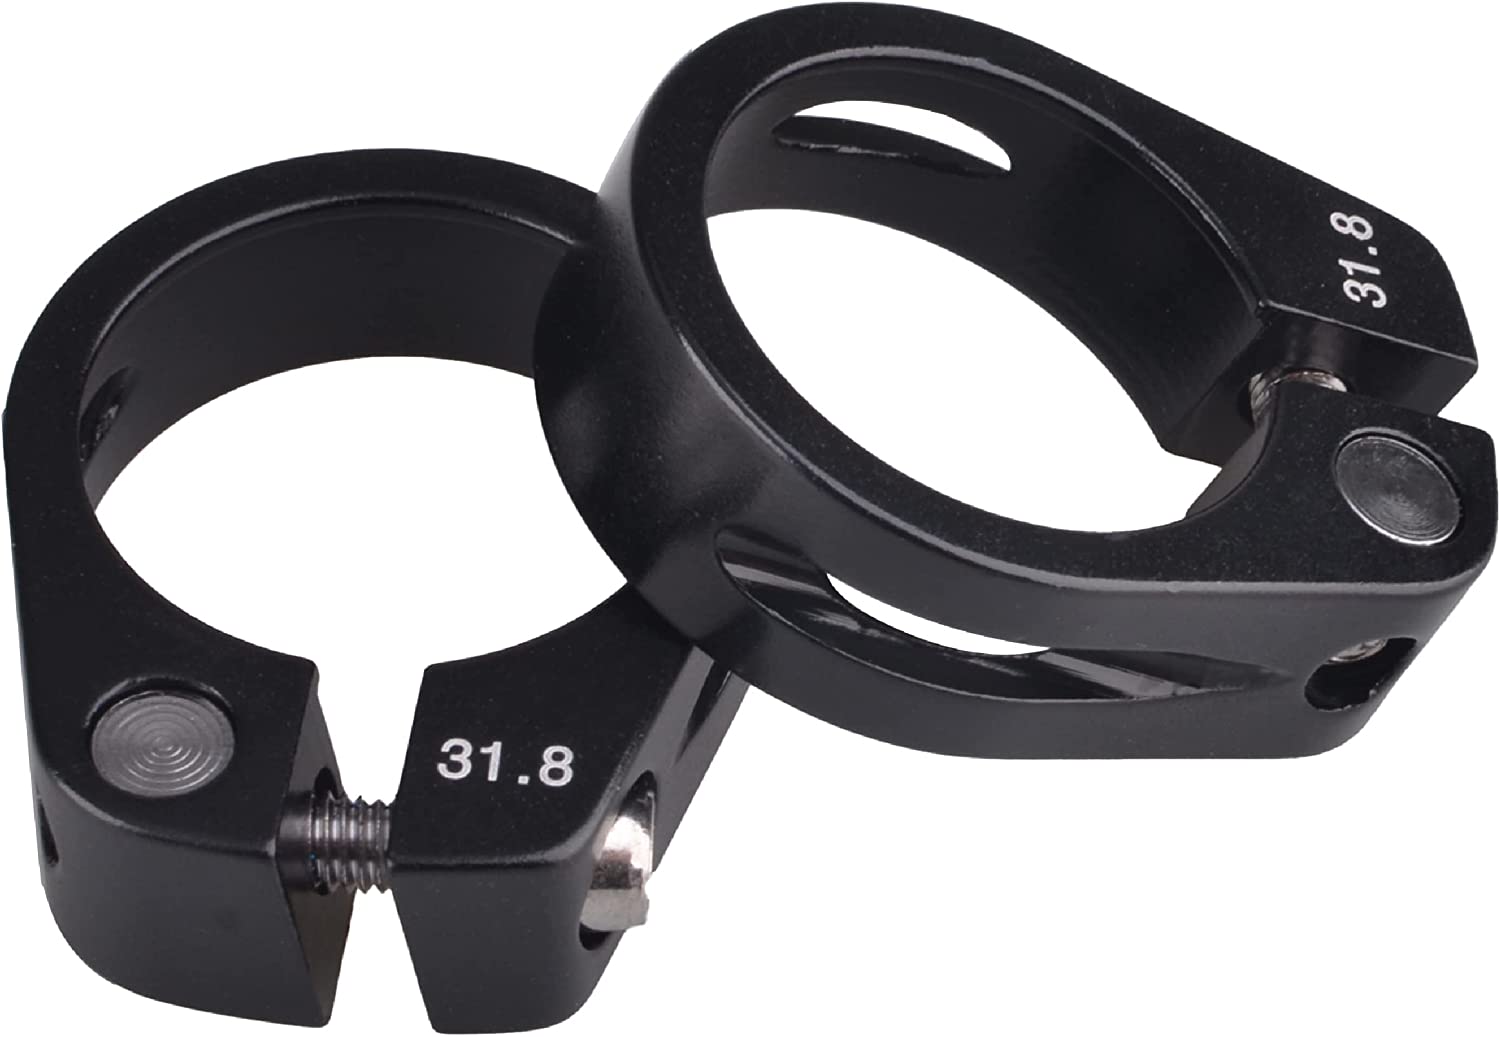
Reason 5. Wrong Seat Clamps
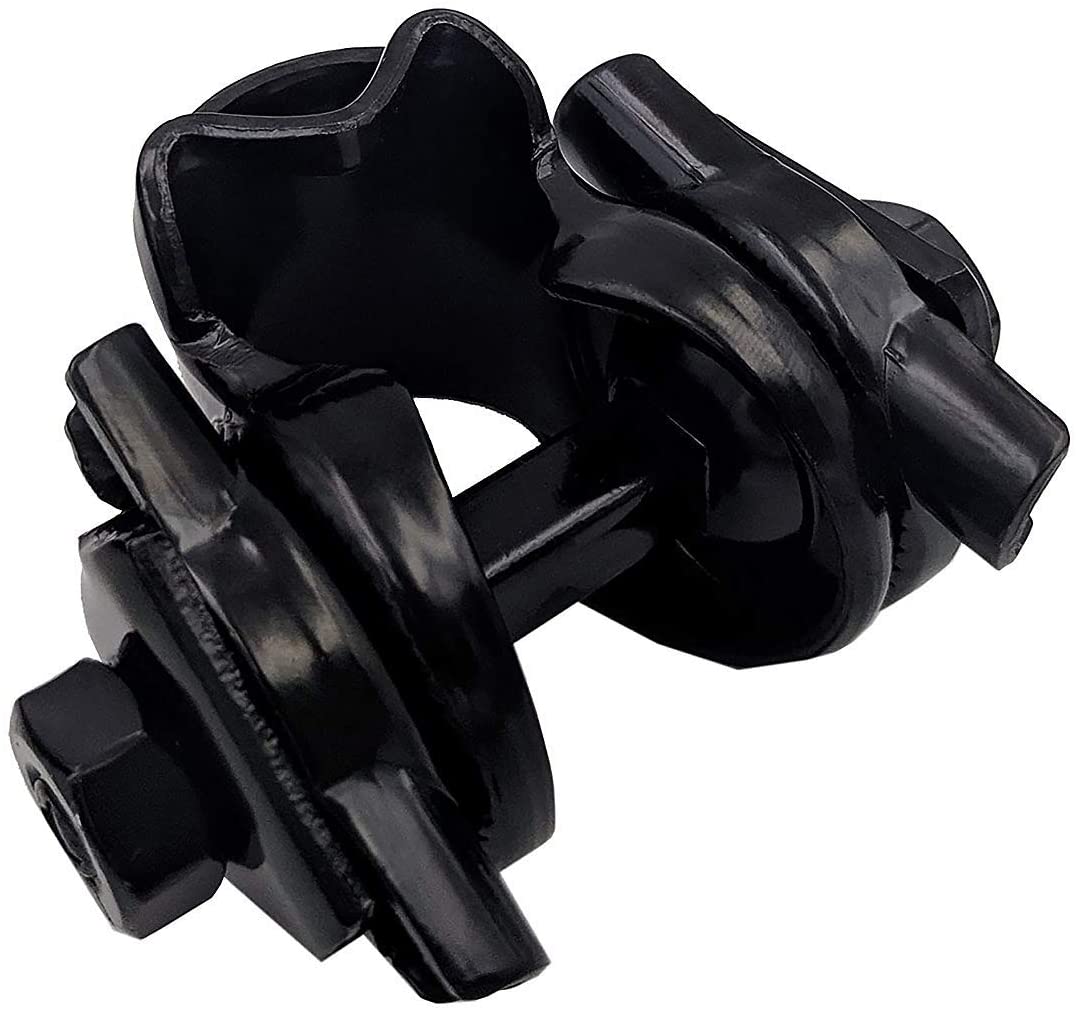
Using the wrong type of seat post clamp for your size, riding style, and terrain can also lead to moving bike seats. While a little standard clamp like this will suffice for road bikes, it won't be enough for mountain bikes. Rough trails and harsh conditions are one reason for slipping, and moving posts and so will require stronger clamps. In addition, the seat clamp should have a large frame contact area and use a larger and tighter bolt. This way, you can apply a lot of torque to tighten the clamp down on the post. Also, the seat clamp diameter should match the outer diameter of the seat tube for the best fit.
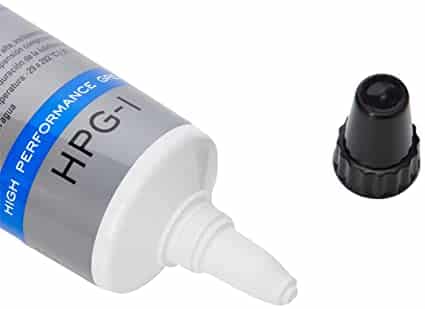
Reason 6. Insufficient or Excess Grease
Swiveling or twisting mountain bike seats can also be caused by insufficient grease. As strange as it sounds, not greasing the seat post properly will actually cause your seat to move while riding. This is because the bolt will not tighten efficiently or sufficiently without a bit of grease like this. On the other hand, using too much grease will cause the post to slip more easily. As a result, achieving the right balance between insufficient and excess greasing is essential. A thin layer of grease will go a long way in helping the post grip and stay secure. It also helps prevent rust and corrosion, which could cause the post to become stuck.
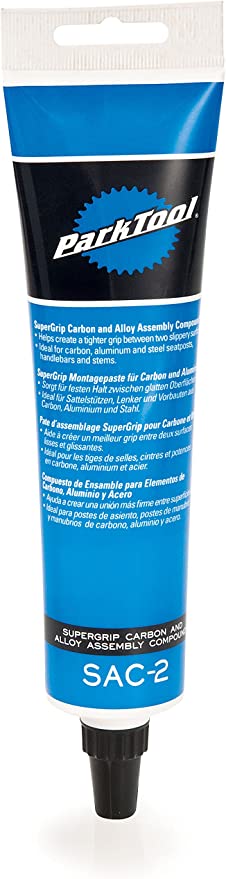
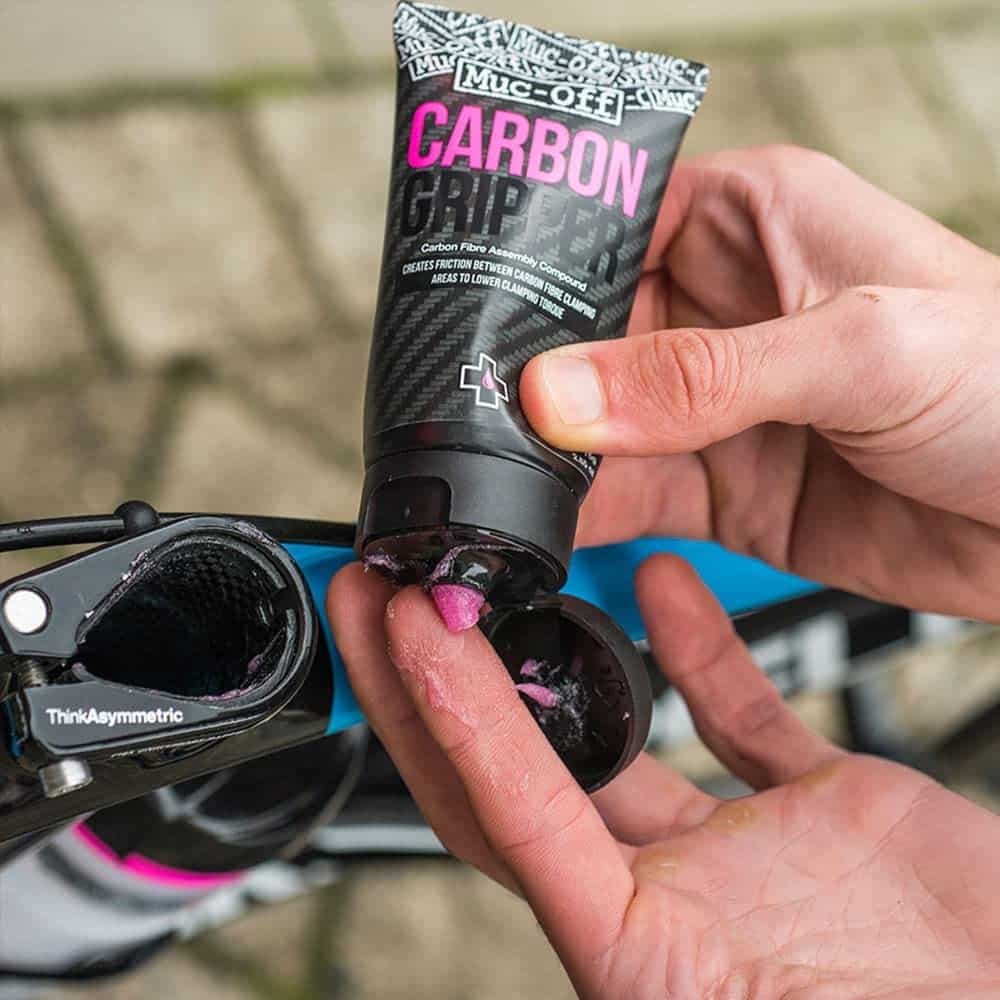
In addition, using the wrong lubricant for the frame and post material can lead to slipping posts. Steel, titanium, and aluminum seat posts and tubes make use of standard bike grease. On the other hand, it is best to use carbon assembly paste with carbon fiber parts. Standard petroleum-derived grease like this will react with the carbon fiber causing the post to slip frequently as you ride. Meanwhile, carbon assembly paste like this contains silicone particles which help to prevent slipping or looseness.
Tools Needed to Fix a Wobbly Bike Seat
| Tool | Function | Example | Price |
| Allen key | To loosen or tighten the bolts of a single-bolt clamp | WiseUp 6mm Allen Wrench Set | ~$10 |
| Socket Wrench | To loosen or tighten the bolts of a single-bolt clamp | Uxcell 14mm Hex Socket Wrench | ~$10 |
| WD40 | To clean and prevent corrosion | Wd-40 Silicone Lubricant | ~$20 |
| Vinegar | To clean and remove dirt from components | Distilled White Vinegar | ~$20 |
| Cleaning Kit | To clean and lubricate seat post components | Bike Cleaning Kit | ~$40 |
| Isopropyl Alcohol | To clean all components | Solimo Isopropyl Alcohol | ~$10 |
| Lint-free Cloth | To wipe the components dry of dirt and grease | Valengo Lint Free Rags | ~$10 |
| Bicycle grease | To lubricate moving parts of the components | ParkTool Bike Grease | ~$15 |
| Carbon Assembly Paste | To lubricate carbon fiber components | ParkTool Carbon Assembly Compound | ~$10 |
| Friction Paste | To create friction between components and prevent slippage | Muc-Off Fibre Assembly Compound | ~$25 |
How to Fix a Wobbly Bike Seat
Wobbly bike seats can be annoying when bumping through rocky terrain or downhill biking. It can also be downright dangerous. Luckily, it can be easily fixed in a few steps.
To fix a wobbly bike seat, inspect the seat clamp and tighten it if loose. Next, clean and grease all the components like the clamp, rails, seat post, and seat tube. Then, apply friction paste to the clamp and slide a piece of rubber between the post and tube. Finally, take the seat post to a local repair shop.
For a more comprehensive guide to bike tools, check out our ultimate list of tools needed for mountain bike maintenance.
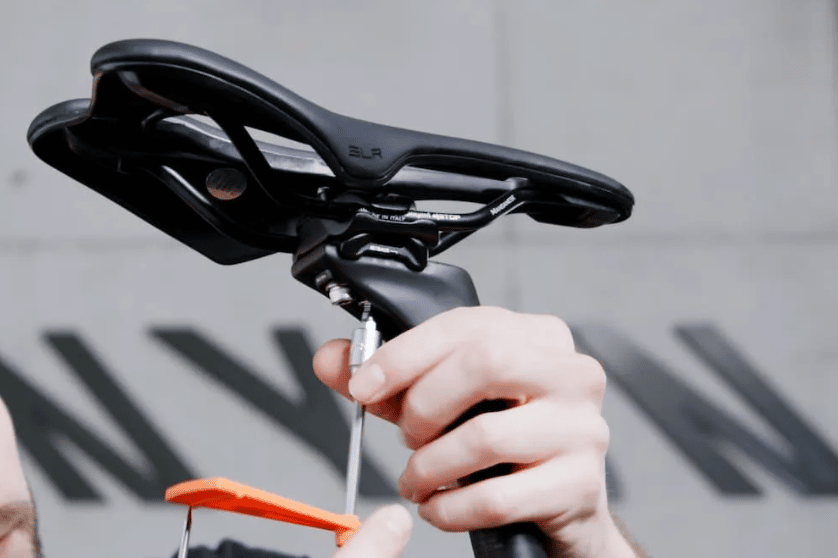
Step 1. Inspect the Seat Clamp Mechanism
The first thing to check when dealing with a wobbly bike seat is if the seat post clamp fits tightly. Also, check the type of seat clamp mechanism your bike uses. Single-bolt clamps offer an infinite range of easy micro-adjustments, while dual-bolt clamps like this work on either side of the clamp to offer both micro-adjustments and a secure hold on the post.
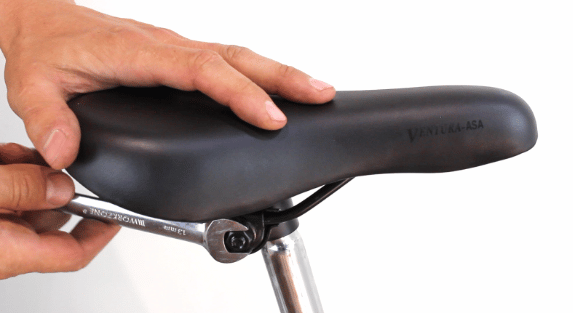
Step 2. Tighten the Seat Clamp
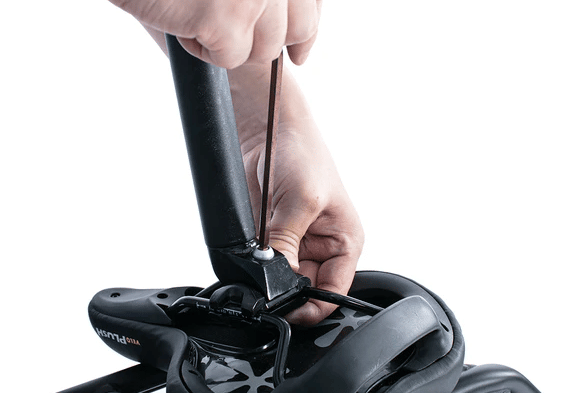
Hold the seat down and tighten the bolts clockwise, one turn at a time. For hybrid bikes with two-nut seat clamps, tighten the nuts on the left and right using a 14mm socket wrench like this. Tighten the nuts alternately, so the tension is balanced on both sides.
Most modern bikes use a quick lever seat clamp with a single bolt. Tighten the bolt with a 4-6mm Allen wrench like this, depending on the appropriate size. Ensure you do not overtighten the bolt as that can damage the seat clamp and cause it not to close. Keep to the manufacturer's recommended torque settings.
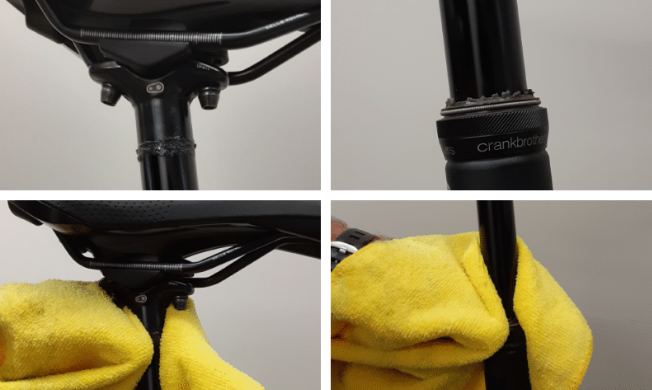
Step 3. Clean the Seat Clamp
Clean the threads of the seat clamp bolts. You can take care of any rust by soaking the bolts in vinegar or WD40.
Step 4. Clean the Rails
Wipe down the saddle rails with a lint-free cloth. You can also use neutral detergent and water or cleaning solvent like isopropyl alcohol with a soft brush like this (or old toothbrush) to clean the rails and clamp bolts thoroughly if particularly dirty. Then, air dry and grease the components before reinstalling.
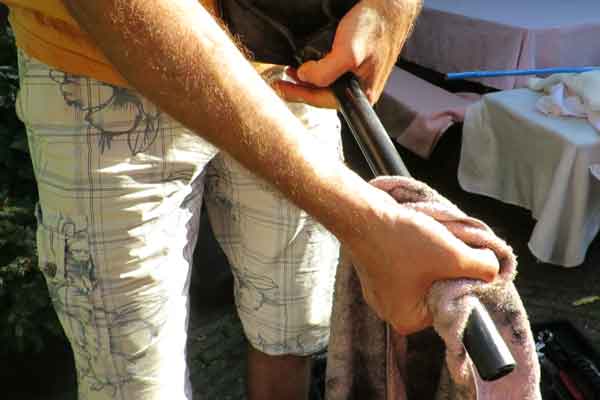
Step 5. Remove and Clean the Seat Post
Loosen the seat clamp bolt by turning it counterclockwise. Next, pass the saddle rails through the clamp and remove the seat from the clamp. Then, slide the post out of the seat tube. Wipe old grease from the post with a soft, clean, lint-free cloth.
Step 6. Clean the Seat Tube
Push a soft, lint-free cloth into the seat tube to clean any old grease from inside.
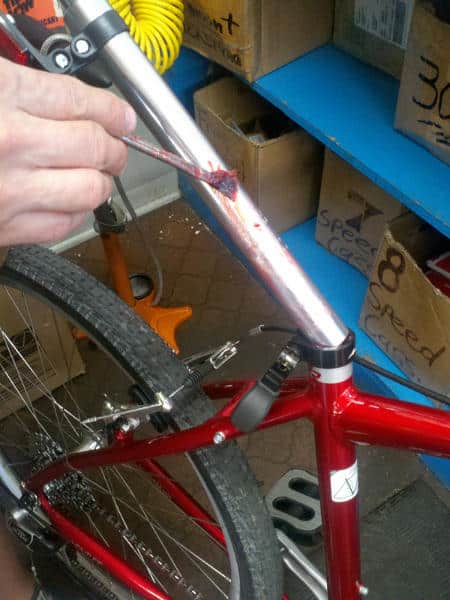
Step 7. Grease the Components
Apply standard bike grease like this to the inside of the clamp and threads of the adjustment bolt. Next, use your finger or a brush to apply a light, thin film of grease outside the seat post and the inner surface of the seat tube. You should use just enough grease to inhibit corrosion and allow for smooth insertion and removal of the seat post. Finally, wipe off any excess grease.
Step 8. Apply Friction Paste to the Clamp bolts
This friction paste consists of tiny pieces of glass inside a gel, which can help create friction between the parts. By applying it to the seat clamp, you can gain better friction and reduce slipping.
Step 9. Insert a Piece of Rubber
This is a sort of temporary fix where you place a piece of rubber like this or like an old tube between the seat post and clamp. It can also help create friction and prevent wobbly seats.
Step 10. Take Your Bike to a Repair Shop
If you're still having trouble with wobbly seats, visit your local bike shop and ask to have your seat adjusted more precisely for a comfortable and secure fit.
Tools Needed to Fix a Bike Seat That is Twisting or Moving From Side to Side
| Tool | Function | Example | Price |
| Vernier Calipers | To measure the diameter of the seat post and seat tube | Digital Caliper Measuring Tool | ~$20 |
| Allen Keys | To loosen or tighten the bolts of a single-bolt clamp | Klein Tools 6mm Allen Key | ~$5 |
| Hex Wrenches | To loosen or tighten the bolts of a dual-bolt clamp | Brazen 14mm Socket Wrench | ~$15 |
| Seat Tube Sizing Rods | To measure the inner diameter of the seat post | Bikehand Bike Quick Measuring Tool | ~$20 |
| New Seat Post | To support the saddle on the bike | Zoom Bike Suspension Seat post | ~$30 |
| New Saddle | To replace old saddle and support rider’s weight | Wide Gel bike seat | ~$20 |
| Brush | To apply a thin coat of grease | Bike Maintenance Cleaning Brush Kit | ~$10 |
| Bicycle Grease | To lubricate moving parts of the components | Mountainflow Bike Grease | ~$20 |
| Carbon Assembly Grease | To lubricate carbon fiber components | ParkTool Carbon Assembly Compound | ~$10 |
| Loctite | To prevent loosening of bolts | Loctite Threadlocker | ~$15 |
How to Fix a Bike Seat That Moves From Side to Side
Having a seat that twists or moves from side to side can be pretty jarring when riding on rough terrains. It is commonly caused by fitting a seat post with the wrong diameter into the seat tube or worn-out and stripped clamp bolts.
To fix a mountain bike seat that moves side to side, measure the diameter of the seat post and seat tube and compare the diameters. Next, remove the old seat post, and separate the post from the saddle. Then get a compatible seat post and grease and install the new components. Finally, test the installation.
A loose seat could actually be quite dangerous and cause you to have an accident. To be prepared for this you should look at our articles on mountain bike armor pieces and mountain bike armor upgrades to learn about extra protection for riding on rough terrains.
To make sure that you have all the tools you may need to work on your mountain bike, check out our mountain bike tool kit essentials guide.
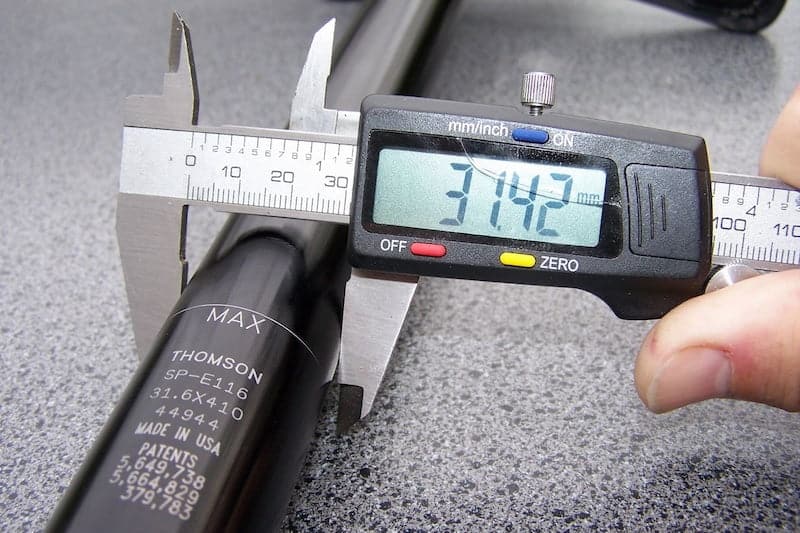
Step 1. Measure the Diameter of the Seat Post
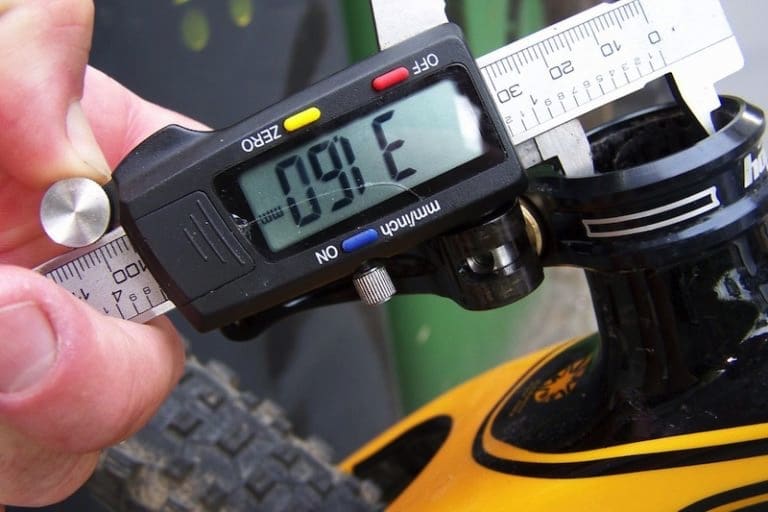
This is to check that the post doesn’t have any lateral play. Next, measure the outer diameter of the seat post using a vernier or digital caliper like this. Seatpost diameters are typically measured in millimeters, in multiples of 0.2mm.
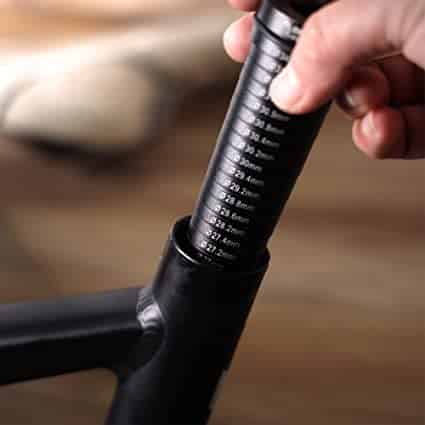
Step 2. Measure the Diameter of the Seat Tube
Measure the outer and inner diameter of the seat tube using vernier or digital calipers. You can also use special seat tube sizing rods like this. The rods feature a measurement scale and increasing diameter from one end to the other. Place a screwdriver through the hole at the top of the rod and fit the rod into the seat tube. Note the matching diameter – the one just above the end of the seat tube. The clamp diameter is usually labeled on it.
Step 3. Compare the Diameters
Compare the diameters of the seat post, seat tube, and clamp. The seat tube outer diameter and clamp diameter should match, while the seat tube inner diameter and seat post diameter should match. The post should be able to slide into the tube without being forced or punched in. Also, the seat post should not have any lateral play or rock from left to right before tightening the seat post clamp. If the diameters do not match, you’ll have to replace the seat.
Step 4. Remove the Old Seat Post
Open the quick release lever of the seat post and slide the post out of the tube. Note the position of the saddle.
Step 5. Separate the Seat Post From the Saddle
Loosen the seat post clamp bolt with the appropriately sized wrench from a set like this. Slide the rails through the clamp on each side or lift the saddle off the post. Place the saddle to the side. Also, check that the saddle is not faulty in any way in which case you will need to purchase a new saddle like this that is of good quality.

Step 6. Get a Compatible Seat Post
Getting a seat post in the same material as the tube is usually best. That is, use titanium, aluminum, or carbon posts for the corresponding seat tube. This is because dissimilar materials could react and seize the post in the frame. Also, ensure the seat post and clamp are of the accurate size for the frame tube. The tube inner diameter and seat post diameter must match, while the clamp diameter must match the outer diameter of the seat tube.
Step 7. Grease the Components
Clean and apply a thin coat of grease to the inside of the seat tube and outside of the seat post. Apply a drop of oil like this to the lever and bolts. Make use of carbon assembly paste for carbon fiber components.
Step 8. Connect the Seat Post and Saddle
Connect the new seat post to the saddle. Use Loctite like this on all the bolts and nuts. Fit the seat post clamp and tighten the clamp bolts using the wrench. Ensure you tighten the torque to the manufacturer's specifications.
Step 8. Fit the Seat Post and Tube
Slide the seat post into the seat tube. Ensure it fits snuggly without any lateral or rotational play. Rotate and close the quick release lever of the seat post. Ensure the saddle sits in the same position as before.
Step 9. Test the Installation
Check that the saddle rails are correctly aligned, and the seat pivot is centered accurately. Adjust the seat angle for a comfortable position by tightening or loosening the clamp bolts. Try wiggling or shaking the seat sideways to see if it moves at all. There should be no wiggling and you should ride with the seat and test for comfort. Adjust if needed.

Tools Needed to Fix Bike Seat Moving up and Down
| Tool | Function | Example | Price |
| Vernier Caliper | To measure the diameter of the seat post and seat tube | Electronic Digital Vernier Caliper | ~$25 |
| Lint-free Cloth | To wipe dirt and grease from the components | Microfiber Lint-Free Cleaning Cloths | ~$10 |
| Friction Paste | To create friction between components and prevent slipping | Muc-Off Fibre Assembly Compound | ~$25 |
| Bicycle Grease | To lubricate moving parts of the components | Sport Bike Lubricant | ~$15 |
| Carbon Assembly Paste | To lubricate carbon fiber components | ParkTool Carbon Assembly Compound | ~$15 |
| Torque Wrench | To loosen or tighten any bolts | Bikehand Torque Wrench | ~$20 |
| Allen Key | To loosen or tighten the bolts of a single-bolt clamp | Eklind Tool 6mm Allen Wrench | ~$10 |
| New Seat Clamp | To connect the seat post to the seat tube | Bicycle Seatpost Tube Clip | ~$10 |
If you’re packing for a trip and looking to pack tools for quick and handy maintenance, check out our article on mountain bike tool bag ideas. Our article on fixing a mountain bike tool bag that’s heavy will also come in handy.
How to Fix a Bike Seat Moving up and Down
A bike seat moving up and down alters its height and could cause a variety of problems, including hip and knee pain. Therefore, do not ride with a bike seat sliding up and down. Fortunately, there are several steps you can take to fix this issue.
To fix a mountain bike seat that is moving up and down, first check for the correct post, tube, and clamp size, fit a piece of aluminum or rubber, wipe off excess grease and apply friction paste. Tighten the seat clamp, clean and apply new grease, or replace the seat post clamp. Finally, take the bike for servicing and repair at a local bike shop.
According to this research paper from the Journal of Bodywork and Movement Therapies, many cyclist injuries occur due to incorrect saddle position.
Step 1. Check That the Seat Post and Seat Collar are the Correct Sizes for the Frame
Check for play between the components. If there's any play, measure the seat post, clamp, and tube diameters using the method described above to ensure you have the right size components. You should be able to slide the post into the tube with only a small amount of pressure. Likewise, the clamp should also fit onto the tube with only a little pressure.
Step 2. Fit a Piece of Aluminum or Rubber
The manufacturing process is not always precise, so you could have equal-sized components and still have some play between them. If this is the case, grease the inner seat tube surface and fit a piece of rubber or aluminum can between the seat post and seat tube. You can slide the rubber or aluminum about 1-2 mm below the top of the tube. You can also slide in a slice of an aluminum can between the seat post and clamp. You should be able to fill the gaps without having to overtighten the seat clamp past the manufacturer's recommendations.
Step 3. Wipe off Excess Grease
Remove any excess grease from the post and seat tube if your components fit snugly but still slip. Excess grease could be causing the bike seat to move up and down under these conditions.
Step 4. Apply Friction Paste
Finally, if none of the above methods have worked, add a thin smear of friction paste like this before insertion. This will usually stop the slip without you needing to over-torque the components. Then, wipe up any remaining paste with a rag.
Step 5. Tighten the Seat Clamp
If, on the other hand, the torque is less than the manufacturer's recommendation point, try tightening the seat post clamp. Again, ensure you follow the manufacturer's specifications to avoid damaging the seat tubes or compressing the internal seal of dropper posts.
Step 6. Clean and Apply New Grease
Disassemble the seat post and clean off dirt and old grease with a clean cloth. Make use of isopropyl alcohol like this or neutral detergent to clean thoroughly. Then regrease the components using standard bike grease if the material is metal, such as steel, aluminum, or titanium. If the tube or post is carbon fiber, use carbon assembly paste like this instead to prevent slippage.
Step 7. Check and Replace the Seat Post Clamp
If the clamp bolts are stripped or cracked, you can purchase a new seat clamp like this. Simply loosen the clamp bolts and remove the old clamp. Then, fit the new clamp and tighten it to the recommended torque.
Step 8. Service the Seat Post at a Repair Shop
Your last resort is to take your bike for servicing at your local repair shop. They'll be able to deal with any issues affecting the saddle and give your bike a thorough check-up.