
Mountain Bike Pedal Strap Replacement – Step-by-Step
Pedal straps are a great accessory for your mountain bike if you want to keep a sturdy grip on the bike pedals and have better foot retention while you are riding. However, sometimes, pedal straps, especially those with Velcro, can become worn or torn simply from frequent use. If you’re looking for mountain bike pedal strap replacement tips, you’ve come to the right place.
To replace pedal straps, first remove the old or damaged straps from the pedals. Then thread the new strap through the pedal holes. For bolt-on pedal straps, use an Allen wrench or screwdriver to tighten bolt straps to the pedal.
A little advice is more than enough to help you remove and attach any new pedal straps firmly. We will lead you through the process with a step-by-step guide according to strap kits on Power Grips. Fortunately, in general, you can replace any type of strap quite easily once you know the basics as we explain in our article that provides step-by-step instructions on how to thread a pedal strap.
Types of Pedal Straps
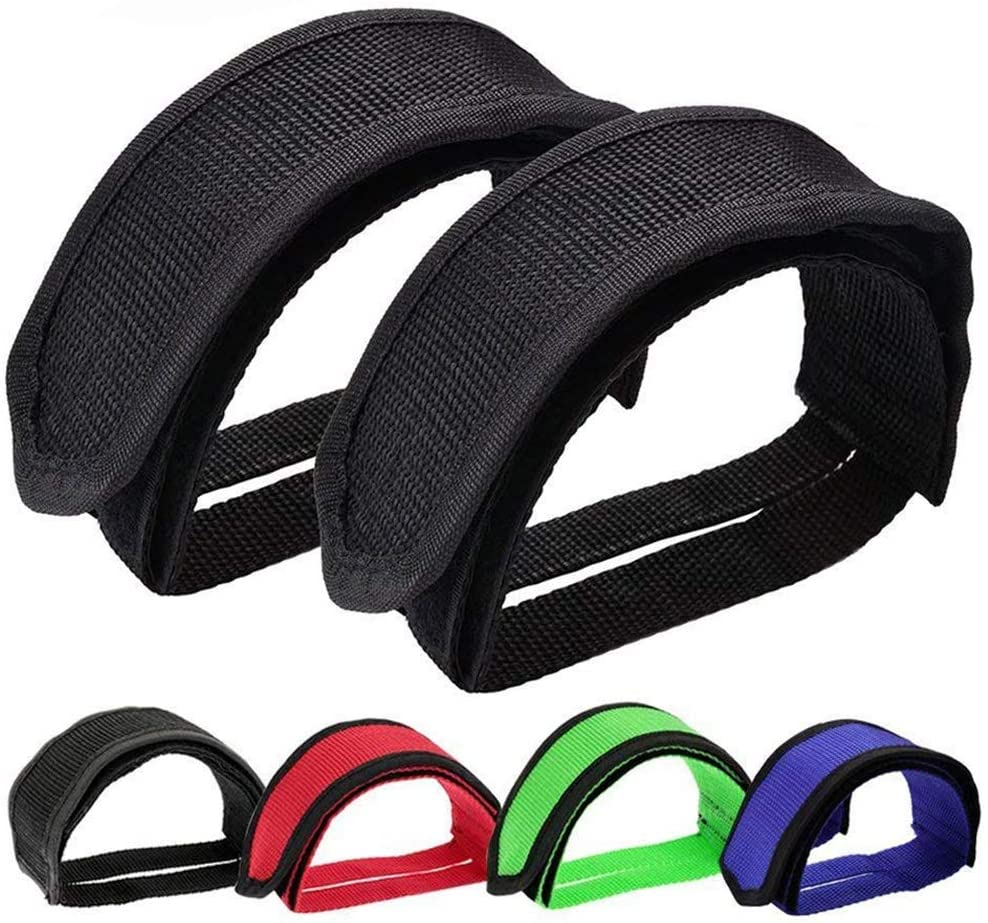
There are two main types of pedal straps, threaded straps and bolt straps, which need bolt adjustment with a wrench or screwdriver.
There are also combinations of toe clips and straps, but those might need a bit more effort to replace. We also have some tips for choosing pedal straps with heel support for kids which includes ideas for mountain bike riders that have special needs.
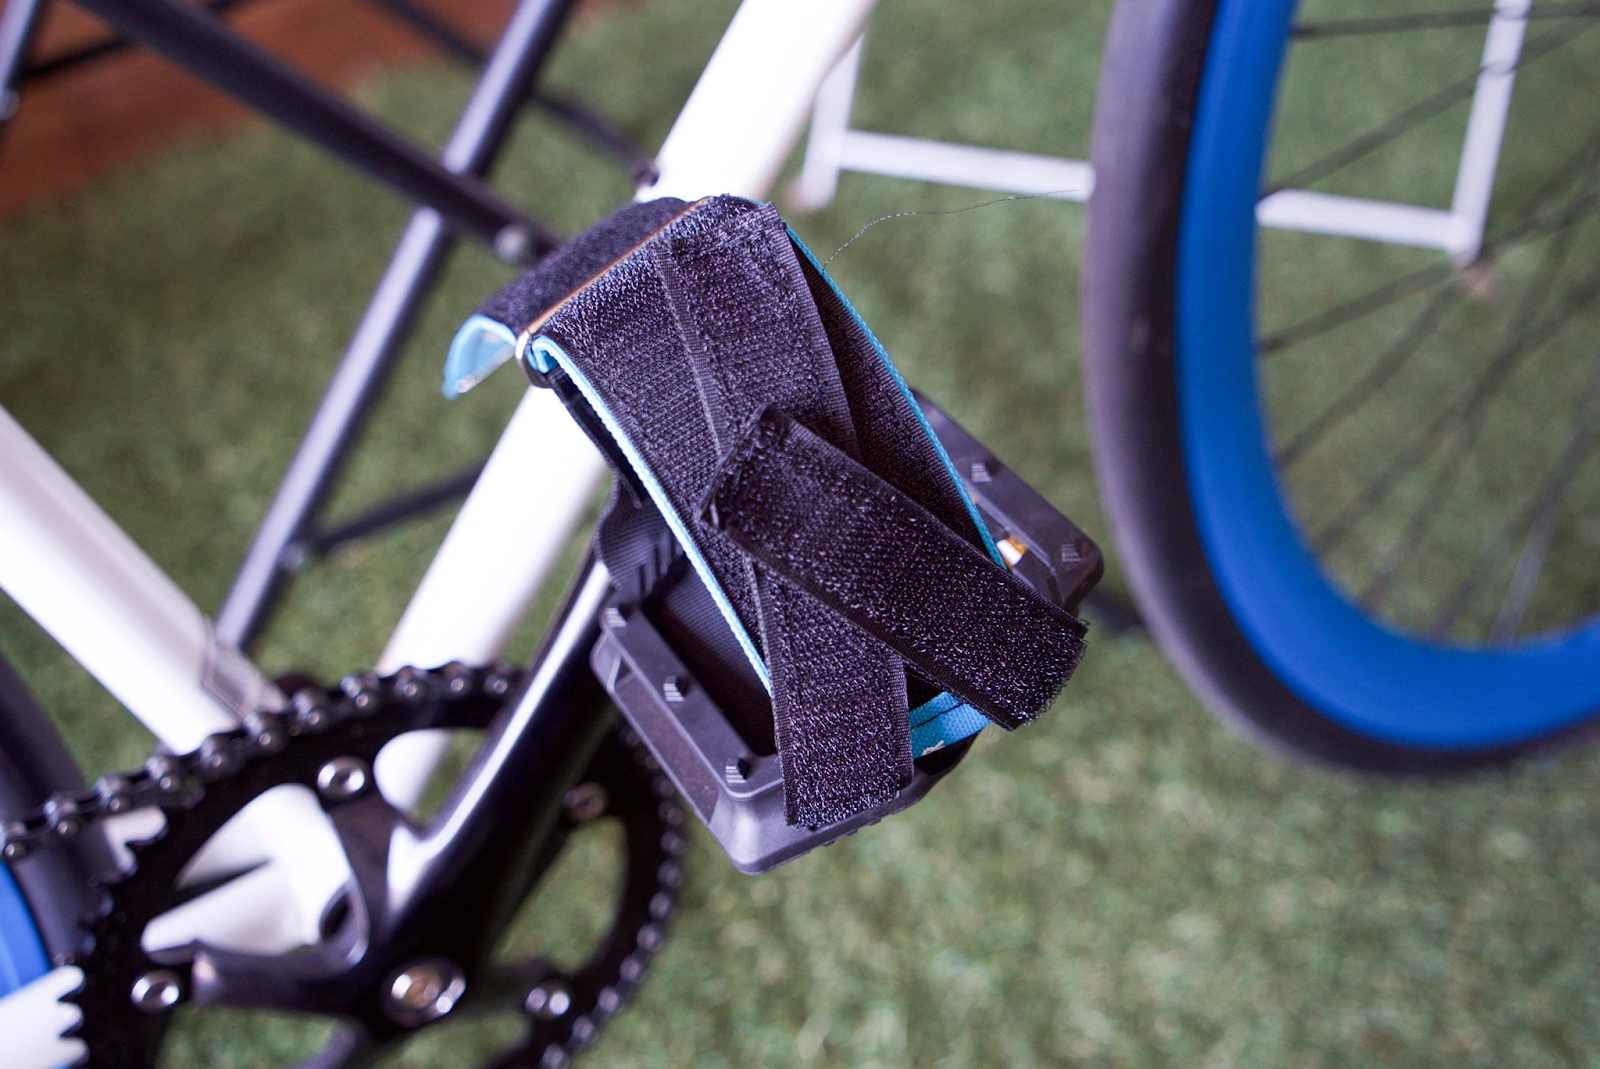
Mountain bike pedal strap replacement with threaded pedal straps is the easiest as you don’t even need to use a wrench. There are no bolts associated with these, and they are easily installed and removed by threading the fabric through the holes in the pedals and securing them with Velcro.
You may also be interested in learning about the different types of bike pedals as well as the differences between pedal straps vs. cages. Be sure to check out our related articles for more information.
What You Need for Replacing Pedal Straps
Luckily, you won't need much to replace pedal straps for your mountain bike as Ynot explains in this video tutorial. Of course, it all depends on the type of strap, as some straps need to be attached to the pedal with bolts. Still, to ensure that you are fully prepared, here's a list of materials you might need when replacing your MTB straps: It may also be a good idea to check out our comparison of pedal straps vs. toe clips so that you can decide which would be better for you.
Here we list everything you will need to replace your pedal straps:
| What do you need? | Why do you need it? | Example |
| Replacement pedal strap set | To replace the old pedal straps | Outgeek Bike Pedal Straps |
| Pedals with strap slots | To pull the straps through the slots | Mongoose Mountain Bike Pedal |
| Allen wrench | To remove old bolt-type straps | Hex Key Set |
| Screwdriver | To set new bolt-type straps firmly | Pro Bike 6 in 1 Tool |
Before you go any further, you might want to take a look at our comprehensive guide to mountain bike tool kit essentials. This way you'll have everything you need before heading out on the trails.
Step 1. Remove the Old Pedal Strap Set
If you have a mountain bike with a threaded Velcro pedal strap set, you will be able to easily remove it during the pedal strap replacement process. With no bolts or screwdrivers in the picture, it's as simple as undoing the Velcro and pulling the strap out of the pedal.
Of course, if your straps served you with maximum stability and grip, you have probably adjusted them through the outlets by folding them. That means you might have to deal with the resulting folds and creases when taking the threaded strap set off from the pedal. It is easier to do if you simply pull the folded end of the Velcro in the opposite direction than how you usually tightened it. The strap unfolds itself and you'll be able to easily remove it once the strap is flattened.
Step 2. Mount the New Velcro Straps
Once you have pulled the old strap set off from the pedal, it's time to mount the new pair. Upon purchase, make sure that you keep track of which are the "Left" and "Right" since it would be troublesome to repeat the process if you mount the straps to the wrong sides. However, you can start with either the left or right pedal strap, as it makes no difference.
The first thing to do when mounting new straps is to pull apart the section of the strap with the logo from the rest of the Velcro strap to open it up. It consists of two sides, one of which is shorter, the other longer.
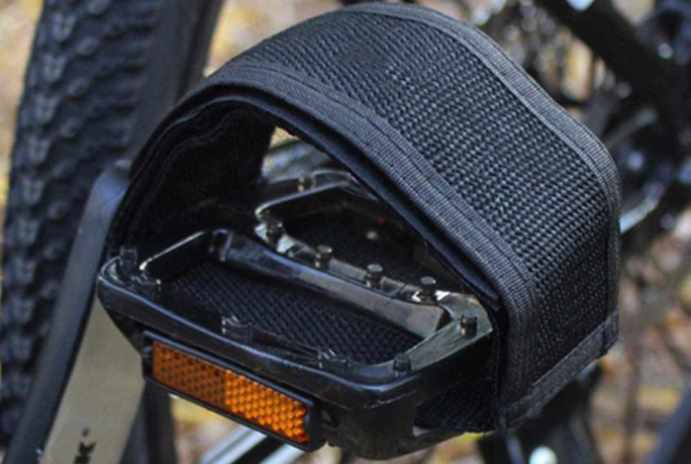
As you pull the strap through the pedal holes, the Velcro side of the strap should be up. You might need to squeeze a bit until the strap passes through the hole. If you do twist the strap to maneuver it into place, make sure you end up with the Velcro still facing up.
As you mount the first part of the strap, you will notice that there is a metal bracket. That is now against the pedal hole – it should firmly remain at the spot where you first started pulling the Velcro through the pedal. You will use it, later on, to mount the clasp part and finish with the strap replacement.
Step 3. Adjust the Clasp
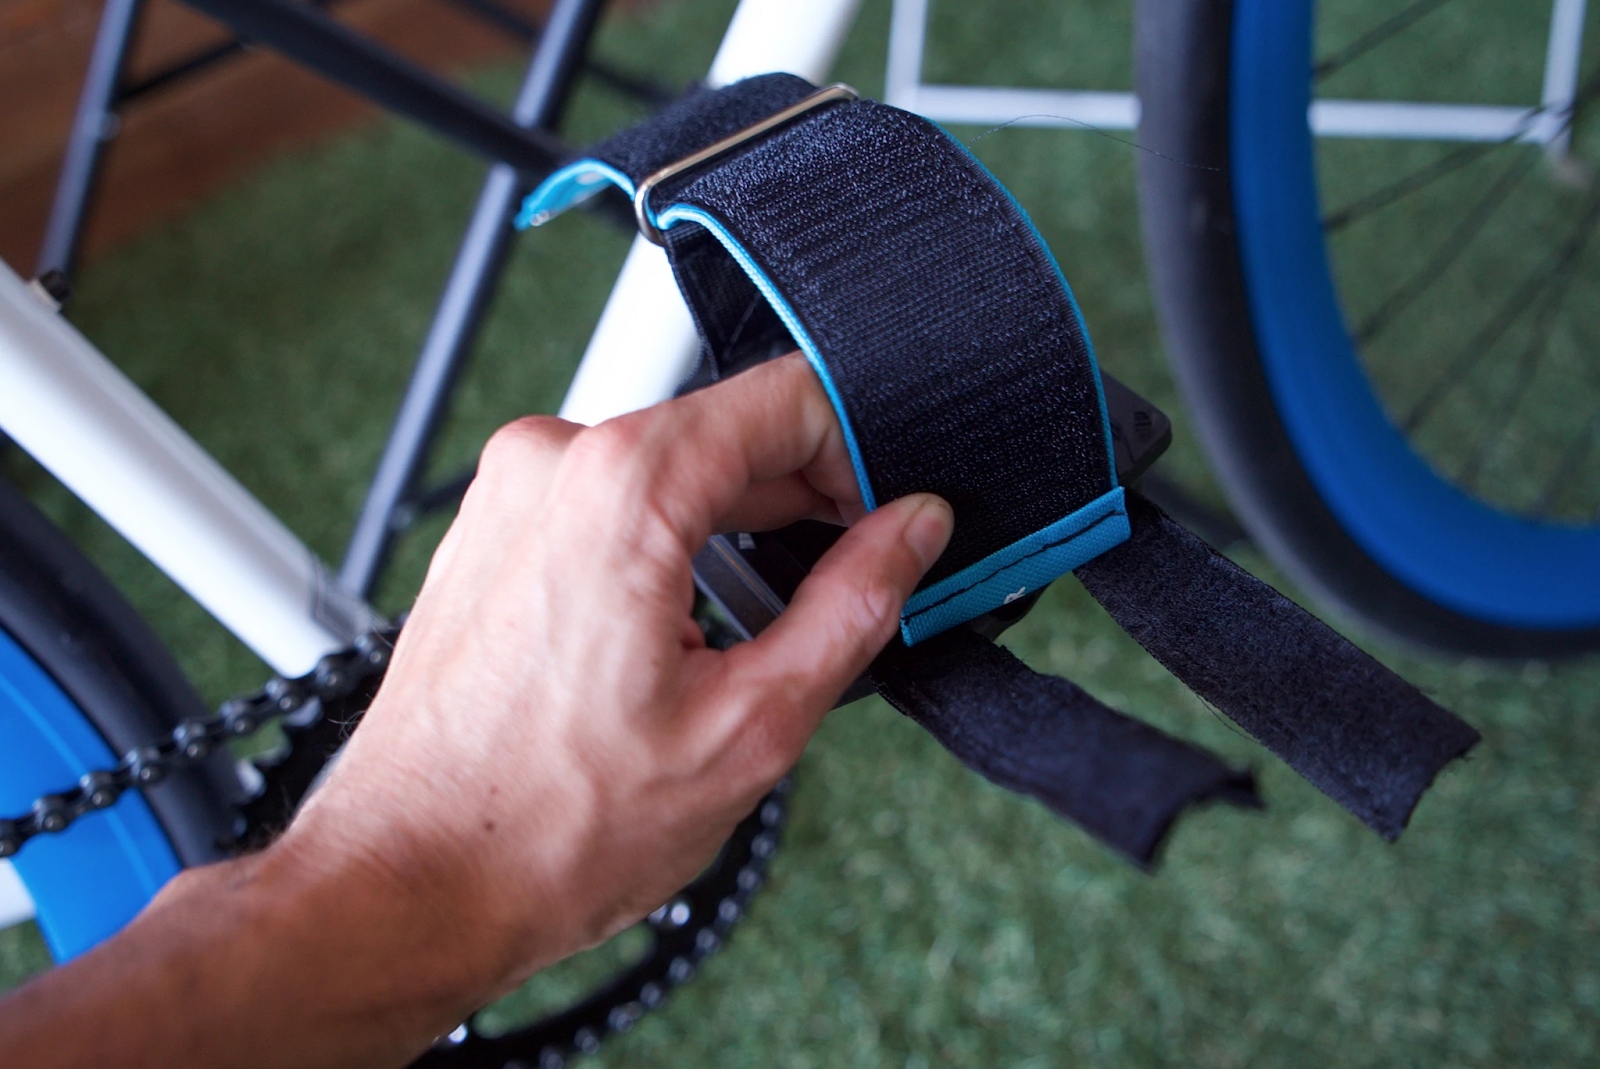
Once you are finished pulling the strap through the pedal holes, it’s time to use the attached metal bracket and Velcro side to adjust the clasp. This is the part of the strap that you will use to lock your foot into place while on the pedal. If you have Power Grips bike pedal straps, you will notice a logo on this side of the strap. Use it for orientation as the logo should always face up. Pull this part of the strap through the metal bracket mentioned before.
To finish things off, lift the entire part of the strap that leans on the pedal up, with the logo part open. You will see the matting side of the Velcro inside the logo clasp – use it to tighten it with the smaller Velcro straps mentioned before. Once you make a secure attachment, finish by bending the clasp over until you see the logo facing up and test the hold by softly pulling.
Measuring and Fitting Replacement Pedal Straps
First, you need to identify the type of pedal strap that you have. Then, you can adjust it to fit onto your bike pedal.
To fit a pedal strap, first, measure the circumference of your cycling shoes at the widest point, then pick the strap size accordingly.
If you have Power Grips straps, anything measuring more than 12 inches will mean that you need an XL size strap set. The usual pedal strap sizes for mountain bikes are Standard and XL, at least when it comes to Power Grips' products. The extra-large straps will fit cycling enthusiasts with a foot circumference of more than 12 inches at the widest point by giving you an extra 2.5 inches of additional space. In a master’s thesis, Brandon Kuhn describes how properly fitted pedal straps increase power output during a 30-second bicycle sprint.
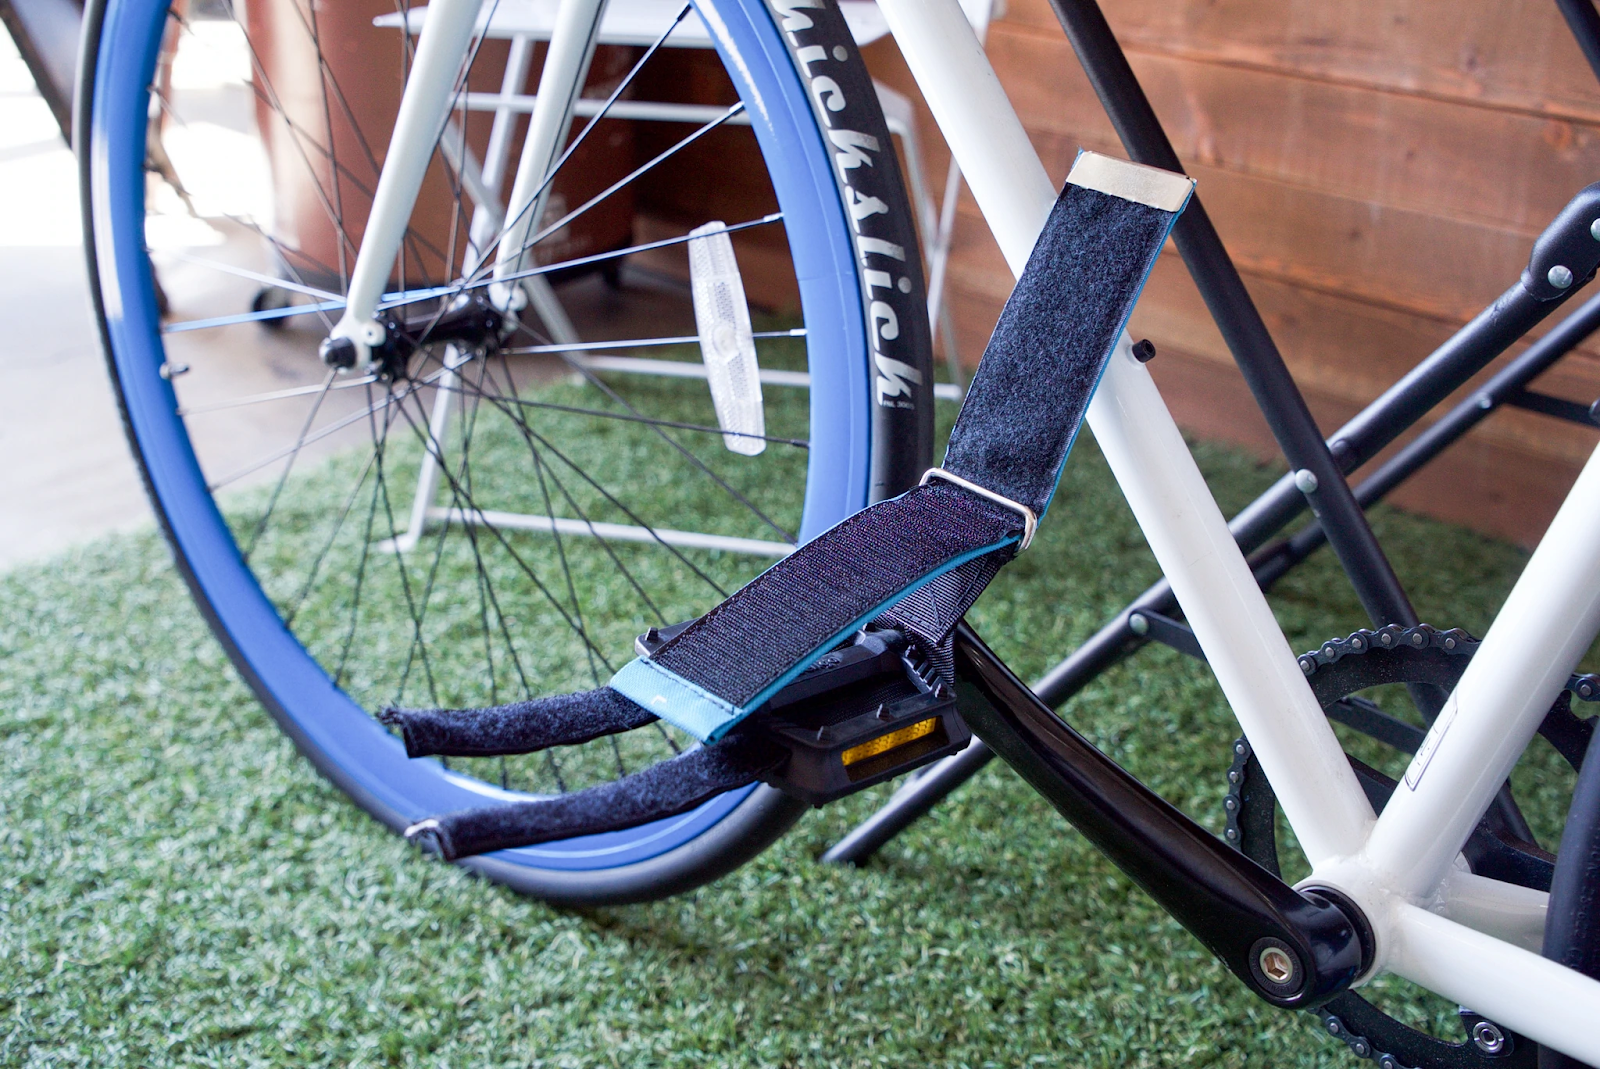
Step 1. Set Up Straps onto Pedals
Pull the strap end through the pedal hole and underneath the metal gap. Once you pull it through the pedal, use the trap and fabric outlets in it to pull the strap through it. As you pull the strap through, circle back to the clasp and lock it in place.
You may also be interested in learning how to fix a mountain bike chain that is skipping. If so, be sure to read our related article for more information.
Step 2. Secure the Frame
To secure the frame, move the pedal reflector and use the nuts and bolts to attach it firmly to the pedal construction. Locate the holes and pop the nuts on the other side.
Use a screwdriver to achieve a sturdy grip and fit the straps onto the pedal. You can adjust the strap a little bit loose if you want to make it easier to slip your foot into the strap, or make it snug to hold your foot firmly on the pedal for maximum security.
How to Tighten Pedal Straps on a Mountain Bike
Sometimes, you will first have to take out the entire pedal to tighten the straps, and then tighten the pedal as well for the ultimate sturdiness. That also allows you to see the connection between the pedal and the strap better, and you can use a set of pliers to adjust it firmly.
To tighten pedal straps on a mountain bike pedal, first, attach the strap firmly to the frame with nuts and bolts, use a screwdriver to tighten it first, and use pliers for a firmer grip.
We'll lead you through the steps and the materials needed to accomplish this in less than a few minutes and never have to wonder about how tight your MTB strap is!
Tools Needed
| What do you need? | Why do you need it? | Example |
| Pedal wrench | Screw and unscrew the pedal | Qkurt Bike Pedal Spanner Wrench |
| Pliers | Tightening the pedal strap frame | Bikehand Bicycle Repair Tool Kit |
| Screwdriver | Tightening the nuts and bolts | Pro Bike 6 in 1 Tool |
Step 1. Use a Pedal Wrench To Remove The Pedal
You can use a pedal wrench to remove the pedal and tighten both the straps on it and the pedal itself once you reattach it. And if you are wondering how to store your pedal wrench and other tools why not have a read through our article about fixing a mountain bike tool bag that is too heavy, for some useful tips?
Use the pedal wrench for this purpose, and remember one small rule – right is right, and left is wrong. It might sound confusing, but just remember the right side is the “drive side” of the bike with the gears. The right pedal comes off easily by using a wrench clockwise, so you turn the right pedal in the right direction and the left one in the opposite direction. The threads on the left pedal are always reversed, so you would use the wrench counterclockwise. Probiketool has several handy manuals for usign their toolkits.
Step 2. Tighten the Strap Frame
To tighten the strapping frame, use your tools to tighten the nuts and bolts as much as you can. With a firm grip, you won’t risk your foot slipping out of a loose strap frame.
It’s easier to maneuver with the tools when the pedal is off the bike. This also gives you one additional advantage – you can simultaneously make sure the pedal itself is firmly tightened as you install it back on the bike.
Step 3. Tighten the Pedal
It isn’t necessary to remove the pedal as you can tighten the strap without taking it off, but, if you do, you can use the pedal wrench (or hex key) to tighten the pedal itself when reinstalling it as we explain in our article that provides the ultimate list of tools needed for mountain bike maintenance. So, it accomplishes two things at the same time if you do opt to remove the pedal. You can firmly attach both the pedal and the strap construction on the pedal for truly safe and sturdy foot support.