
How to Remove Mountain Bike Grips – Step by Step
There are several parts of your mountain bike that can be customized to make your rides more comfortable, with handlebar grips being one of the quickest and easiest changes to make.
To remove lock-on mountain bike grips, unscrew the screws with a screwdriver, slide the lock off, and remove the grips. Next, install the new grips, lock them on, and tighten the screws with a screwdriver. To remove slip-on mountain bike grips, remove the bar end grips, edge your screwdriver under the grip, then spray the inside of your grip with rubbing alcohol or silicone. Lastly, twist the grip and spray additional rubbing alcohol or silicone as needed until it is removed.
There are many types and sizes of mountain bike grips available that can be made from silicone, foam, rubber, or even leather. Mountain bike grips also come in various diameters and are available in loc-on or slip-on varieties too.
What are Mountain Bike Grips?
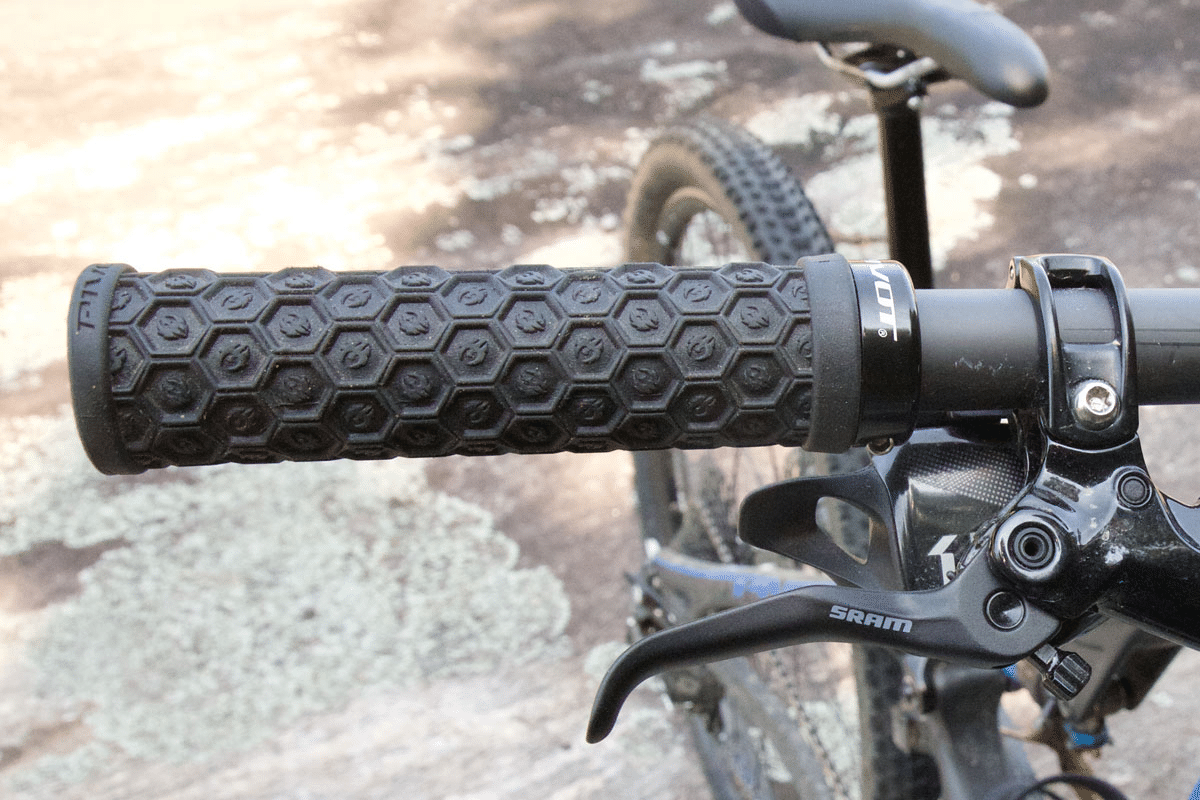
Mountain bike grips fit onto the handlebars, which are one of the three major contact points between the rider and the bike.
Mountain bike grips are the non-slip sheaths that are fitted onto the bike handlebars to improve grip and control while riding. They often have a textured or rippled surface that assists with maintaining a comfortable and secure grasp on the handlebars.
It is crucial that the mountain bike grips like these ones are the correct size and diameter so that you don’t strain your wrists and forearms while riding. Read our article on mountain bike grip sizes for tips on choosing the right grips for your bike.
Types of Mountain Bike Grips
Mountain bike grips come in a variety of styles and materials with varying diameters to suit different size hands.
There are two common types of mountain bike grips, lock-on grips, and slip-on grips. Slip-on grips have a small inner diameter and are squeezed onto the handlebar after a lubricant has been applied. Lock-on grips have locking rings on their ends that are secured on the handlebar with a small screw or Allen key.
Read our article on mountain bike grip diameters to learn how to measure your handlebars before buying new grips like these. Here we provide more information on the different types of handlebar grips:
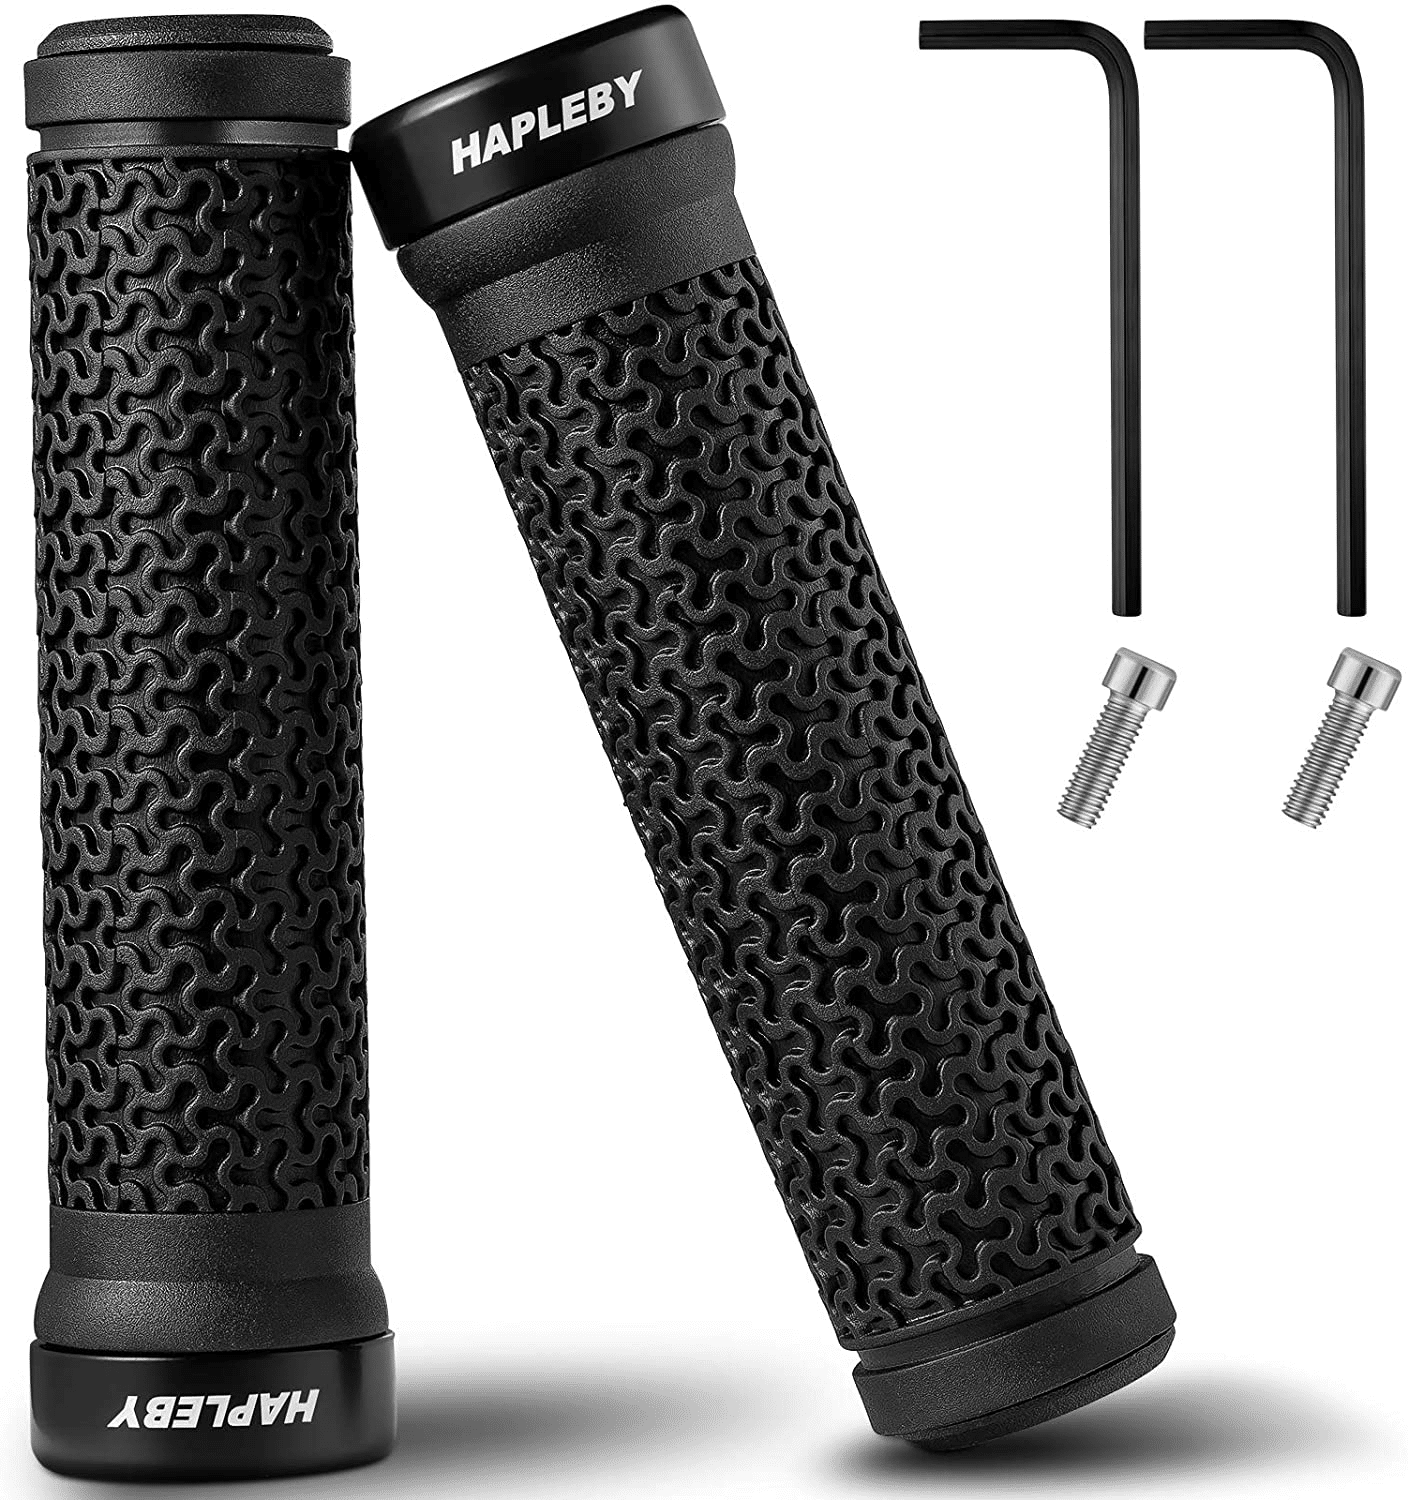
Lock-on Grips
These types of grips are long tubes of rubber that are fastened onto the handlebars with tiny screws to prevent them from sliding off. They are considered to be better than slip-on, because of their greater reliability, especially during rides on rough and uneven terrain. These double lock-on grips lock on both ends to ensure the grips are extra secure during strenuous rides.
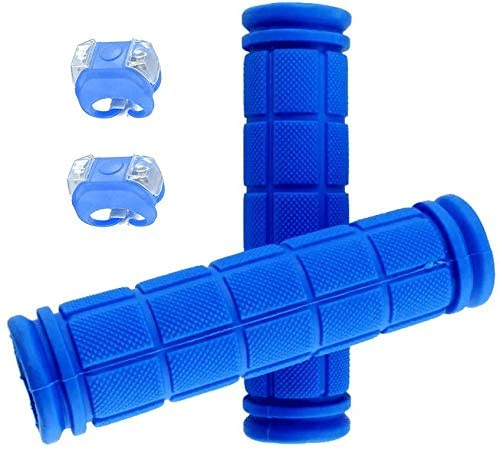
Slip-on Grips
These types of grips are slipped onto the handlebars without locks. The absence of any plastic or metal fasteners makes them less bulky. Some riders prefer slip-ons because they are easier to install and generally less expensive. Read our mountain bike grip installation guide to learn more about the types of grips and how to install them correctly.
Summary of Grips for Mountain Bikes
| Types of Mountain Bike Grips | Major Difference | Pros | Cons | Amazon Product | Price Range |
| Lock-on | They come with locks and screws. | More reliable. | More expensive and harder to remove. | Mountain Bike Handlebar Grips – Single Lock-On Ring | ~$15 |
| Slip-on | They do not have locks or bolts. | Less expensive and faster installation. | Less reliable and difficult to remove. | Non Slip Soft Rubber Mushroom Mountain Bicycle Handlebar Grips Grips | ~$10 |
You may also be interested in learning more about mountain bike grip heaters. Be sure to check out our related article for more information. Also, this guide to the most common mountain bike grip upgrades will help you choose the right one for your needs.
How to Remove Lock-on Mountain Bike Grips
Lock-on mountain bike grips are easier to remove than slip-on grips because they can be loosened by unscrewing the small screw located on the locking ring.
To remove lock-on mountain bike grips, first, loosen the screws on the locking ring with a screwdriver or Allen key, and then slide the grip off the handlebar. Then slide on the new lock-on grip and fasten the screws to secure it to the handlebars.
For more details refer to this article from Pedallers. Additionally, check out this video for a detailed tutorial.
Materials Needed to Remove Mountain Bike Grips That Lock-On
Allen Key/Hex Key
This is an L-shaped tool that has a hexagonal cross-section used to unscrew the bolts at the end of the grip locks.
| Materials Needed for Grip Removal | Which Type of Mountain Bike Grip is Used for | Use(s) | Amazon Product Example | Price |
| Allen Key | Lock-on Mountain Bike Grip | To unscrew the bolts. | Allen Key Set Hex Key Wrench Set | ~$15 |
The steps below provide general directions for removing lock-on mountain bike grips:
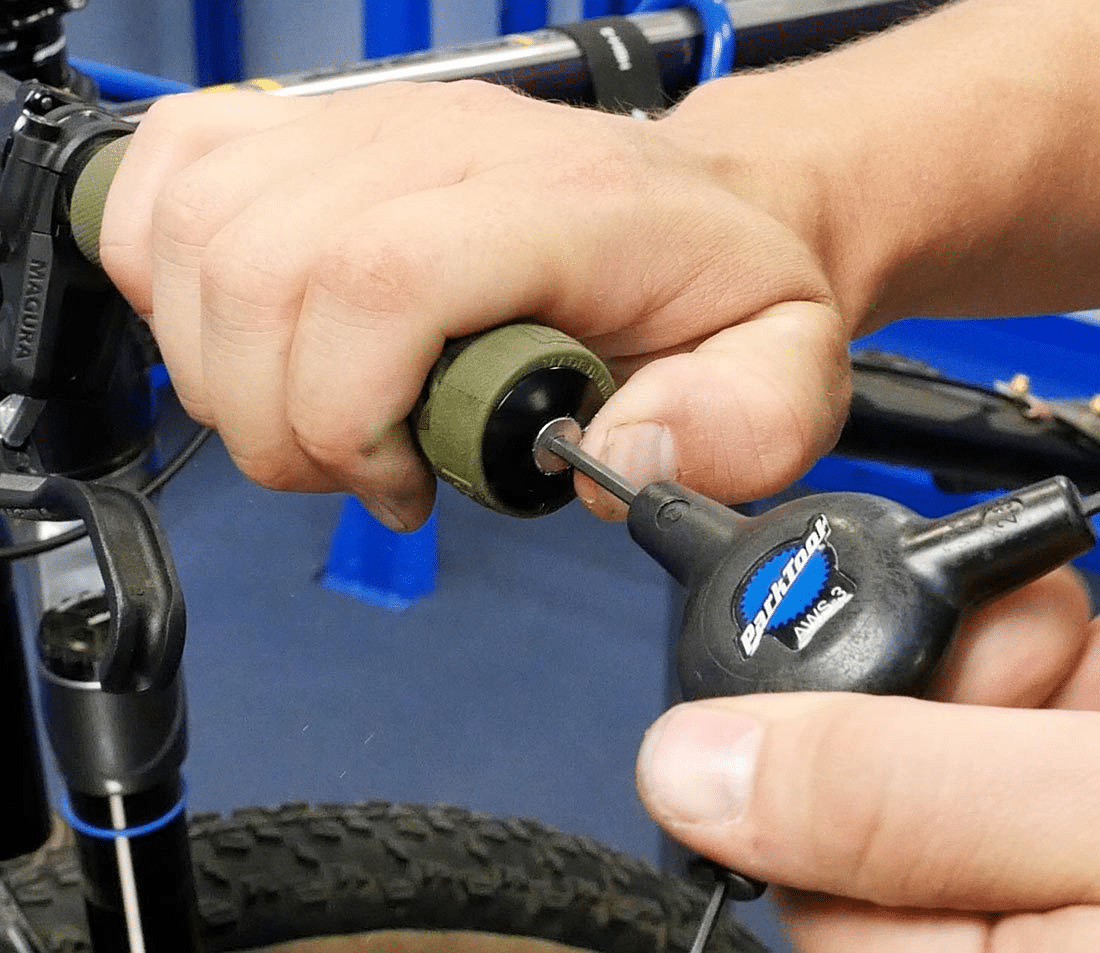
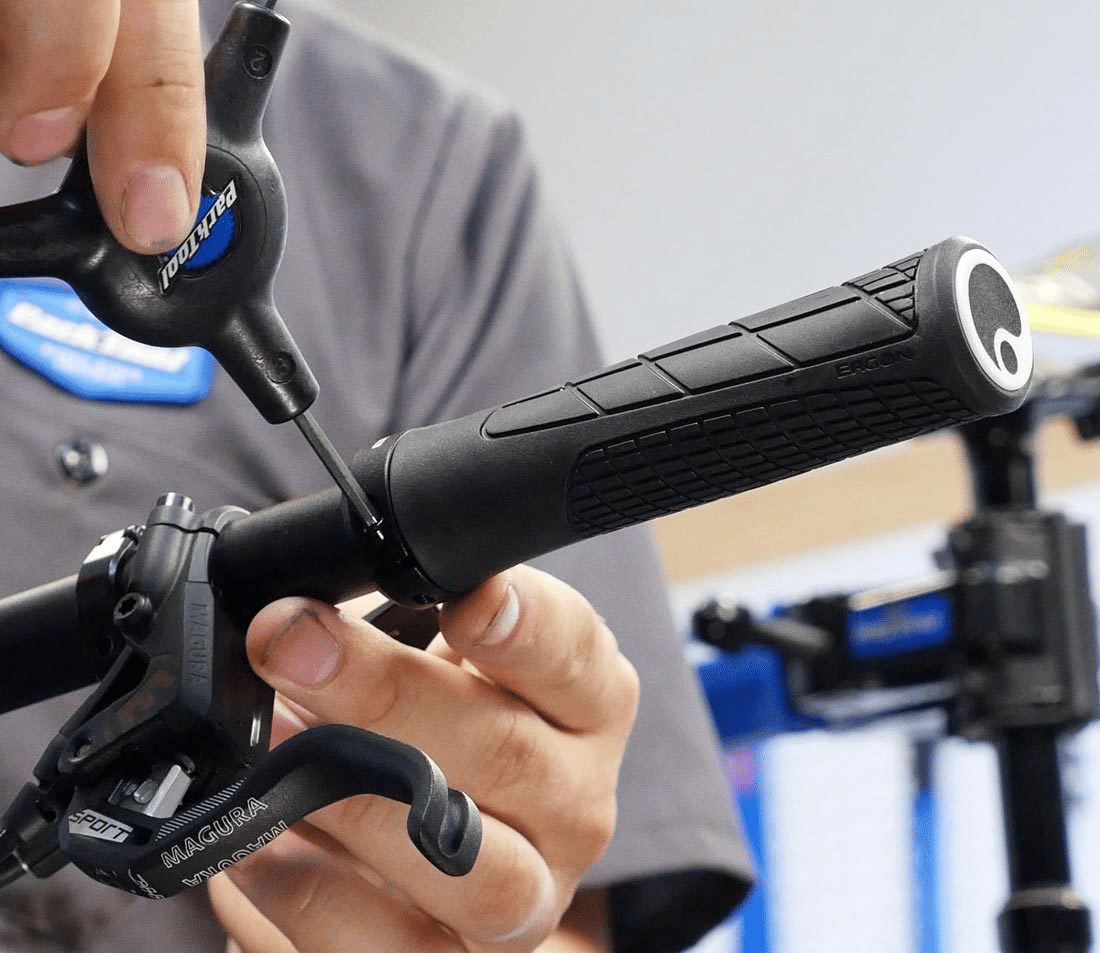
Step 1. Unscrew the Screws with a Screwdriver
The lock-on grips have tiny screws that need to be unscrewed with a screwdriver like this.
Step 2. Slide off the Lock-on Mountain Bike Grip
After the bolts have been unscrewed, the lock-on grip can slide off the handlebars easily.
Step 3. Install the New Lock-On Mountain Bike Grips
The next step is to install the new grip by simply sliding it onto the handlebars. This is simple to do since the grip will slide onto the handlebars and can be tightened for a more secure fit.
Step 4. Tighten the Screws in with a Screwdriver
The last step is to secure the new grip onto the handlebars by tightening the screws.
You might also be interested in learning how to choose mountain bike gloves with grip or our guide to mountain bike grips for small hands. Be sure to read our related articles to find out more.
How to Remove Slip-on Mountain Bike Grips
Removing slip-on mountain bike grips is a little more involved than lock-on grips because you will need to inch the grip off of the handlebars by repeatedly lifting the edge of the grip, spraying lubricant in the gap between the grip and the bar, and then twisting the grip off.
To remove a slip-on mountain bike grip first remove the end cap, then slide a long thin screwdriver underneath the grip, use the screwdriver as a lever to lift the grip away from the handlebar, spray lubricant into the space, and twist while pulling the grip off. Carry out these steps several times and gradually ease the slip-on grip off.
Because slip-on grips have a slightly smaller inner diameter than the handlebars—for a snug fit—you will need to spray lubricant often during the removal process. The steps below provide general directions for removing slip-on mountain bike grips. For more details refer to this article from MTBR and this video for an in-depth tutorial.
Materials Needed to Remove Mountain Bike Grips That Slip-On
Silicone Spray
This silicone spray will help make sure that the old grip is removed without damaging the handlebars, and that the new grip is slipped onto a smooth surface and will mold to the shape of the handlebars. It will also clean off any dirt or rust.
Rubbing Alcohol
This rubbing alcohol will clean the handlebars and remove any grime or residue from the old grips to ensure that the slip-on grip slides easily onto a clean handlebar.
Screwdriver
A long, thin flat screwdriver is needed to edge under the existing grip to create a gap and assist with removing the grip.
| Materials Needed for Grip Removal | Which Type of Mountain Bike Grip This is Used for | Use(s) | Amazon Product Example | Price |
| Silicone Spray | Slip-on Mountain Bike Grips | To clean off any residual rust or dirt on the handlebars and under the grip. | WD40 Multi Use Product | ~$5 |
| Rubbing Alcohol | Slip-Ons | To clean off any dirt or rust. | Dealmed 4" Alcohol Swabsticks | $10 |
| Long Skinny Screwdriver | Slip-Ons | To edge under the slip-on mountain bike grip to spray underneath it. | Slotted and Phillips Screwdriver | $10 |
The steps below provide general directions for removing slip-on mountain bike grips:
Step 1. Remove Bar End Plug
The bar end plug will need to be removed first.
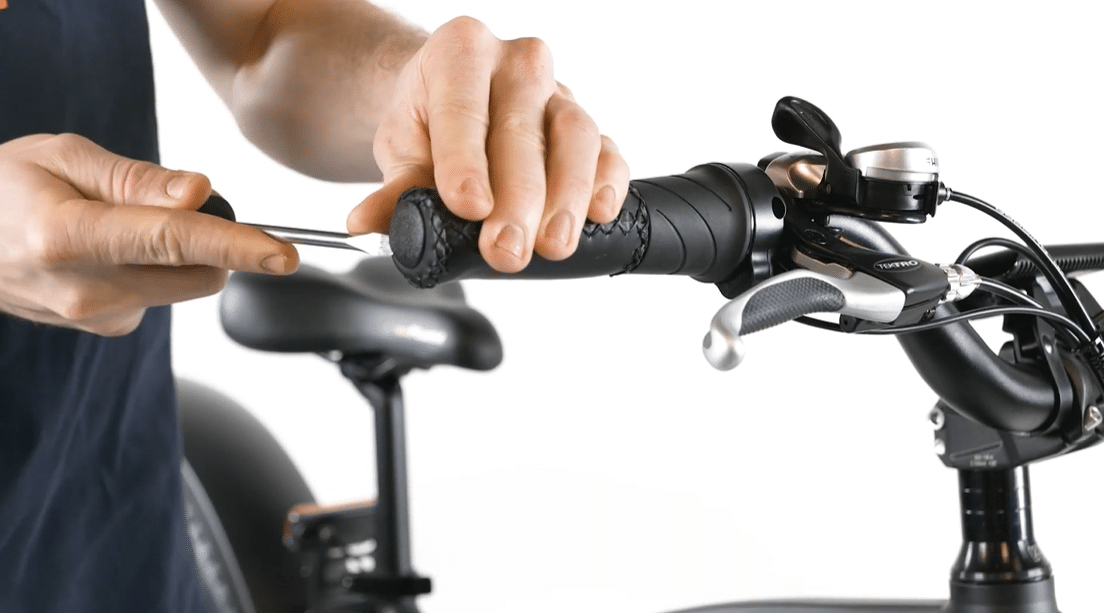
Step 2. Edge Your Screwdriver Under the Grip
The slip-on grip will have molded to the shape of the mountain bike handlebar, making it difficult to slip off. After you edge your screwdriver like this, under the grip, you can begin to work on removing the grip.
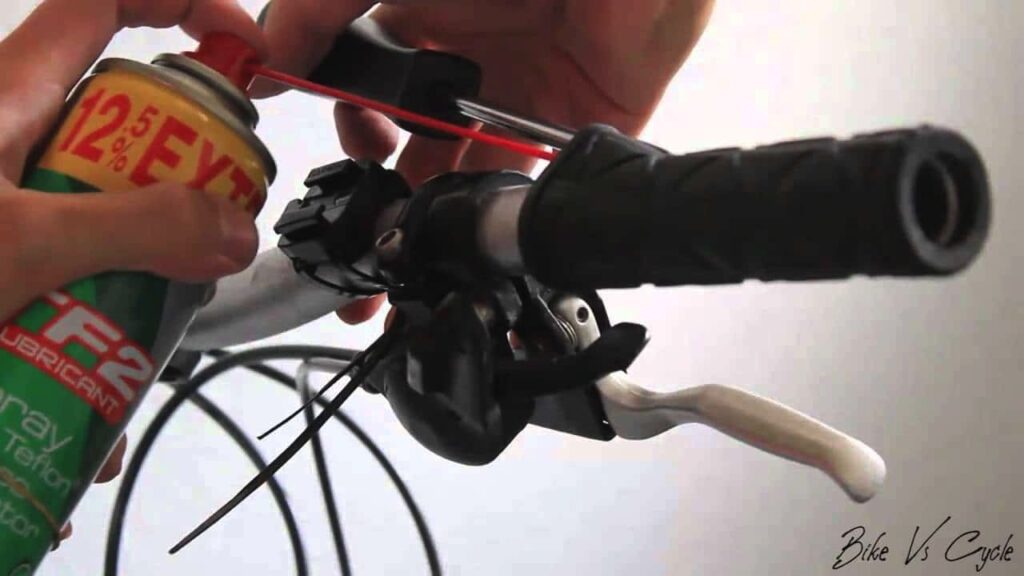
Step 3. Spray the Inside of Your Existing Grip with Silicone or Rubbing Alcohol
The silicone lubricant or rubbing alcohol will reduce residue or rust creating friction and sticking between the grip and the handlebar. These liquids will also rub off any excess glue and make it easier to slide the slip-on grip off the mountain bike handlebar.
Step 4. Twist the Grip
Next, twist and pull the grip off the handlebars. The grip will start to slide off with each twist and pull, though it might only inch off at first.
Step 5. Repeat the Spraying Process
Edge the screwdriver under the grip again and ease it away from the handlebar so that you can spray the inside of the grip again to make sure it can easily slide off.
Step 6. Twist the Grip off of the Handle
After repeating these steps a few times, the grip should twist off the handlebar with ease.

Step 7. Twist the New Grips onto the Handle
The new grip can now be twisted and pushed onto the handlebar of the mountain bike. The rubber will stay in place and will not slip, ensuring a smooth ride. You can also apply this grip adhesive, to ensure that the grips are fitted securely. If you would like to learn more about mountain bike grip adhesives then read our article which will help you choose the right one.
Additionally, you may be interested in learning how to remove mountain bike grip shifters or how to fix mountain bike grip shifters. Be sure to check out our related guides to find out more.
Why Remove Mountain Bike Grips?
Mountain bike grips often need to be removed or changed. A rider might remove them for preference or due to wear and tear. If a mountain bike has grips that don’t offer adequate support during strenuous rides then you run the risk of injury due to hand and arm vibrations as The Journal of Science and Cycling explains in this article.
Remove mountain bike grips and replace them if they are old and worn, if they move around on the handlebars, or if they are dirty and need to be cleaned. Sore wrists or numb hands could mean that the grips are not the correct size or diameter, and must be replaced to ensure more comfort and better bike control.
The Old Grips Are Worn Down
When you have been using the same grips for a long time they can become worn down due to prolonged use and exposure to the elements.
The Grips Keep Moving Around
When the grips are no longer sticking to the surface of the handlebars, it might be useful to spray this grip adhesive on them to reinforce the grip. But this is a temporary solution—because grips that move aren’t safe for long and strenuous rides—and you will need to replace your grips with ones that fit snugly.
The Grips Are Dirty and Need To Be Cleaned
Grips can get dirty from riding over mountainous terrain, or accumulate residue and grime, and will need to be removed to be properly cleaned. This bike cleaner spray will help you get all the gritty dirt off your mountain bike without damaging it.
Changing the Type of Bike Grips You’re Using
Riders might also remove their grips to switch to a different style or brand to try different types and sizes of handlebar grips. In our article on how to correctly hold the grips to assist with healthy posture while riding we discuss how your choice of grip influences your riding experience and safety.