
How to Tighten a Mountain Bike Chain – Step by Step
The chain is one of the most critical components of a bike that transfers power from the pedals to the drivetrain and wheels. As the bike chain powers your bike and influences its shifting performance, it has to maintain the correct tension on the train. A chain that is too loose will cause gear shifting and pedaling problems which is why it is so important to tighten a mountain bike chain that is loose.
To tighten a mountain bike chain, first put the bike on a repair stand, and determine why the chain is loose. Next, loosen the axle holding the rear wheel and pull the tire back. Finally, adjust the wheel and tighten the bolts.
While tightening a mountain bike chain might sound a bit challenging, the overall process is pretty straightforward. You just need a few tools and general knowledge of how the bike chain works to properly tighten it up. Read through our mountain bike tool kit essentials guide to see what tools you may need to work on your bike.
Below is everything you need to know to tighten a mountain bike chain quickly and easily.
How Does a Bike Chain Work?
Undoubtedly, a bike chain is crucial for your bike to function properly or for you to be able to ride the bike in the first place.
A mountain bike chain works by transmitting power from pedals to the drivetrain wheel while the sprocket rotates and engages with the links of the chain.
While Leonardo Da Vinci developed the idea of a bicycle chain in the 15th century, it took almost four centuries for his concept to be applied to actual bikes. Cole Nelson from Pinkbike talks more about the history of bike chains and explains how they work in this YouTube video. But how does a bike chain work?
When it comes to multi-speed bikes, the chain moves from one sprocket to another using a derailleur as the biker changes gears.
For a detailed guide on how a rear derailleur works, check out this YouTube video by Calvin Jones from Park Tool.
Different Types of Bike Chains & How They Affect Chain Tightening
Knowing how the different components of your bike work is crucial to tighten a mountain bike chain or do any maintenance tasks. Therefore, before tightening your mountain bike chain, you should learn more about the common types of bike chains and the way they work.
The different types of bike chains are single-strand chains, double-strand chains, triple-strand chains, and derailleur chains.
While there are four kinds of bike chains, two of them, single-speed and derailleur chains, are considered the most common bike chains. Here are the benefits of single-speed and derailleur chains and what makes the process of tightening these chains different from the others.
1. Single Speed Chain
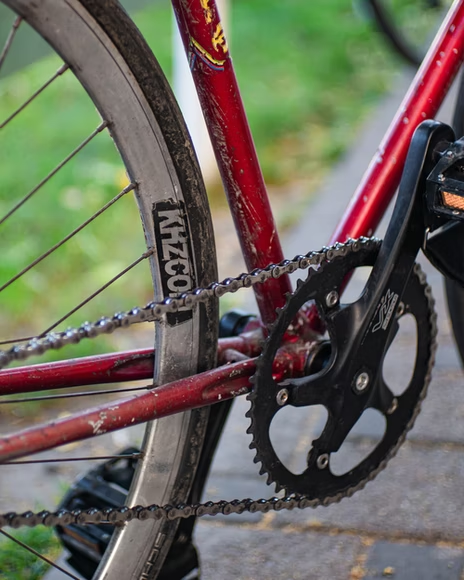
Chains used for single-speed bike setups are commonly referred to as single-speed chains. These chains are specifically designed to fit bikes with one sprocket on the crankset and another one on the wheel. Since the rollers are typically ⅛-inch wide, they are often called the eighth-inch chains.
Single-speed chains like these are favored for a few reasons. First, bikes featuring single-speed chains are cheaper as they are manufactured using fewer moving parts. Besides that, you do not have to worry about changing gears when riding a single-speed bike.
When it comes to the cons, single-speed bike chains deteriorate a lot quicker as the chain rolls over the same ring and cog continuously. As a result, the teeth of the cog easily get worn down and you have to change the chainring and rear gear more often.
Tightening a single-speed bike chain is a pretty straightforward job. You simply loosen the wheel, re-adjust it, and tighten the axle back. As easy as pie! Scroll down to see the steps.
This article from Loca Bikes, a manufacturer of bikes and frames, highlights some pros and cons of single-speed bikes.
2. Derailleur Chain
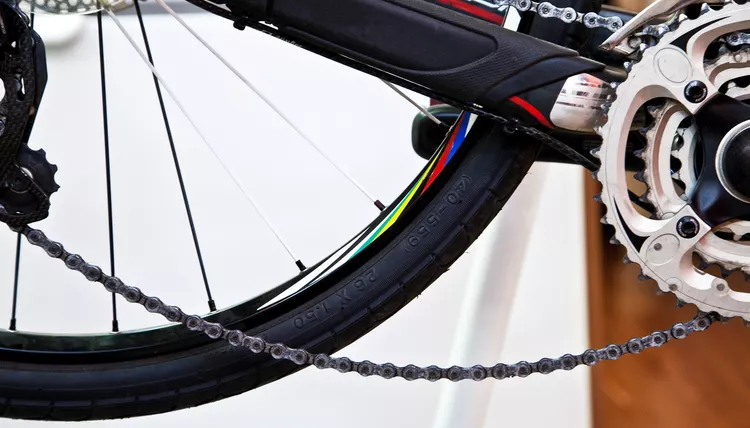
A derailleur is a bike gearing system and a crucial part of your drivetrain. It pushes the chain to a higher or lower sprocket while pedaling, allowing you to change gears. The chain that fits the derailleur gearing system like this is often referred to as a 3/32-inch chain like this.
People usually opt for this type of chain because bikes with derailleur chains are more efficient to ride, making the ride more enjoyable. Moreover, fixing or maintaining your bike with a derailleur chain is pretty simple as you will not have any trouble finding the replacement parts. On the other hand, maintaining, repairing, or replacing parts of your bike with a derailleur chain can be more expensive than fixing a single-speed bike.
Besides that, regular maintenance is required to keep your bike in good working condition and the additional components of a bike with a derailleur make it bulkier, and therefore, you might find it more challenging to maneuver the bike.
This thread on Bicycles Stack Exchange mentions a few advantages and disadvantages of derailleur bike chains.
You may also be interested in learning how to fix a mountain bike chain that's jumping gears. If so, be sure to check out our related article for more information.
How To Tell If A Mountain Bike Chain Is Too Loose - Bicycle Chain Tension Check
Before you tighten a mountain bike chain, it is crucial to ensure that the chain is too loose. This will help you determine whether your bike chain needs to be tightened or replaced.
To tell if a mountain bike chain is too loose, check for sagging, listen for clicking, and observe the gears. If there is a clicking noise when riding or the chain is dropping off the gears, it is most likely too loose.
If you would like to know more about this read our article that looks at whether your mountain bike’s chain is too long.
Below are some general signs that your mountain bike chain is too loose and needs to be fixed.
Step 1. Check for Sagging
The easiest way to determine if your MTB chain is too loose is by simply observing it. On some occasions, the chain is so loose that you can quickly notice the sagging even from a distance.
Similarly, be sure to take a look at some easy fixes for a mountain bike chain hitting the frame.
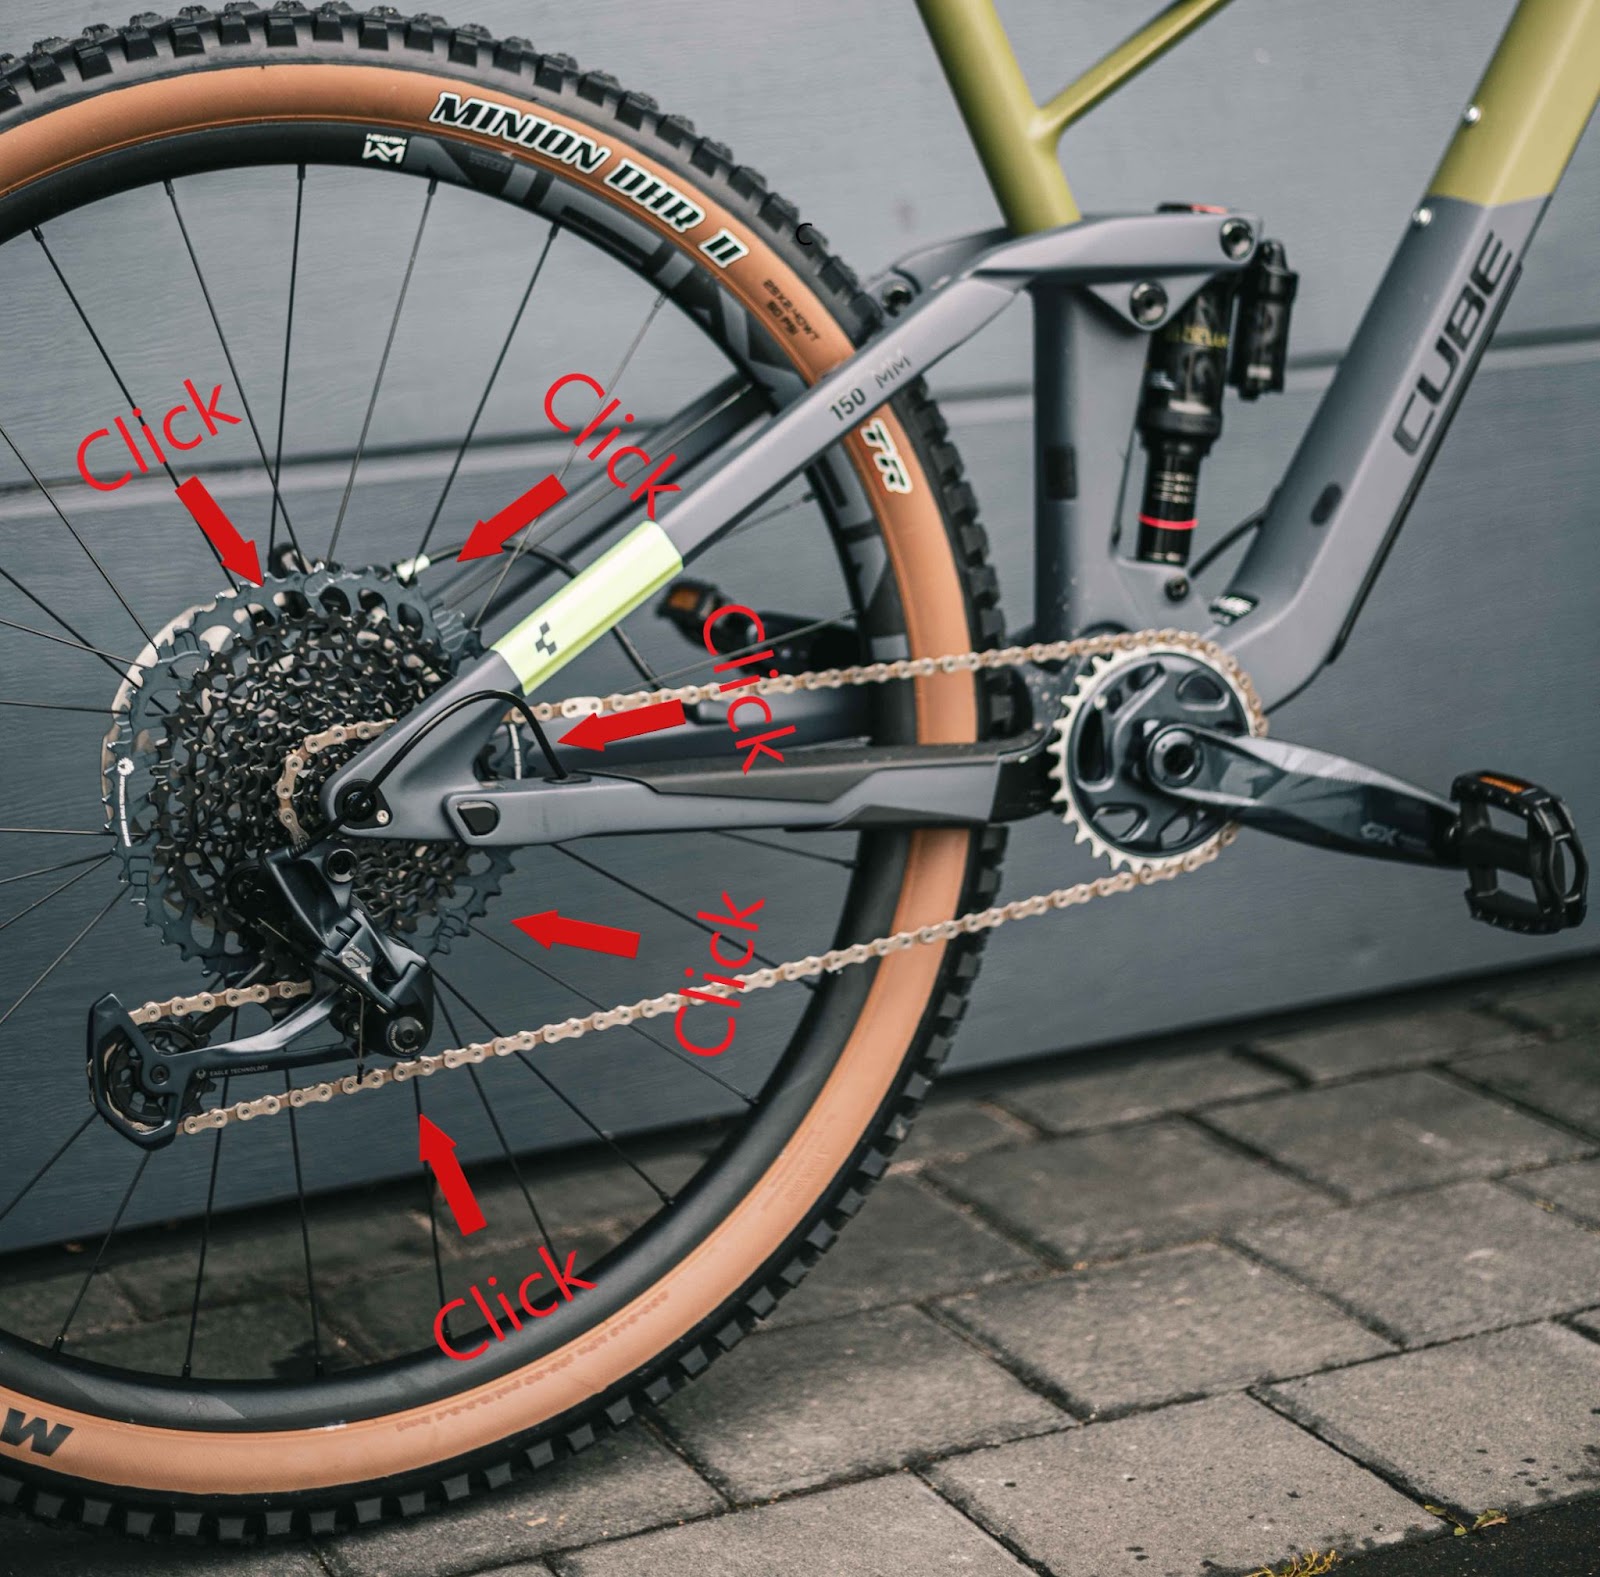
Step 2. Listen for Clicking
Hearing clicking noises when pedaling is not only annoying but also indicates that there is something wrong with your bike chain. Most of the time, the clicking sound means that the chain is jumping up or down a gear, which is the common sign of a loose bike chain. Make sure you check out our article about how to fix a mountain bike chain that’s jumping gears to find out more about fixing this kind of problem
In this YouTube video tutorial, Tony Marchand provides further information about some of the common causes of bike clicking when pedaling.
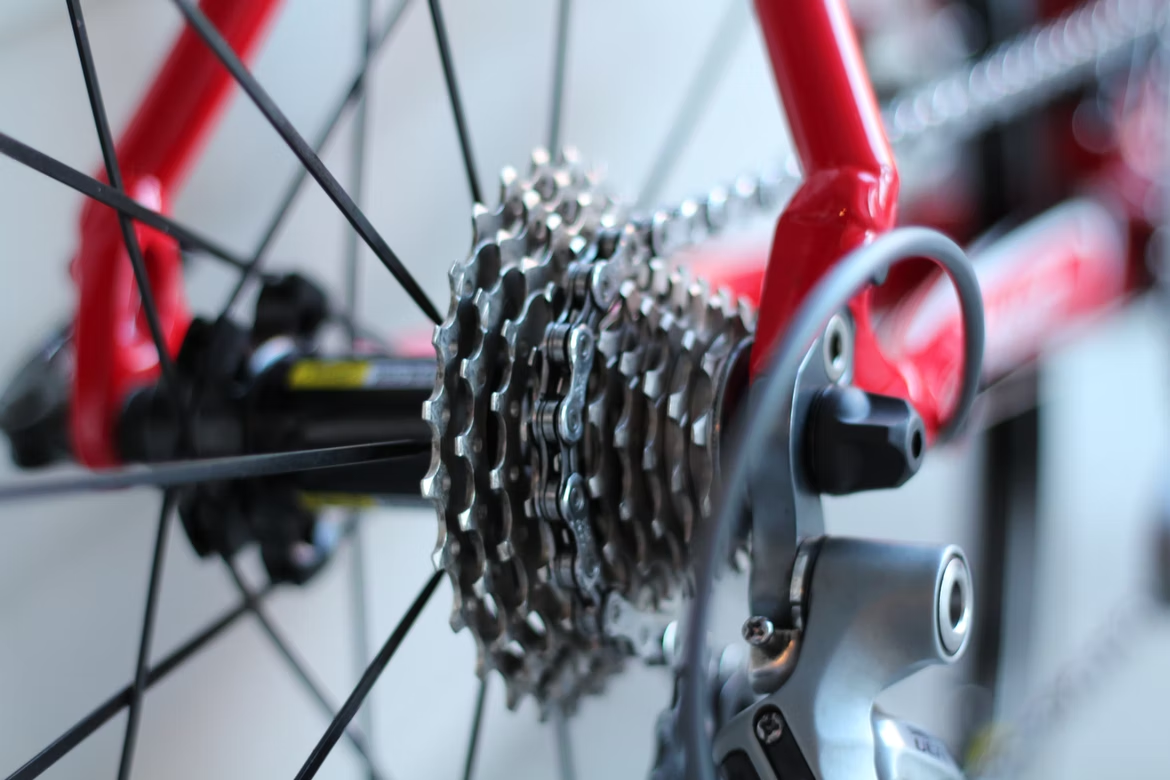
Step 3. Observe the Gears
Last but not least, you should manually shift gears and observe your bike chain to determine if it is too loose and needs to be tightened. This will ensure that tightening your bike chain will work even when the chain is on the biggest cog on the rear and the biggest chainring on the front.
This YouTube video tutorial by RJ The Bike Guy shows how to observe gears to determine if a bike chain needs to be tightened or replaced.
Tools Needed to Tighten A Mountain Bike Chain
| Tool | Function | Example from Amazon |
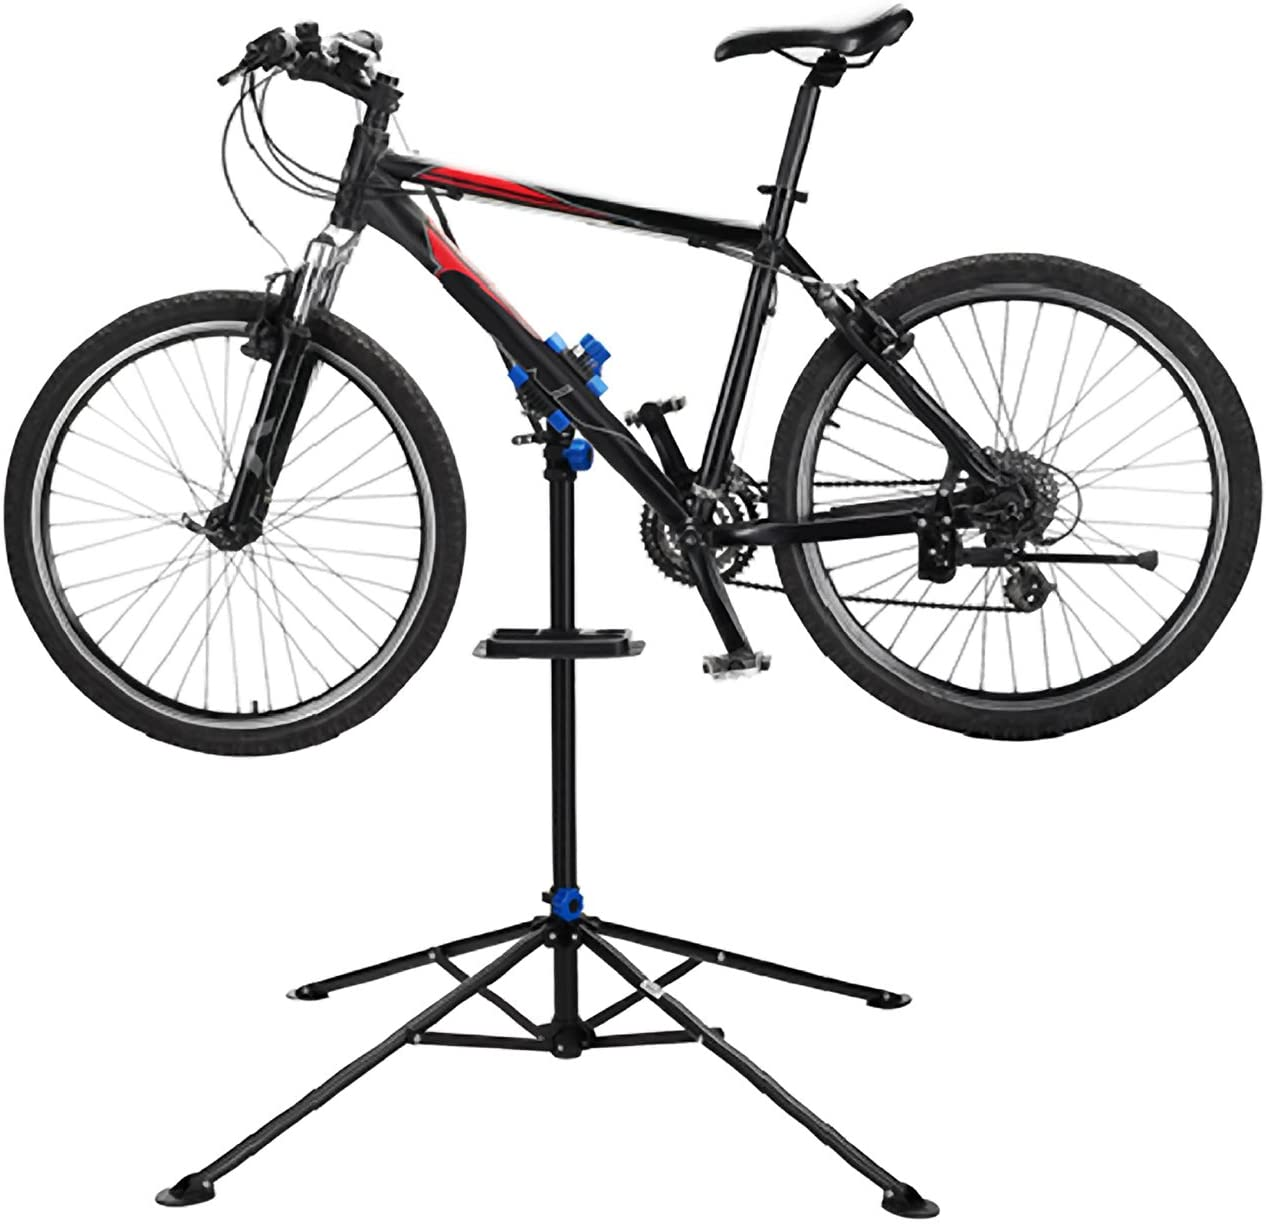
| A Bike Stand | To position your bike while tightening the chain. | Height-Adjustable Bike Repair Stand |
| Hex Wrenches | To loosen and tighten a thru-axle. | Hex Key Set |
| A Torque Wrench | To ensure reliable and precise tightening of a thru-axle. | Drive Click Torque Wrench |
How to Tighten a Mountain Bike Chain - Single Speed Chains
Riding a bike with a loose chain will cause poor shifting performance and chain skipping. Besides, your drivetrain will wear faster and you will have to replace the parts more often. However, there is nothing to worry about since having a loose chain is a fixable situation.
To tighten a mountain bike chain put the bike on a repair stand, loosen the thru-axle on the rear wheel, pull the wheel back, and tighten the thru-axle while keeping the rear wheel adjusted.
Below you will find the list of tools and a step-by-step guide for tightening a single-speed mountain bike chain. Make sure you also check out our ultimate list of tools needed for mountain bike maintenance.
If you want to shorten your mountain bike chain to tighten it, check out this YouTube video tutorial by GMBN Tech.
Step 1. Put the Bike on a Repair Stand
To tighten your mountain bike chain, you should first position it properly. Ideally, you should mount it on a repair stand like this to easily access the different parts of the bike.
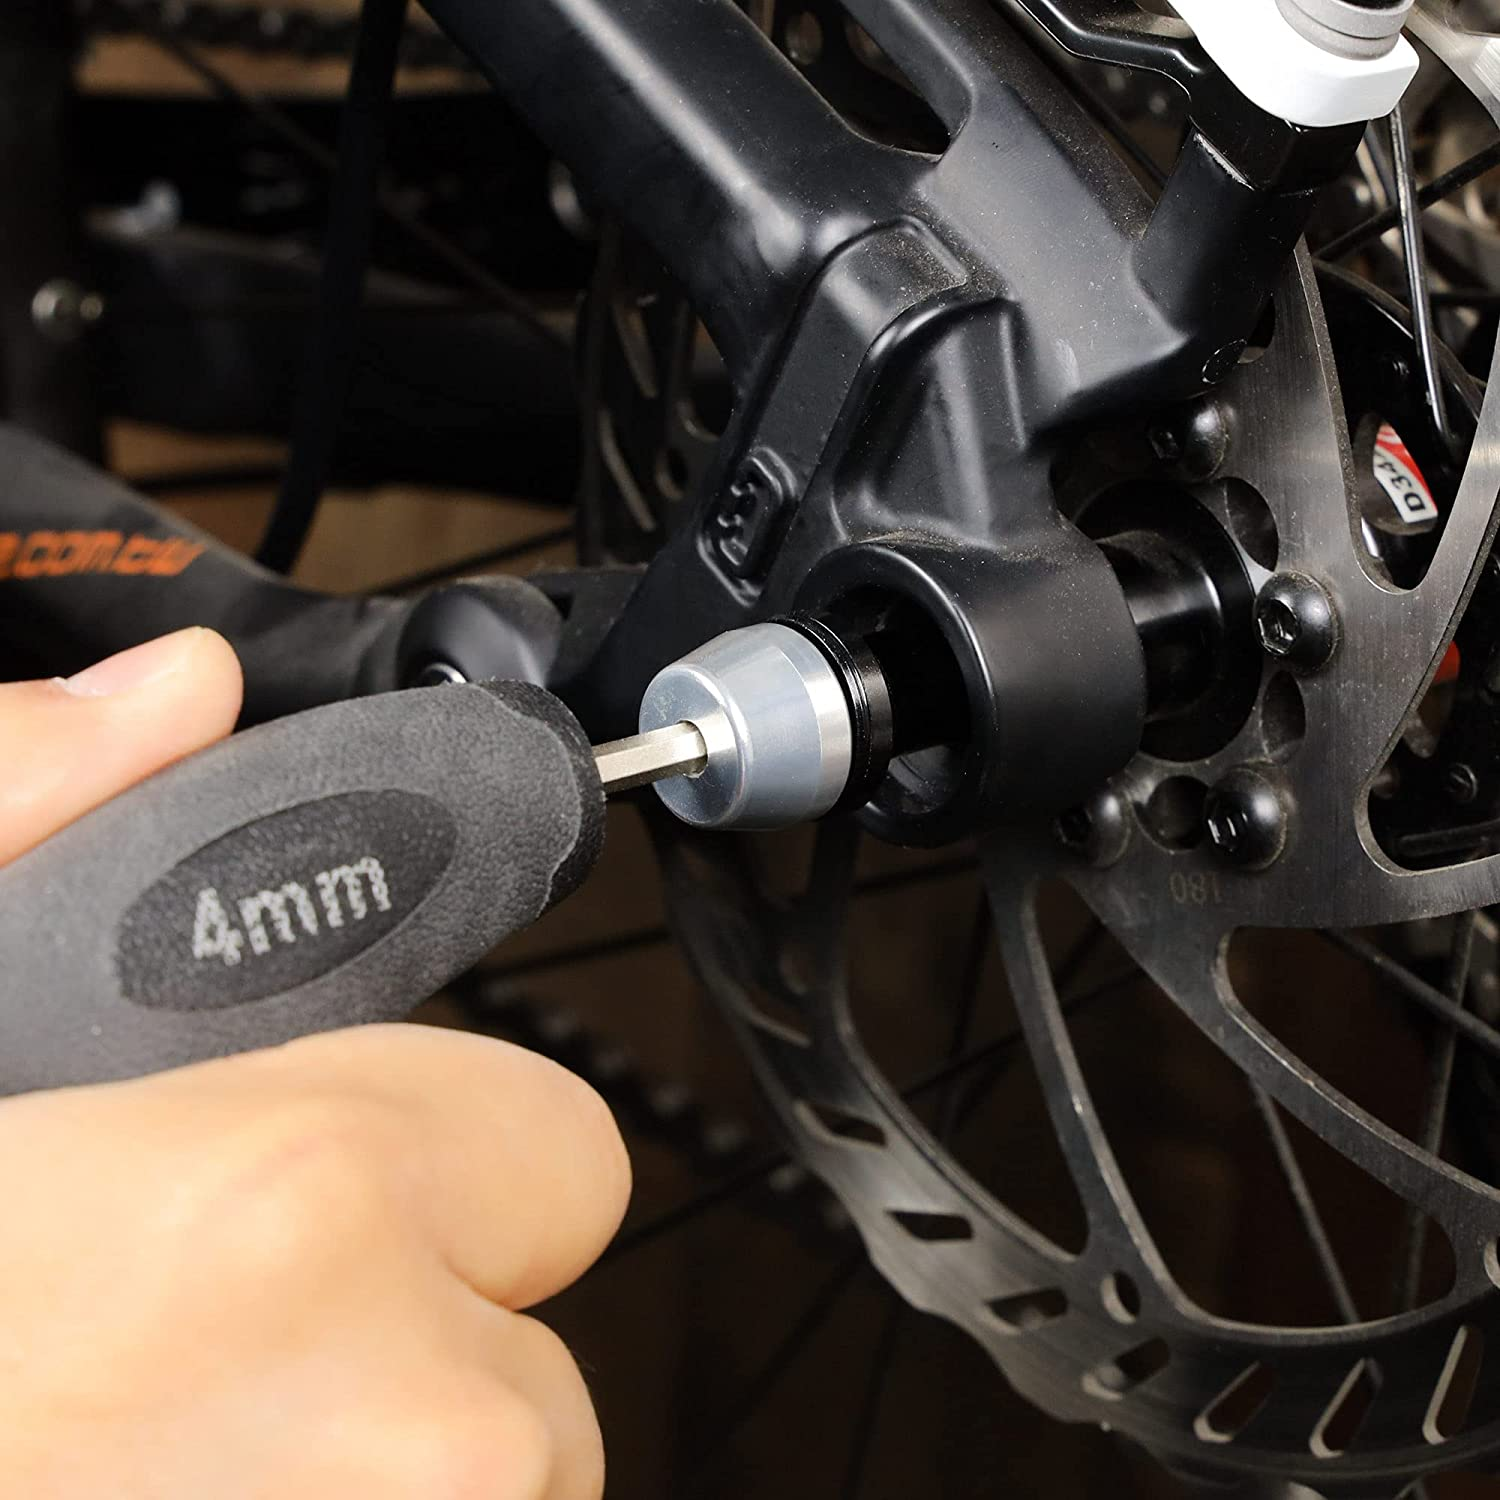
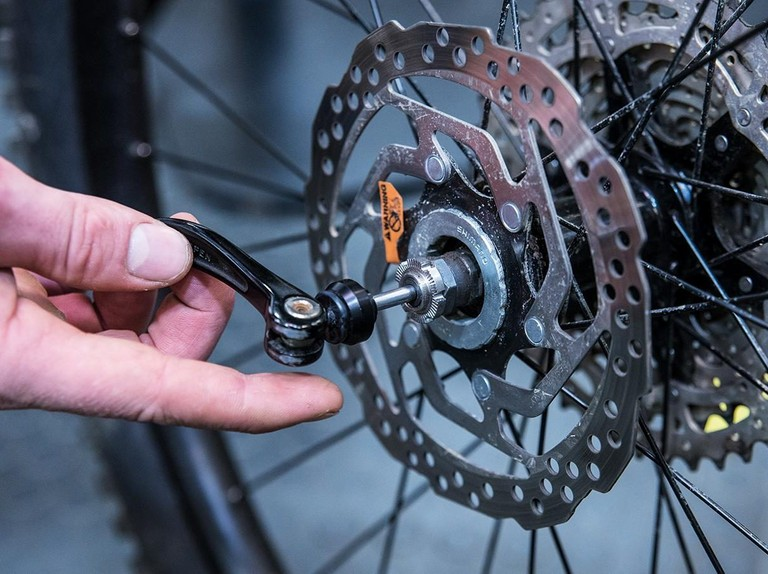
Step 2. Loosen the Thru-Axle on the Rear Wheel
To tighten the bike chain, you should adjust the rear wheel. To do so, you will need to loosen the thru-axle holding the rear wheel using an Allen key. You should choose the size of the Allen wrench from a set like this, based on the size of your thru-axle.
If your mountain bike features a quick-release axle, you should just unfasten it instead.
As you simply need to adjust the rear wheel, there is no need to remove it. Instead, loosen the axle so you can easily reposition the wheel.
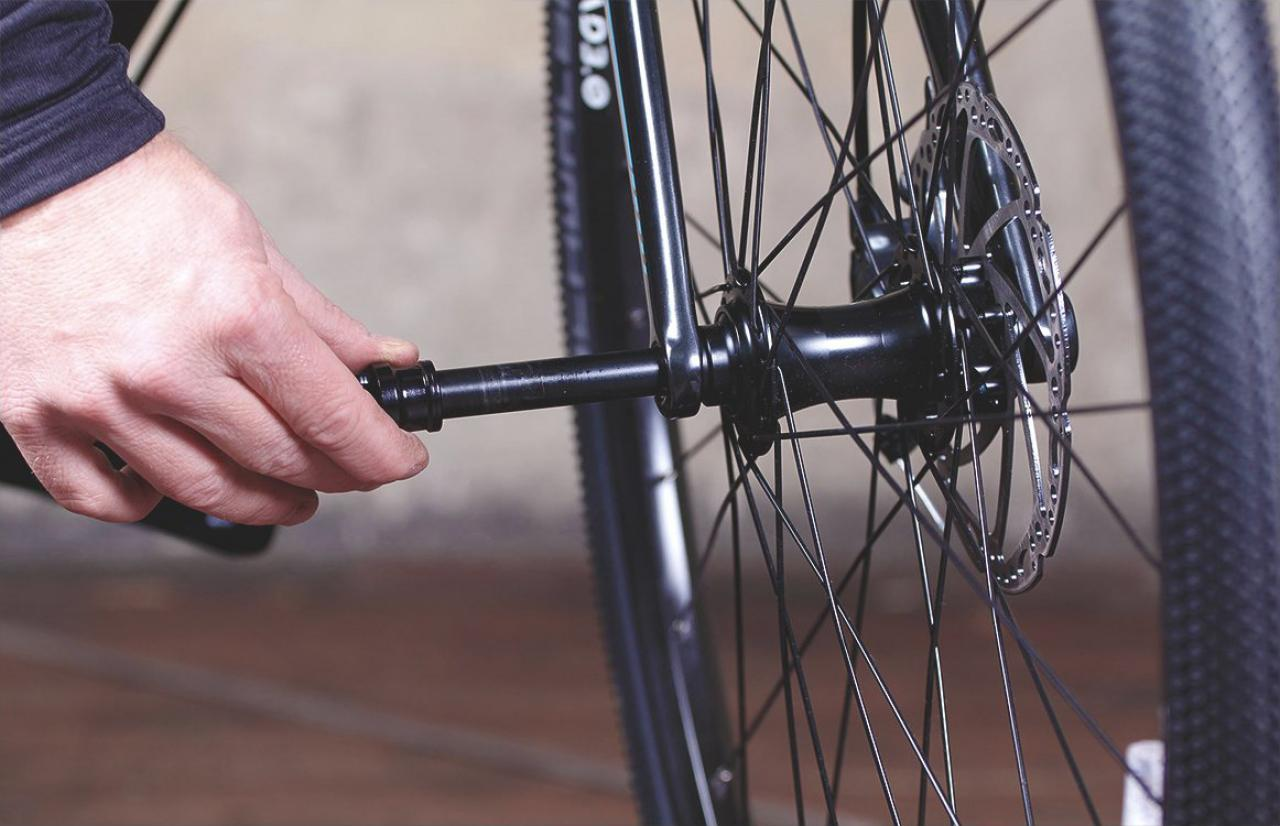
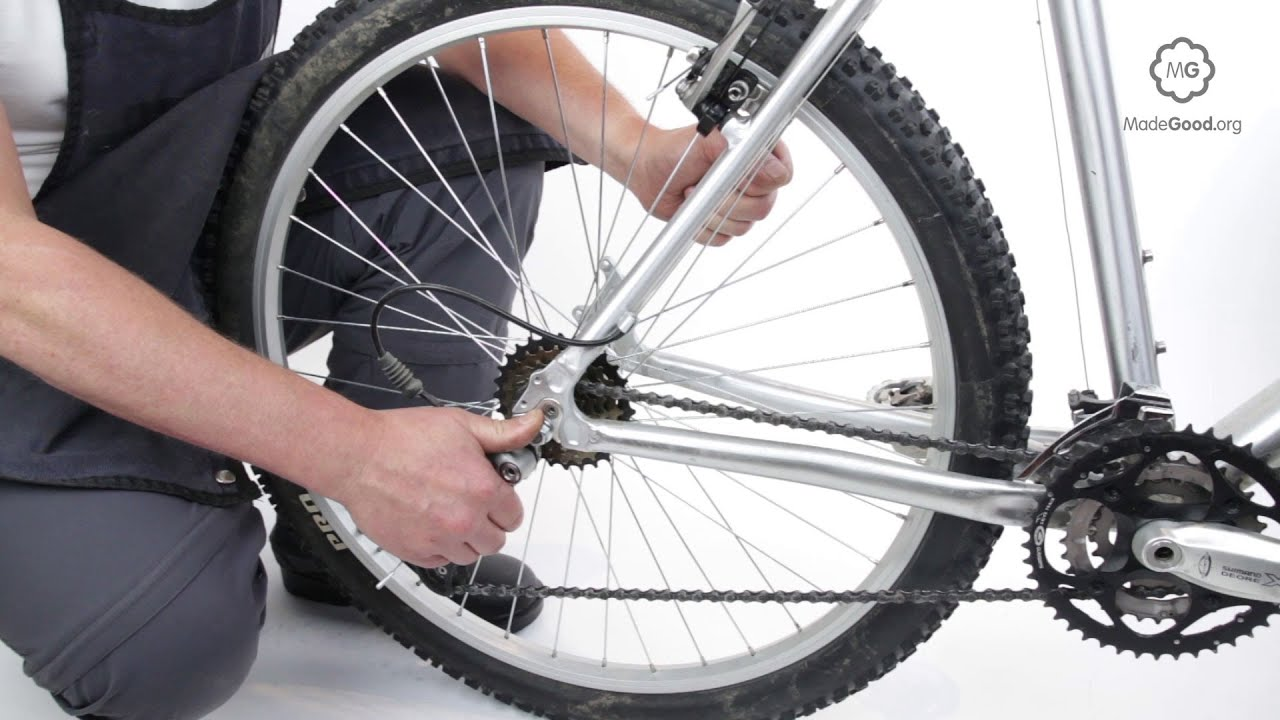
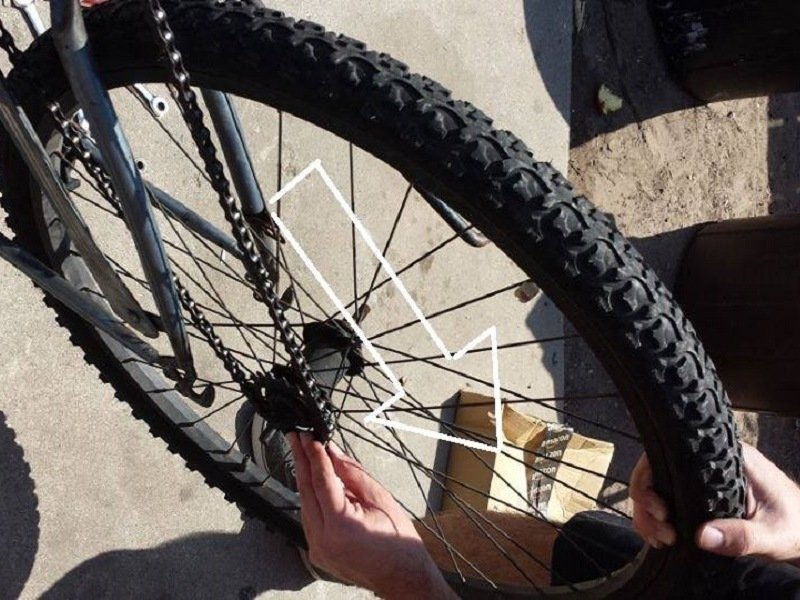
Step 3. Pull the Wheel Back to Tighten the Chain
After loosening the rear wheel, you should pull it back so that the chain is tightened. If your bike is upside down balancing on the seat and handlebar, just apply some pressure to the bike seat with your feet while pulling the wheel toward you.

Step 4. Keep the Wheel Adjusted and Tighten the Thru-Axle
The last step is to tighten the thru-axle back to secure the wheel onto the bike. Ensure that the wheel is not touching the bike frame and start tightening one of the sides with an Allen wrench. Then, switch to the other side and finish up by using a torque wrench like this to ensure that the thru-axle is tightened properly.
If you are not alone, consider asking for a helping hand so that you tighten the thru-axle while the other person holds the wheel in the right position.
If this isn’t enough to tighten the chain, you might need to shorten the mountain bike chain. Read our related guide.
Tools Needed to Tighten a Mountain Bike Chain With a Derailleur
| Tool | Function | Example from Amazon |
| A Bike Repair Stand | To mount your bike while doing repair or maintenance tasks. | Rad Cycle Products Pro Bicycle Adjustable Repair Stand |
| Hex Keys | To loosen or tighten a thru-axle. | 30-Piece Premium Hex Key Set |
| A Screwdriver | To adjust the derailleur screw. | Workpro 12-in-1 Ratcheting Multi-Bit Screwdriver Set |
| A Bike Multi-Tool | Used as an alternative to hex keys and screwdrivers. | Crankbrothers Multi-Tool |
| A Socket Wrench | To precisely tighten the bolts. | EPAuto 40 Pieces Drive Socket Set with 72 Tooth Reversible Ratchet |
Make sure to check out our related article explaining how to size a mountain bike chain too. It's packed full of more useful information.
How to Tighten a Bike Chain With a Derailleur
Derailleurs are different because of the braking and gear shifting systems. However, you do not necessarily need to visit a bike shop to have your bike chain tightened. With the right tools and a bit of know-how you can complete the task with little to no effort.
To tighten a bike chain with a derailleur, first mount the bike on the bike repair stand or turn it upside down, locate the derailleur B screw and check for derailleur damage. Next, adjust the derailleur screw to increase tension in the chain, disconnect the cables to loosen the bike axle and adjust the rear wheel, and finally put everything back together ensuring that the bike parts are secured tightly.
Here are the tools you will need to tighten a bike chain with a derailleur and six quick and easy steps to make the overall process pretty much effortless.
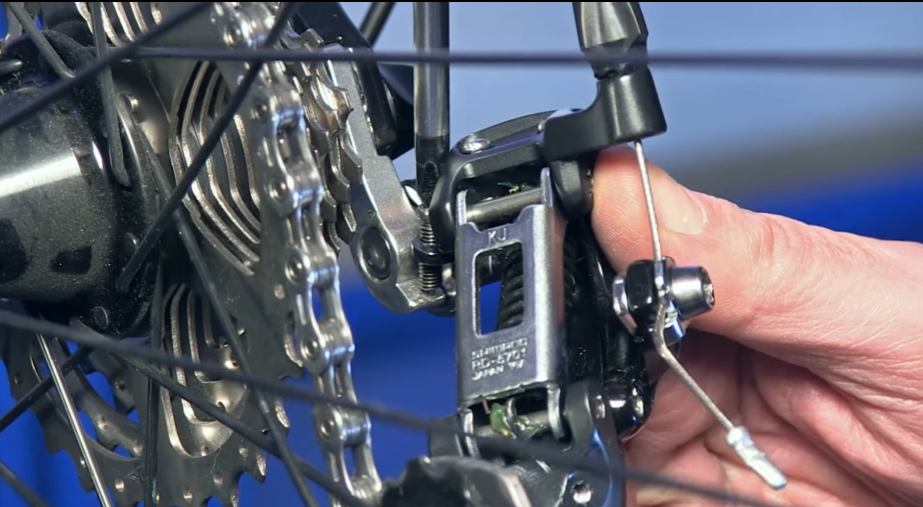
Step 1. Locate the Derailleur B Screw
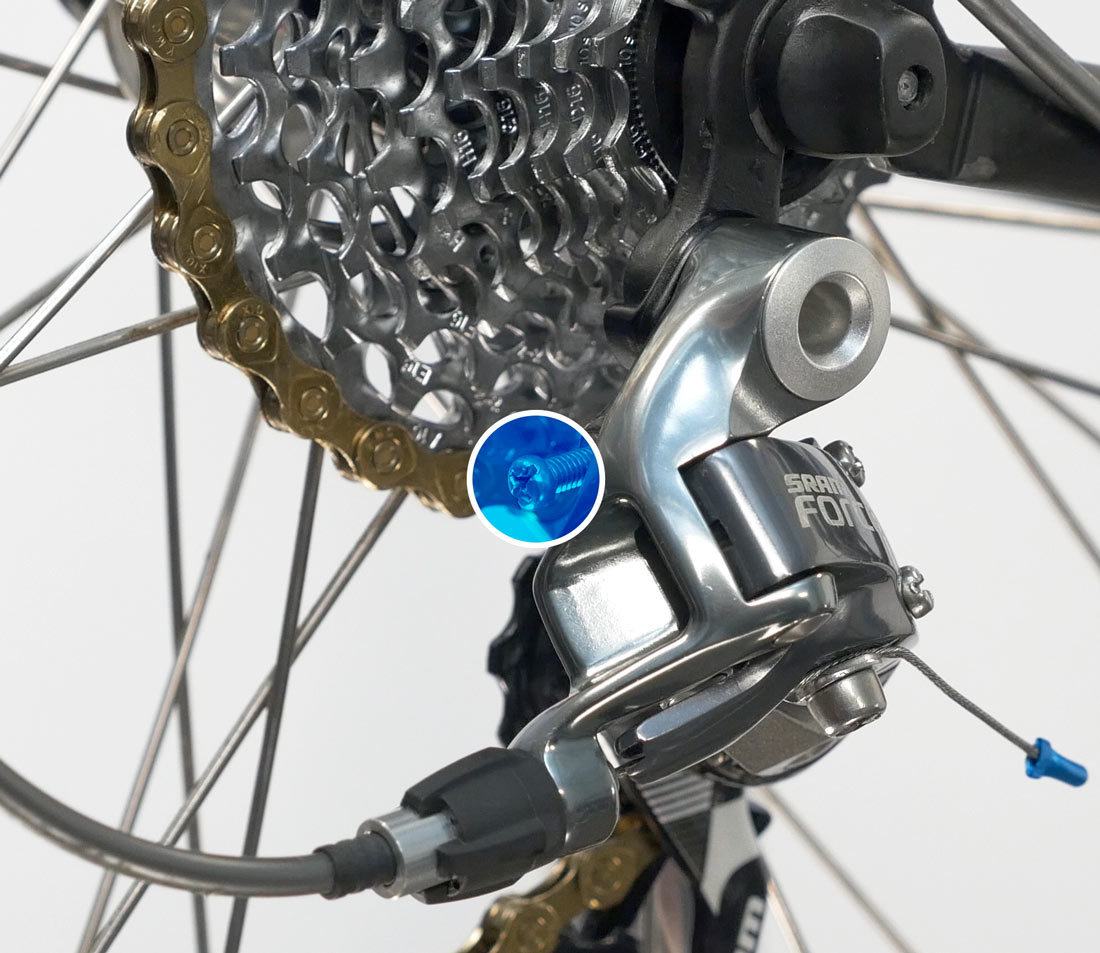
To tighten your mountain bike chain with a derailleur, you should first locate the right derailleur screw. Most derailleurs have three limit screws; the upper-limit screw, the lower limit screw, and the B screw. When tightening a bike chain, we are looking for the B screw that controls the distance between the guide pulley and the cassette cogs.
You can find the B-tension screw at the back of the rear derailleur. You may even find the letter B right next to the B screw.
Step 2. Check for Derailleur Damage
Checking for derailleur damage will allow you to easily fix a droopy bike chain. If your rear derailleur has been damaged, there is no point in tightening the bike chain. You should first repair or replace the derailleur with one like this.
This article by Park Tool shares tips on how to troubleshoot common rear derailleur problems, and to fix rear derailleur shifting problems, have a look at this article by Vital MTB.
Step 3. Adjust the Derailleur B Screw
Adjusting the derailleur B screw is the easiest way to tighten the chain on a bike with a derailleur. You should simply tighten the B screw to increase the gap between the guide pulley and the cogs.
To adjust the B screw, pull the derailleur body back, tighten the B screw, and put the derailleur back to its original position.
In this YouTube video tutorial, Calvin Jones from Park Tool demonstrates how to easily locate and adjust the B-screw on a bike with a derailleur.
Step 4. Lift the Release Lever on the Brakes
If the bike chain is not tight enough, you will need to adjust the rear wheel as well. To do so, you should first disconnect the brake cables by releasing the brake lever, allowing you full access to the rear wheel.
Step 5. Loosen the Bike Axle to Adjust the Rear Wheel
The next step is to loosen the thru-axle to adjust the rear wheel. You should pull the wheel back to tighten the chain. However, you should make small adjustments and shift the gears in-between to check how tight the bike chain is. This will prevent you from tightening the chain too much. Repeat this process until your bike chain has the correct tension.
Step 6. Put the Bike Parts Back Together
The last step is to put everything back together. Tighten the thru-axle using a hex key and a socket wrench for extra precision. Also, check if the derailleur B-screw is secured tightly. Do not forget to ensure that the tire is spinning properly without touching the frame.
If this isn’t enough to tighten the chain, you might need to shorten the mountain bike chain. Read our related guide.
Ways to Fix a Loose Mountain Bike Chain Without Tools
Fixing a loose bike chain without tools isn’t optimal (or always possible) and the best prevention is maintenance. However, you do not need to use any tools to tighten the chain on a bike with a quick-release axle.
To fix a bike chain without tools, first position the mountain bike, unfasten the quick-release axle holding the rear wheel, adjust the rear wheel to tighten the bike chain, and finally, fasten the quick-release axle.
This is how you can fix a loose bike chain without tools in four quick and easy steps:
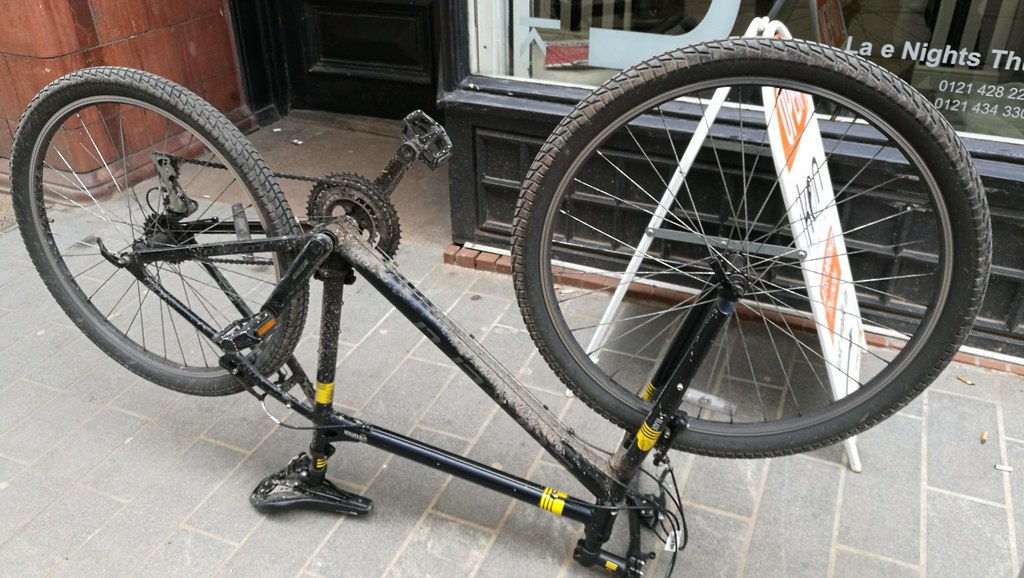
Step 1. Turn Your Mountain Bike Upside Down
While you can use a bike repair stand to position your MTB when tightening the chain, you can also turn it upside down. In this case, you can still gain access to the bike parts you will need to work on during this process.
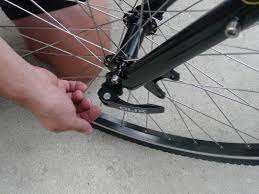
Step 2. Unfasten the Quick-Release Axle on the Rear Wheel
If your mountain bike has quick-release axles instead of thru-axles, you do not need any tools to loosen the axle. You simply unfasten the bolt on one side and release the lever on the other one. We delve into loosening and fastening tires in greater detail in our article that explains how to change a mountain bike tire.
Step 3. Adjust the Rear Wheel so That the Chain is Tight
After loosening the quick-release axle, you should adjust the rear wheel by pulling it toward the loose axle. Make sure not to overtighten the bike chain so that it can rotate smoothly when pedaling. If you would like to know more about tightening a mountain bike chain read our article that provides symptoms of, and fixes for, your mountain bike chain being too long.
Step 4. Fasten the Quick-Release Axle to Secure the Rear Wheel
Finally, keep the rear wheel in the right position so that it is not touching the bike frame and fasten the quick-release axle. You should just tighten the nut and lock the lever on the other side.
How Tight Should a Bicycle Chain Be?
Ideally, a mountain bike chain should be tight enough to move only around one to one-half inch up and down and loose enough to rotate freely.
To determine how tight a bicycle chain should be, ensure that the chain can move in a circular motion smoothly across the sprockets and that it can move in both directions approximately 0.5 to 1 inch. Loosen a chain if either movement or tension are restricted.
By checking these components first, you can easily adjust the tension of your mountain bike chain while making the chain neither too tight nor too loose.
This article on Wick Werks provides some tips to fix a chain that keeps falling off.
Chain Movement Should Be Smooth
Any bike chain moves in a circular motion, transferring the power from the pedals to the wheels. While many newbies ignore this, how a bike chain moves matters.
When determining how tight a bike chain should be, you should always ensure that the chain moves smoothly across the sprockets. If the movement of the chain is limited due to being too tight, the sprockets will wear faster and your bike might not work properly.
Chain Tension Should Allow Chain to Move In Both Directions
Before you decide to replace or re-adjust your mountain bike chain, check the chain tension. In an ideal case scenario, a bike chain should move in both directions (up and down) approximately ½ to 1 inch.
If your bike chain does not move up and down, it is probably too tight and you will need to change the tension. Our article that explains how to fix a mountain bike chain that keeps breaking explains a bit more about this.