
How to Change Pedals on a Mountain Bike – Step-by-Step
It's very exciting to buy a new mountain bike but there may be things on your new bike that you want to change like the pedals. If you already have a mountain bike you may want to replace the pedals on your existing bike. You could have them changed professionally or if you follow the steps outlined below you could opt to change pedals on a mountain bike yourself.
To change pedals on a mountain bike, use a 15mm spanner or 8mm hex key to remove the pedals, clean and grease the threads of both pedals, then add the new pedals.
Changing pedals on a mountain bike for the first time might seem challenging especially if you are new to mountain biking. If you are just learning about this hobby you may want to know a bit more about what mountain bike you should buy which we discuss in our article. However, with some tips and tricks, you'll find out that it is nothing to worry about. And if you would like to know more about different types of pedals before you replace the ones that you have, check out our article on choosing mountain bike pedals for grip maximization.
If you need more information about removing and replacing pedals check out Parktool’s pedal installation and removal instructions.
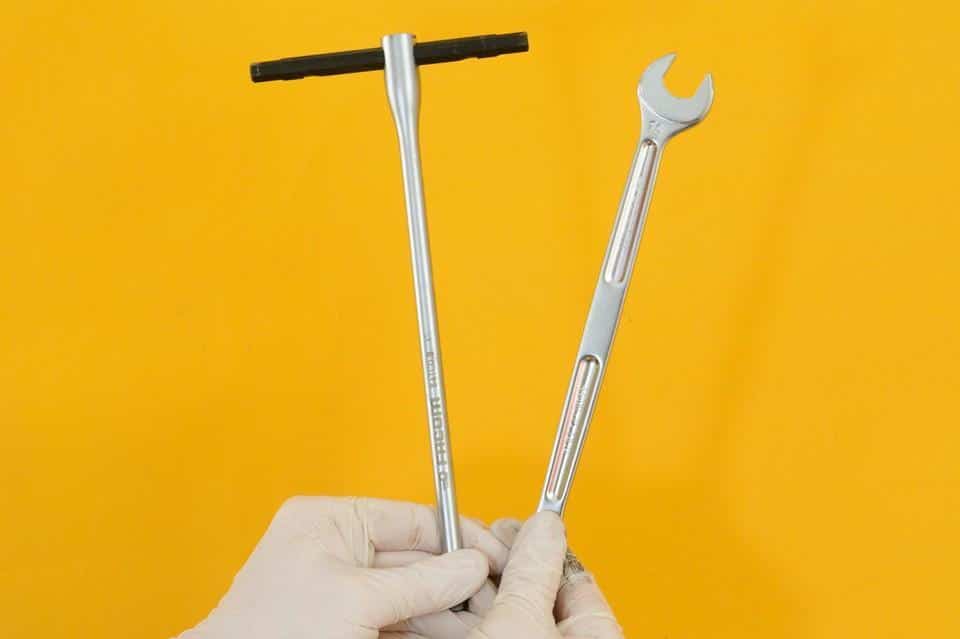
Step 1. Get a 15mm Spanner or 8mm Hex Key
The first thing you need to do to change your mountain bike pedals is to find the right tools to complete the task.
This 15mm spanner is only used on pedals that have parallel faces on the spindle, located exactly between the pedal body and the crank. This hex key is necessary if your pedals have a hexagonal pocket located on the end of the spindle. Most pedals with hexagonal pockets need an 8mm hex key, but a few require a 6mm one. If you are looking for a way to keep your tools handy check out our article about how to fix a mountain bike tool bag that’s too heavy as well as our mountain bike tool bag ideas for more information.
Be sure to reference our ultimate list of tools needed for mountain bike maintenance for more detailed information.
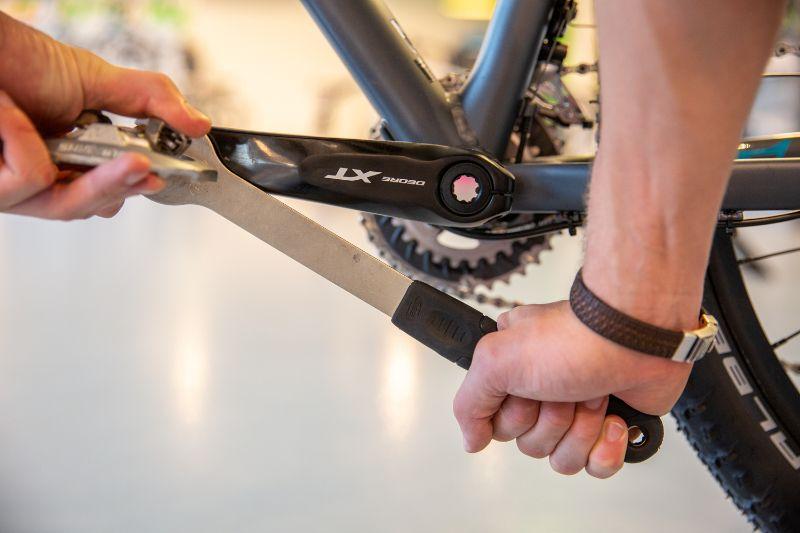
Step 2. Remove The Old Pedals
This step can sometimes be quite hard and require extra effort if the pedals have not been removed for a long time or were not greased before being put on the bike. Grab a piece of cloth or an old towel for better grip on the tool you use to loosen the pedals.
The right and left pedals are removed differently. While a right pedal can be loosened by turning the spindle in an anti-clockwise direction (to the left), the left pedal is loosened by turning the spindle in a clock-clockwise direction (to the right).
Have a look at the description below for more information on how to remove the right and the left pedals.
Removing the Pedal on the Right
To remove the mountain bike pedal on the right, first, you need to keep the right-hand crank at the three o'clock position so that the crank is pointing directly to the front wheel of your bike when you view it from the saddle. If your pedal needs a hex key to loosen it, keep the short end of the hex key towards the back of the pedal. Now that your tool is ready and positioned correctly, start pushing down while holding the opposite crank at the same time so that the pedal starts to loosen and unscrew the pedal. If your pedals require a spanner, put the spanner over the wrench flats, point it towards the rear and do the same thing.
Removing the Pedal on the Left
To remove the mountain bike pedal on the left, rotate the left-hand crank to the nine o'clock position so that the crank is pointing directly to the front wheel of your bike when you view it from the saddle. In case your pedal uses either a hex key or a spanner, follow the previous instructions and repeat the same steps mentioned in the previous section of the right pedal, keeping your tool pointing toward the back of your bike.
And if you need some visuals to help you understand how to remove your pedals, check out this guide from Condor Cycles.
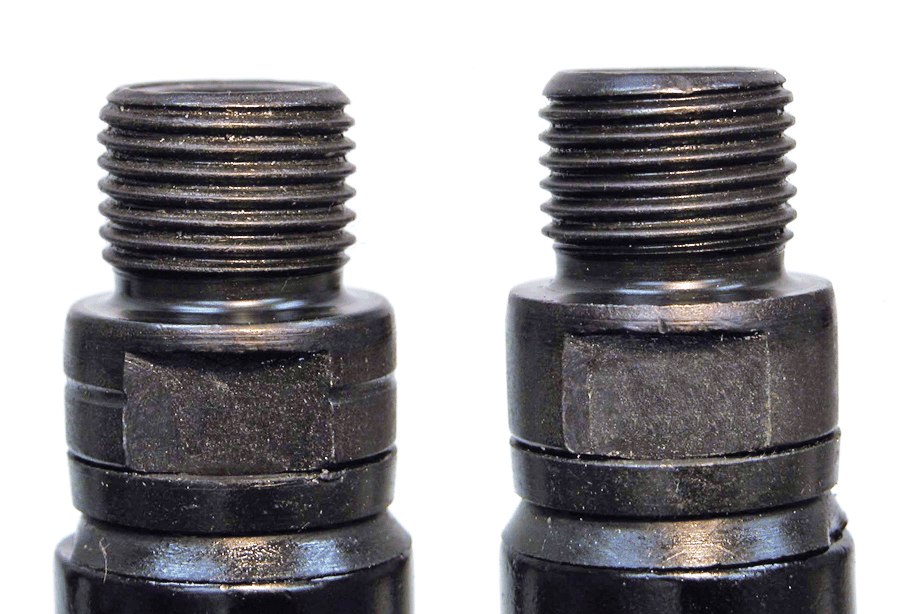
Step 3. Clean and Grease The Threads of Your New Pedals
Now that your old pedals have been removed it would be a good idea to give them a good clean and to add a little grease to the threads of both pedals. Don’t skip this because grease plays a vital role in keeping the threads clean of dirt, dust, and water that might get between the pedal threads and the crank arm threads, as well as protecting the threads from becoming rusty. Most importantly, greasing the pedal threads makes it easier to install your new pedals.
Before fitting the new pedals, use a degreaser to clean the threads of the replacement pedals, and then grease the threads to make installing them easier and to protect them from rusting.

Step 4. Fit the New Pedals
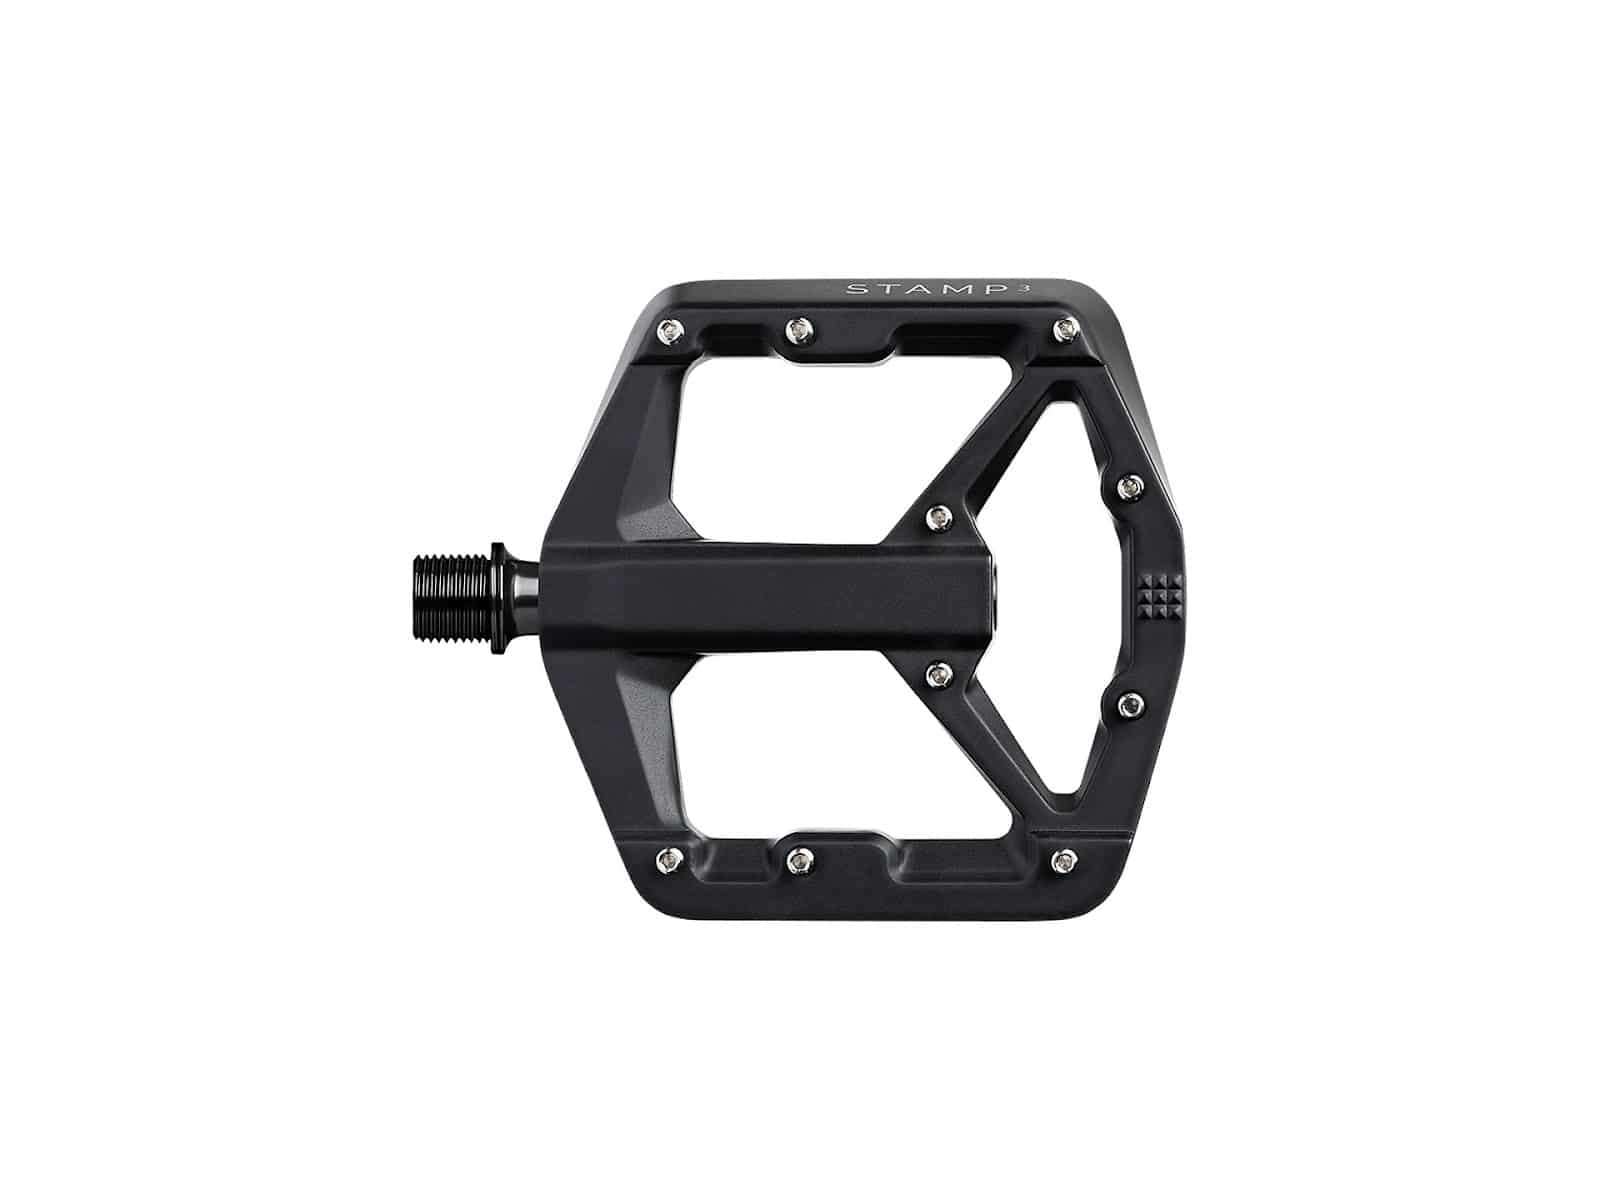
To add your new pedals, make sure you look for the “R” and “L” stamps at the end of the spindles so that you know which goes on which side. Sometimes you have to search the body of the pedal for these markings and if there aren’t any just check the threads. The threads of the right pedal will be angled to the right and on the left pedal to the left.
To fit the right-hand side pedal on your mountain bike start threading the spindle in by hand, rotating the axle clockwise until all the threads are engaged and it starts to tighten. Then use a hex key or spanner to tighten the pedal fully but not too tight. Then, follow these steps again to fit the left-hand side pedal rotating the spindle in an anti-clockwise direction.
Make sure you know about all of the different types of bike pedals as well as how to choose the right one for you. And for safety's sake, you might also be interested in learning more about mountain bike armor pieces and the methods for mountain bike armor qualifications. So be sure to check out our detailed guides to find out more.
How to Install Bike Pedals Without a Pedal Wrench
If you don’t have a pedal wrench, that’s okay because it’s possible to install your bike pedals without one.
To install bike pedals without a pedal wrench, keep your bike stable so your hand can move freely while installing the pedals, use a 6 or 8 hex key instead of a pedal wrench, then rotate the spindles in the correct direction.
Step 1. Keep The Bike Stable so Your Hand Can Move Freely While Installing the Pedals
This is the most important step you need to follow to make this easy and keep the bike from falling over. Rest your bike against the wall for a more stable position. This allows for your hands to move freely while installing the pedals and gives your hand more space to work.
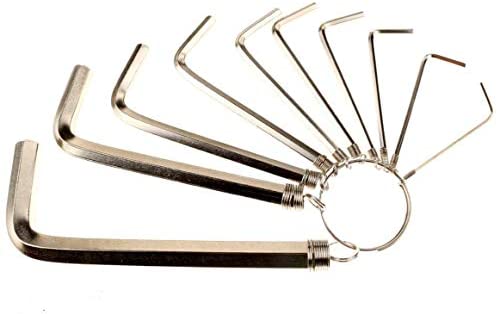
Step 2. Use a Hex Key to Install The Pedal
In most cases, your bike pedals will have a socket for a hex key at the end of the axle. This will enable you to use a hex key instead of a pedal wrench. You will need either a 6mm or an 8mm hex key depending on your pedals.
Step 3. Rotate The Axles in The Correct Direction
Start threading the spindles in by hand. When you rotate the axle clockwise, the right-hand pedal starts to tighten and when you rotate the axle anti-clockwise, the left-hand pedal starts to tighten. Keep going until all the threads become well engaged and the pedals button out against the crank. Then you can continue to tighten your pedals using the hex key.
How to Remove Bike Pedals That Are Stuck
Sometimes it can be difficult to remove the pedals off your bike. This could be because they were tightened too much when first put on or no grease was used so they have gotten stuck with dirt and rust.
To remove bike pedals that are stuck, apply penetrating oil, rotate the spindle in the appropriate direction, then align the pedals to be able to take them off.
Step 1. Apply Penetrating Oil
The most important step to removing bike pedals that are stuck is to use penetrating oil. Make sure to use penetrating oil that’s made specifically for loosening “frozen” metal parts so you can get the best result. Apply the oil to the parts that are attached to the crank arm. Leave the oil for 10 minutes until it has done what it needs to do.

Step 2. Determine The Right Direction to Loosen The Pedals
Figure out the right direction of the pedals so you loosen them correctly and don’t make the problem even worse. Rotating the spindle in the wrong direction can cause the pedals to be even more stuck and can damage or strip the threads. Make sure to distinguish the right from the left. You will find that the right pedal has a standard thread and loosens by turning the spindle in an anti-clockwise direction. The left pedal spindle will have a reverse thread which means that it loosens by rotating the spindle clockwise.
Step 3. Align The Pedals and Take Them Off
Now that you know which is the right and which is the left pedal, align the pedals to take them off. Align the right pedal by rotating the right-hand crank to make it in the 3 O'clock position where the crank is pointing directly at the front wheel of your bike when you view it from the drive side of your bike. The left pedal should be rotated until the crank gets to the nine o'clock position pointing directly towards the front wheel of your bike when you view it from the saddle. Place the pedal wrench on the pedal and push down to loosen it while turning the wrench according to the thread.
Make sure you also take a look at our related guide on how to remove mountain bike pedals for more detailed information.
How to Remove and Install Trek Pedals
Removing and installing trek pedals is different from removing and installing other pedals. Trek pedals are clipless pedals that require an Allen key for installation and removal, unlike flat pedals that use a pedal wrench.
To remove and install trek pedals, determine which is the right pedal and which is the left one to tighten and loosen them correctly. Align the spindle in the correct direction for each pedal so that you won't damage the threads. Place the short end of the hex key in the back of the pedal and start pushing in the right direction until the pedal starts to loosen.
If you want to know more about the benefits of clipless pedals, check out our article.
How to Install Shimano Pedals and Remove Old Ones
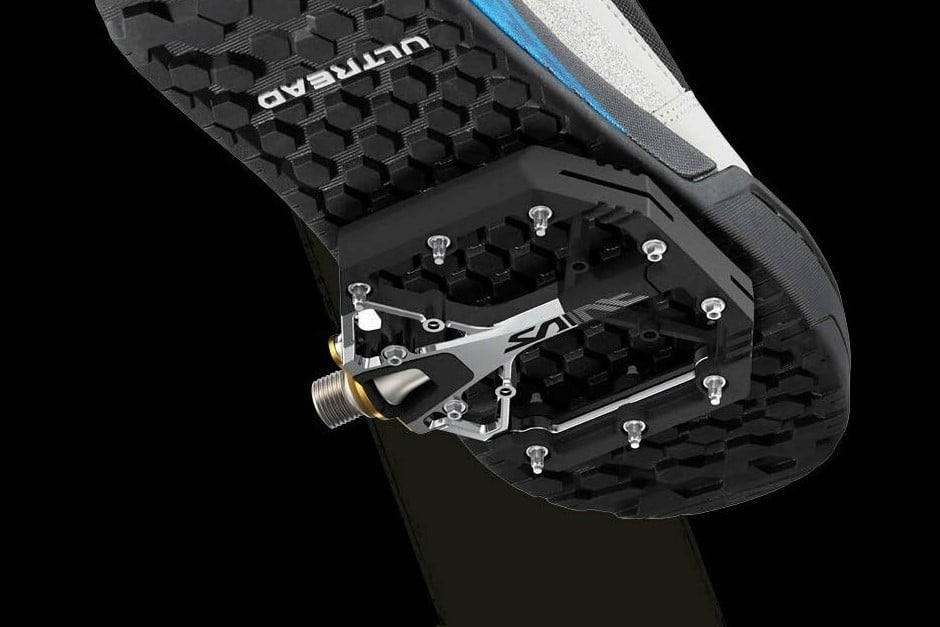
Shimano pedals are a popular choice for mountain bike riders. This type of pedal is installed and removed differently from regular pedals.
To install Shimano pedals, place the pedals into the crank arms hole and start to screw them with an Allen key. Be sure to screw them at a 90-degree angle and keep screwing until the pedals are well fitted. To remove Shimano Pedals with an Allen key, place the Allen key into the crankset arm and align the Allen key according to the pedal to turn it in the proper direction for that pedal.
Shimano pedals like these are flat clipless pedals with attached cleats. And if you’ve never heard of Shimano Pedals and are unsure of what pedals to buy for your mountain bike read through our article that discusses whether you should use toe clips and compares different types of mountain bike pedals.
Step 1. Place The Allen Key Into The Crankset Arm
To remove Shimano pedals, you'll need an Allen key to unscrew the pedals from the crank arms. Place the Allen key into the crankset arm. You'll then need to start unscrewing the pedal according to its direction.
Step 2. Align The Allen Key According to The Pedal to Turn It In the Proper Direction for that Pedal
With the Allen Key placed on the crank arms, turn the key anti-clockwise for the right pedal and clockwise for the left pedal. Keep unscrewing the pedals until they start to loosen and you can remove them easily from the crank arms.