
How to Install a Mountain Bike Fender – Step by Step
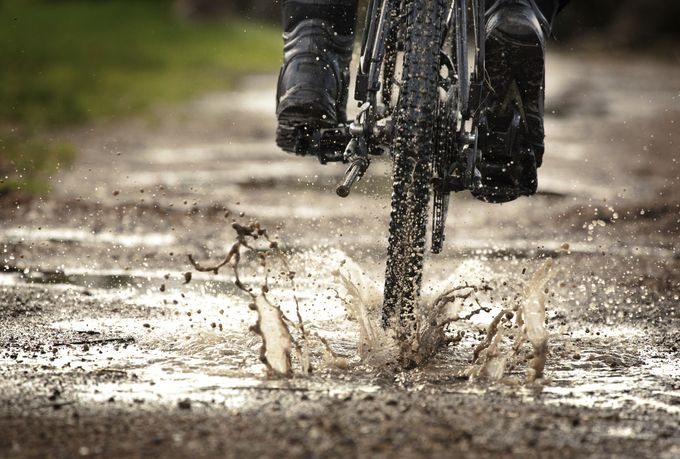
Whether you bike every day or just occasionally, you’ll know how valuable a fender can be when you ride through muddy pools and puddles. A fender, which is also called a mudguard, serves as a rigid barrier that prevents mud and water from spraying all over you and your bike. Even on drier trails, fenders can also protect you from dirt splaying across your front and back because it deflects most of the debris away from the bike and rider. In this article we discuss how to install a mountain bike fender - both the rear fender as well as the front fender.
To install a mountain bike front fender, first position the fender over the wheel with the longer section pointing towards the frame. Then fasten the top two zip-ties over the crown of the fork. Next, fasten the two side zip-ties onto either side of the fork. To install a mountain bike rear fender first position the fender so the long section points away from the frame, attach the fender to the seat stays and position it to allow sufficient tire clearance, tighten the cable ties to the fork, and check the tire clearance.
What is a Fender on a Bike?
Bike fenders are mostly used when riding through muddy or wet places and are popular amongst riders who live in places where there is a lot of snow or rainfall.
A fender is an accessory that protects the bike from getting mud, dirt, or water splatters on the frame. The fender also deflects dirt down and away from the bike so that the rider isn’t completely covered in debris and dirt when riding.
If you plan on riding in rainy and wet conditions often, then read our article that provides tips for mountain bike body armor heating and cooling.
Fenders are ideal for places that receive a heavy amount of rainfall or snowfall throughout the year. Fenders are installed on the front and back of your bike. They come in a set but they can also be bought individually in case one of your fenders is broken or damaged. We also provide some other great ideas in our article that discusses mountain bike fender accessories.
There are different types of fenders that can be used. When choosing a fender, you also have to make sure that your fenders are compatible with your mountain bike. There are typically three main types of mountain bike fenders; clip-on mudguards, Mtb-style guards, and bolt-on fenders. You could also choose between a full-length fender or a fender with a regular length. According to this thread on BikeForums.net longer fenders can slow you down, so choose shorter more compact fenders if you plan on participating in a mountain bike race.
Clip-On Mudguards
Clip-on mudguards can be used on a regular bike if it doesn't have any pre-existing points for mounting a fender. Clip-on mudguards like these are lightweight and won’t be a hindrance when riding. However, they provide less coverage than full-length fenders.
To find out more about how to install mudguards on a mountain bike, be sure to check out our related article.
MTB-style Guards
MTB-style guards prevent water from spraying on your face and protect your bike too. The mountain bike-style guards like these are mostly made out of plastic material, which means they can come in various colors and widths like this for different riders’ needs and preferences.
Bolt-On Fenders
Bolt-on fenders are used if your mountain bike has holes at the front and rear of the bike for installation. They're a longer-lasting solution because they are made out of metal. Bolt-on fenders like these are slightly more expensive and they are also designed with specific bicycles in mind which have holes in the correct place for them.
You might also be wondering if you can DIY mountain bike fenders. Be sure to check out our related article to find out more. Similarly, you might be interested in learning how to choose mountain bike fender extensions or how to choose clip-on bike fenders as well. Be sure to take a look at those related articles too for more information.
Related articles:
Do mountain bike fenders work?
How to choose mountain bike fender width properly
A step-by-step guide to mountain bike chain installation
Why Fenders Are Important on Mountain Bike
Bike fenders deflect most of the mud and dirt away from the bike so that the chain and pedals don’t become laden with debris which would make pedaling more difficult.
Mountain bike fenders keep the rider and bike cleaner, shield dirty water from spraying onto the rider’s back, minimize visibility issues, and reduce grit clogging up the rotating parts.
Mountain bike fenders prevent excessive amounts of mud and water from spraying up into the rider’s face and reducing their visibility. As mentioned before fenders could affect your riding speed but this article from SAE International explains how correctly angling a bicycle fender, can assist with aerodynamics when riding.

Keep the Rider and Bike Clean
Bike fenders help by protecting the bike and the rider simultaneously. Bike fenders won’t keep you perfectly clean—because you could be careening through puddles and several areas of your body and bike are exposed—but they will reduce the probability of being soaked through and completely covered in mud. It is always a good idea to at least give your mountain bike a quick hose down after riding in mud so that you protect it from rust and damage. Our ultimate list of tools for mountain bike maintenance lists the equipment you’ll need to take good care of your bike.
Block Dirty Water from Going Up the Rider’s Back
The fender helps make sure that the rear wheel of the bicycle doesn't rotate and splash the mud all over causing the rider’s back to get muddy and full of dirt. The fender curves down and over the top of the tire so that most of the mud is pushed down, out, and away from the rider’s back.
Reduce Grit Entering Rotating Parts
Mountain bike fenders divert larger stones and pebbles away from the bike frame which helps to reduce chips and scratches in the paint, as well as prevent large lumps of dirt jamming up the chain and pedals. So even though they are a small and often overlooked accessory mountain bike fenders like these offer a great deal of protection to your bike.
Minimize Visibility Issues
Mountain bike fenders help riders maintain good control of their bikes and improve visibility because water isn't constantly spraying onto the rider’s face and hands and making it difficult to see and retain their grip when riding.
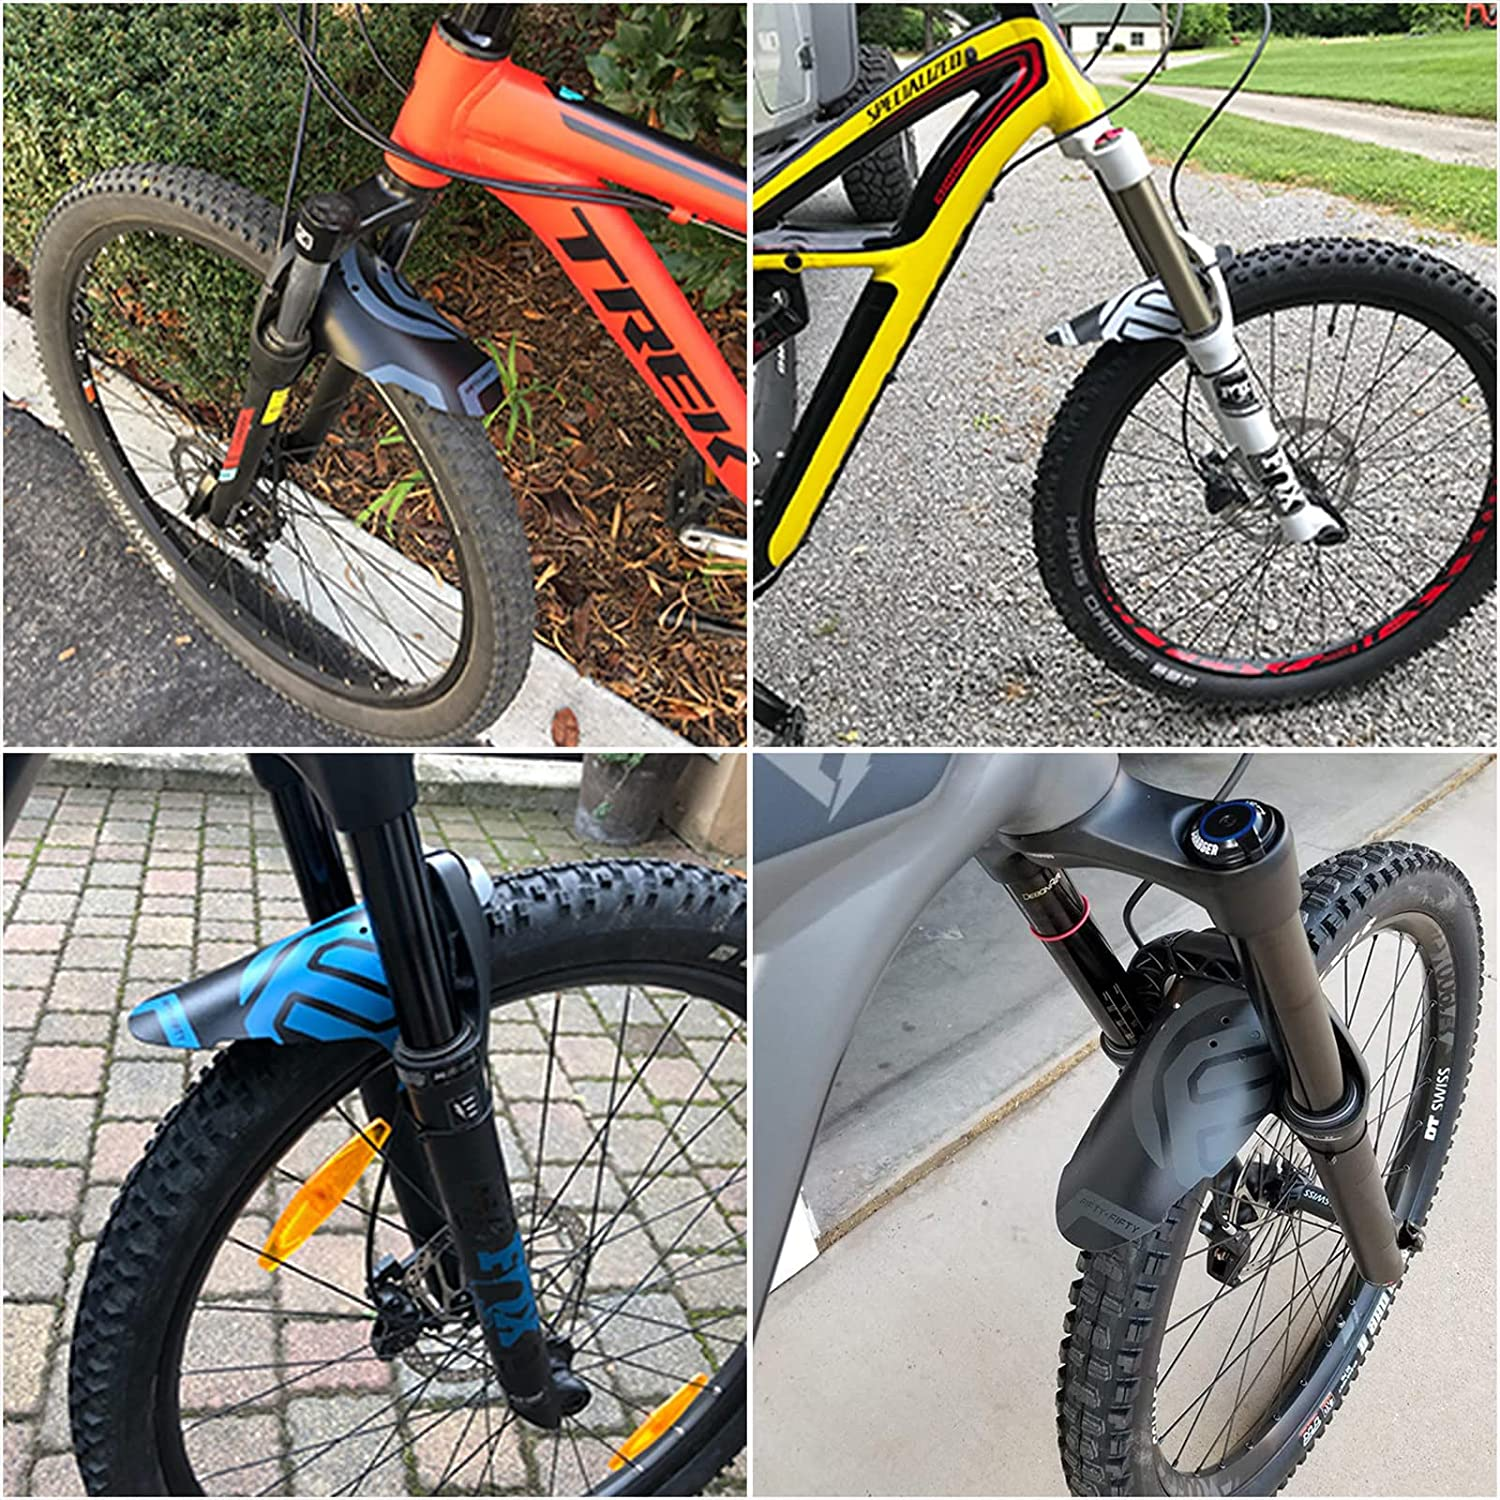
Mountain Bike Front Fender Installation
Using a bike stand to install a mountain bike fender easily and safely because it will prevent the bike from falling over onto you and also from getting scratched.
To install a mountain bike front fender, first, position the fender so that it curves down under the fork crown so that the longer end is pointing towards the bike frame. Next, attach the fender by securing the zip-ties or bolts to the crown but don’t tighten them completely yet so that they can be repositioned if necessary. When the fender is positioned over the center of the tire secure the two sides to the left and right forks. Finally, tighten the bolts or zip-ties and check that the tire has at least a 12mm clearance.
We recommend using a portable bike stand like this that suspends the bike so that you can work on both fenders simultaneously and save time.
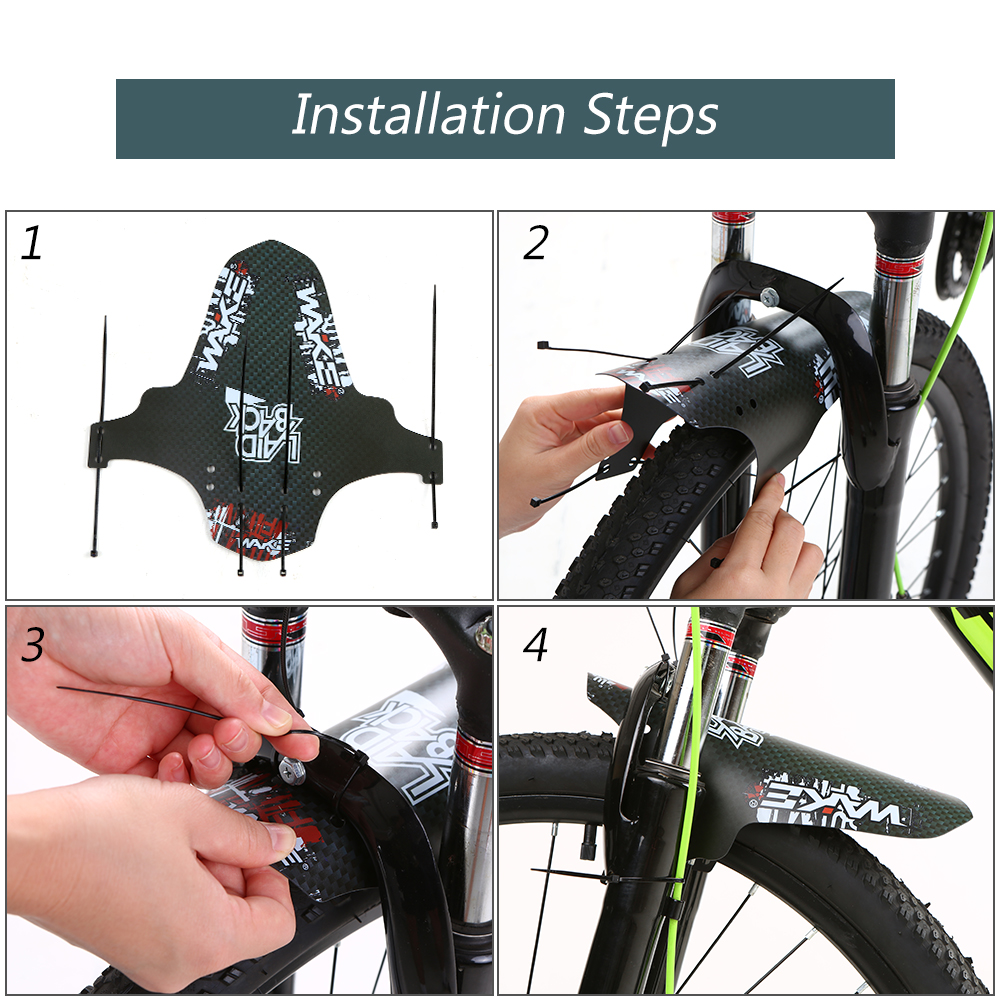
Step 1. Position the Fender Under the Crown
Slide the fender under the front fork crown so that the longer end of the shield is pointing towards the bike frame and the shorter end is protruding out and over the front wheel.
Step 2. Attach the Center of the Fender First
It’s easier to first attach the fender to the fork crown so that you can reposition the fender if necessary. Center the fender so that it hovers over the tire and curves down away from the bike frame. When you are happy with the position of the fender you can secure the sides to the left and right forks that attach to the wheels.
Step 3. Secure the Sides of the Fender to the Left and Right Forks
Tie one side of the fender to the corresponding fork but don’t fully tighten it yet. Next, tie the other side of the fender to the fork. Maneuver the fender so that it is centered and level. When you are satisfied with the look, then tighten both sides. When you are at this step you might want to check out our article that explains how to adjust mountain bike fender offset.
Step 4. Tighten the Fender
When the side ties or bolts are sure, you can finally tighten the center fastenings. Doing this as the last step will ensure your fender sits perfectly straight, as explained in this video tutorial from Charlie Rides MTB.
Step 5. Check the Tire Clearance
Finally, check that your tire moves freely without touching the fender. Ideally, at least 12mm of clearance is advised because the fender will flex when riding and this can cause chafing on the tire which will slow you down and wear the tire down too, according to this thread on Bikeforums.net.
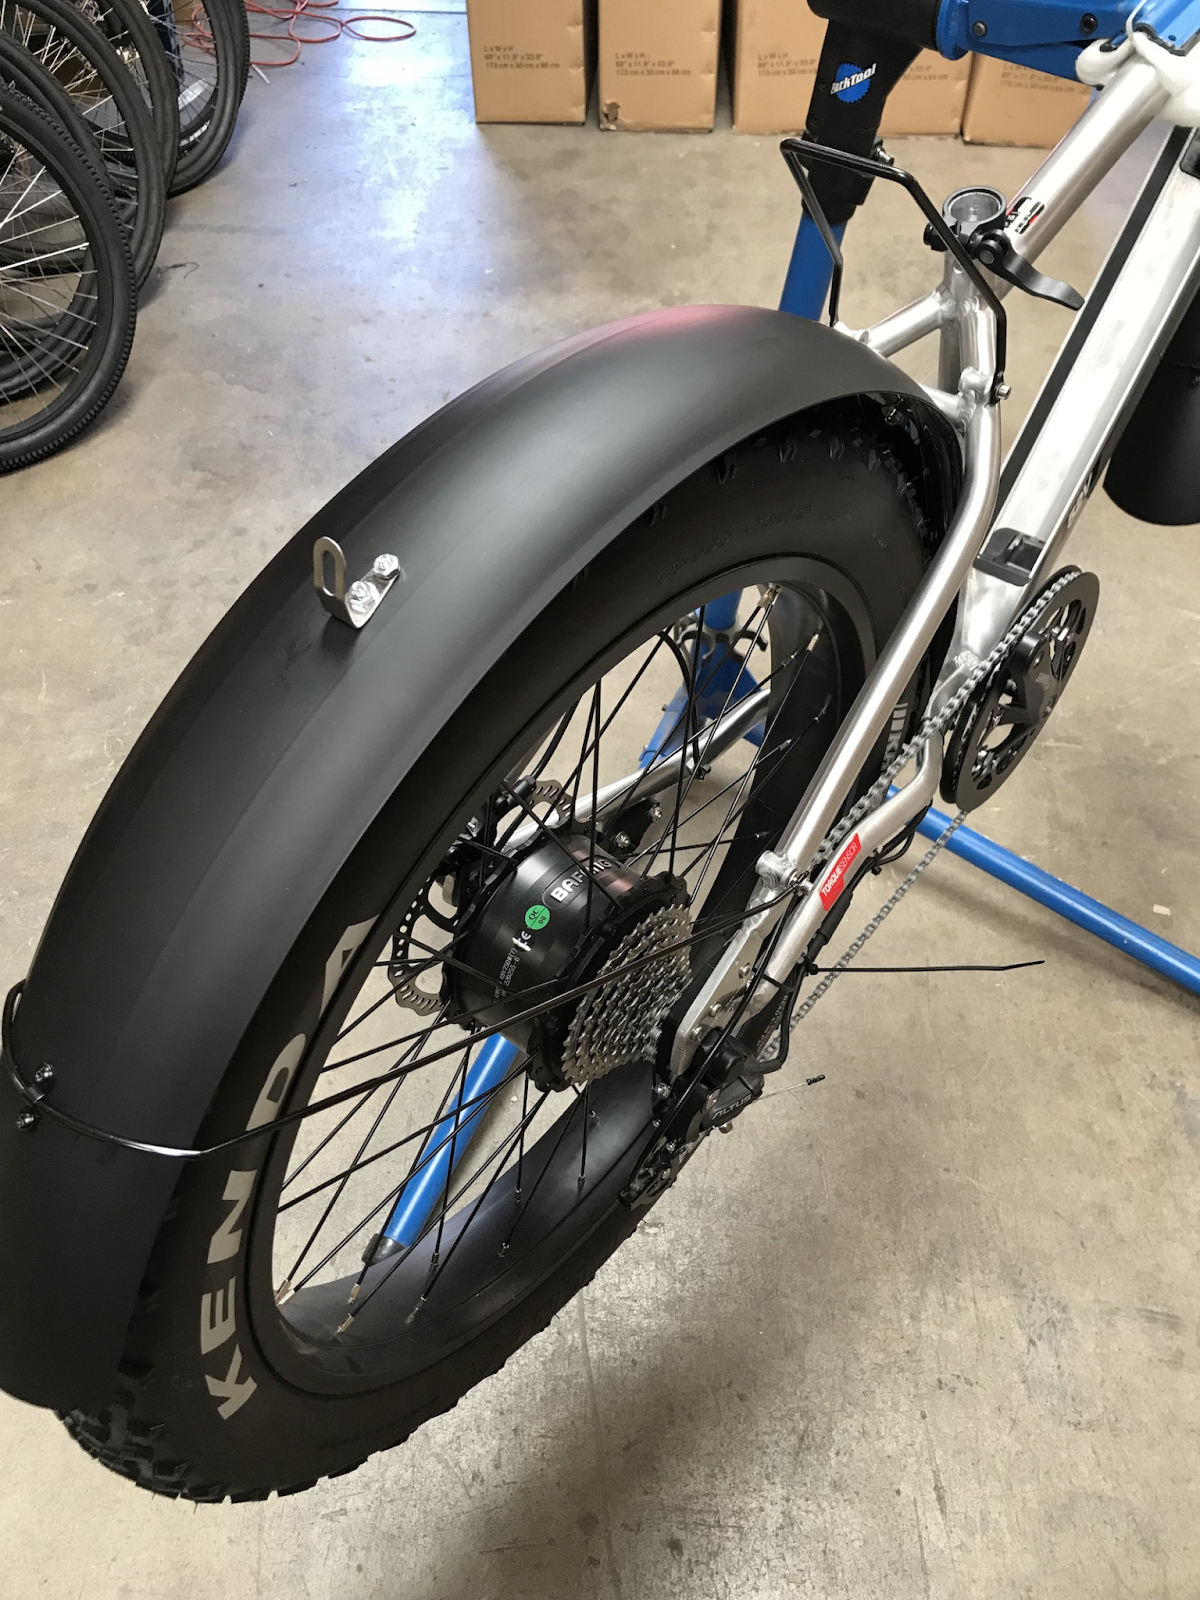
Mountain Bike Rear Fender Installation Process
Not only do mountain bike fenders provide enormous benefits for riders but they are also easy to install yourself. If you are using regular plastic fenders with pre-drilled holes then you will probably only need a few zip-ties to secure them to your bike. So, in order to install a mountain bike fender, you’ll first need to determine if your bike and your fenders are zip-tie or bolt-on compatible.
To install a mountain bike rear fender with bolts, first, align the holes and then secure the fenders with the bolts. To install a rear fender with cable ties, first, thread the cable ties through the holes and then position the fender under the center joint of the seat stays, this makes threading the cable tie through the second hole easier. Lastly, secure the sides of the fender to both sides of the seat stays or the chain stays that attach the rear wheel, and check that the wheel doesn’t touch the fender.
Step 1. Find the Bolt-On Holes
Bolt-on fenders are manufactured for specific bikes, so make sure your new fender’s holes align with the holes and bolt placement on your bike. Also, make sure your fender can accommodate the size of the tire. Our article about choosing mountain bike tires for maximum grip is a great resource to learn more about the types and sizes of mountain bike tires.
Step 2. Attach the Fenders
It’s easier to first attach the fender to the top of the seat stays so that you can reposition the fender if necessary. Center the fender so that it hovers over the tire and curves away from the bike frame. When you are happy with the position of the fender you can secure the sides to the left and right seat stays that attach to the wheels. You will probably only ever need to completely remove your wheels if you are installing full-fender mudguards like these.
Step 3. Check the Wheel Clearance
A fender should not touch the wheel, and according to this article from ReneHerseCycles, there should be a gap of at least 12mm between the fender and the tire. This clearance will ensure that the fender doesn’t brush against the tire as it flexes during rides.
How To Install Fenders on a Bike with Disc Brakes
Disc brakes consist of a metal disc or rotor that sits on the wheel hub, when the brake lever is pushed the calipers tighten on the disc to stop the bike or slow it down.
To attach a full fender on a bike with disc brakes start with the rear wheel, and shift into the lowest gear so the chain is on the smallest cog. Remove the wheel and fit the fender onto the bike frame. Secure the fender to the frame with the provided bolts and fasteners. Place the wheel back on the bike and check the tire clearance. Position the fender stay rods over the fender and secure them onto the frame. Attaching a front fender to a bike with disc brakes doesn’t require removing the wheel, simply position the fender under the fork crown and fasten the fender to the crown and side forks, making sure to allow enough room between the fender and tire to prevent rubbing when riding.
This video tutorial from Cycling Pulse explains the two main types of disc brakes - mechanical and hydraulic. If you are installing regular clip-on or bolt-on fenders onto your mountain bike that has disc brakes, then it is unlikely that you will need to remove your wheels. But if you are installing full fenders that have fender stays then you will probably need to remove the back wheel with its attached disc brake.
Step 1. Shift into the Lowest Gear
Shift the bike into the lowest gear so that the chain is sitting on the smallest cog, this will make it easier to remove the wheel.
Step 2. Remove the Wheel
Use a wrench to loosen the bolts that secure the wheels to the frame. Some bikes have a quick-release mechanism that allows for easy removal of wheels during repairs and adjustments. If you want to install quick-release axils to your bike these can be fitted to the wheel hub.
Step 3. Install the Fender onto the Bike
The fender comes with small bolts and nut fasteners to secure the fender onto the frame. A full fender may have a small bracket that attaches to the lower section of the seat tube, and another one that attaches to the seat stays joint above the tire, these will need to be tightly fastened to ensure the fender doesn’t chafe against the tire.
Step 4. Replace the Wheel
Place the wheel back on the chain stays and tighten the quick release. Place the chain back on the smallest cog. When the wheel is in place you can reposition the fender so that it is centered over the tire.
Step 5. Position the Fender Stays onto the Bike
When you are satisfied with the fender’s position, then place the fender stays over the fender to secure the fender in place.
Step 6. Check the Tire Clearance
The more space you have between the tire and fender the less chance you have of your fenders scuffing the tires, so it is recommended to have at least 12-15mm of space between the fender and tire. These full fenders have safety-release brackets to remove the fenders if something gets stuck between the tire and the fender.
Summary of Fenders for Mountain Bikes
| Type of Fender | Features | Amazon Product | Price |
| Bolt-On Fender | Enlarged rear guard disperses more water and mud away from the bike and rider | Rockbros Bike Fender Adjustable MTB Mudguard Front/Rear Fender | ~$30 |
| Plus-Size Fenders | Wider fenders are good for fat bike wheels | 2 Pcs Mountain Bike Fender, Mtb Mudguard, Front and Rear Bicycle Fender | ~$15 |
| Clip-On Fenders | Easy to install without removing wheels | Cnc 2 pcs Mountain Bike Fenders MTB Mudguard Front and Rear Mud Guard | ~$15 |
| Long Fenders | Provides for coverage which reduces the amount of mud and water that reaches the rider and bike | Mucky Nutz, MugGuard, Long | ~$30 |
| Full Fenders | Offer full coverage of the wheel to limit the amount of water, mud, and debris that is flung up onto the rider or bike | Sks Bluemels Mudguard Set, Matte Black, Bicycle, Commuter, Road, Mountain Bike Fender | ~$50 |