
How to Make a Mountain Bike Mudguard – Step by Step
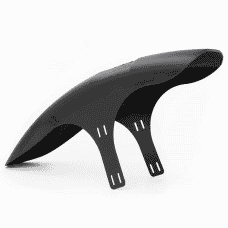
Mudguards on mountain bikes are important fixtures. They protect the rider and bike from the spray of water, mud, and dirt that is flicked up when riding. Full-length mudguards come in different sizes and models. For example, some have a rubber flap on the end of the front guard while others do not. You can decide exactly which style would be suitable and actually make the mountain bike mudguard yourself.
To make a mountain bike mudguard first decide which material to use, bendable plastic or hard plastic. Then, find a template appropriate for the size and style of the mountain bike, trace the mudguard and cut it out. Finally, attach the mudguard to the mountain bike.
If you are thinking about adding mudguards to your mountain bike but you’re unsure, first read our article that will tell you whether or not you should add a mountain bike mudguard extension. Then, you may want to check out our guide that explores whether you need mountain bike mudguards or not, in addition to our article answering the common question, "do you need mudguards on a mountain bike?"
How to Find a Mountain Bike Mudguard Template
Choose between hard plastic or flexible plastic and then choose a mountain bike mudguard template that is appropriate for the size and style of the bike and for your needs.
To find a suitable mountain bike mudguard template choose one that is slightly wider than the tire to avoid friction with the wheels. For example, make a 35mm wide mudguard for a 32c wide road tire that is 32mm wide. Also, full-length mudguards will require enough bike frame fork space.
Step 1. Decide What Material to Use
The first step is to decide on the type of material you want to use for your bicycle mudguard. There are two types of mudguards, traditional and clip-on mudguards. There are a number of inexpensive materials you can use to make a mountain bike mudguard. For example, you can use a reusable plastic bag or a thin and flexible plastic cutting mat. You can even recycle and reuse plastic packaging or containers such as buckets. The importance of recycling is explained in this article by 4Waste.
Before you go any further, you might want to decide whether you need mountain bike mudguards or not. Take a look at our related article to decide before taking any additional steps.
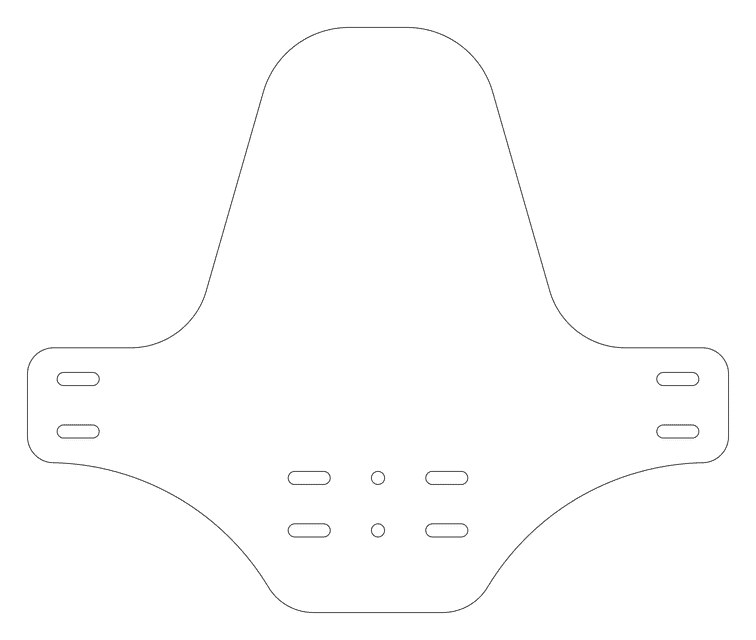
Step 2. Find a Template
Finding a template is the next step to make a bicycle mudguard. There are hundreds of templates to choose from online. For example, you can find some amazing mudguard designs on Pinterest. You can also download mudguard templates from Grabcard, or download any of the over 20 mudguard templates posted on Kibrispdr.
Step 3. Print Out the Template
After you decide on your preferred template, you can print it out. Printing can be done on normal paper. Make sure that you print the template in the correct size. Try to print the template slightly larger than the width of your bicycle tire so it can cover it adequately.
Should you need any more information our article that explains how to install a mudguard on a mountain bike is a handy resource for you to refer to.
Materials Needed For a Mudguard Made With Bendable Plastic
Before getting started make sure that you have all the equipment and tools necessary to make your mudguard.
| Material | Why it's needed | Price |
| Plastic cutting mat | This is the material you will cut the mudguard from. | ~$5 |
| Printer | To print out the template design. | ~$70 |
| Pencil | For tracing your outline | ~$15 |
| Bendable Plastic | The primary material that forms your mudguard | ~$20 |
| Scissors | To cut out the shape of the mudguard | ~$10 |
| Manual drill | To cut out holes from the plastic | ~$15 |
How to Make a DIY Rear Mudguard Using Bendable Plastic
Different materials can be used for making a bicycle mudguard. You can use aluminum, soft metal, or plastic cutting mats. Using bendable plastics is the most convenient choice when making a mudguard yourself. A do-it-yourself mudguard is just as good as the commercial ones with the added benefit that you can be creative and customize it to your taste. For example, see this mudguard from Mucky Nutz and this DIY mudguard made by jdlee77 of Instructables. You will notice that the DIY mudguard looks better and is just as efficient as the commercial one.
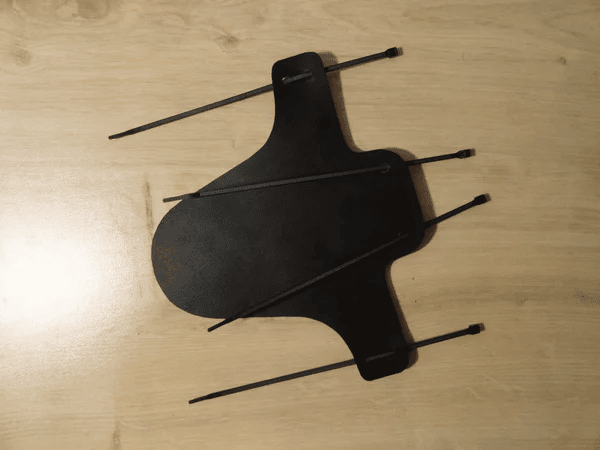
To make a diy rear mudguard using bendable plastic, first choose a mudguard template, print it out, cut out the shape of the mudguard, make holes using a drill, and then use zip ties to mount the mudguard.

Additionally, you might find interest in our related article explaining mountain bike rear mudguard installation. Be sure to check it out for more details. In case you would like to do this and other DIY projects and repairs on your mountain bike you should read through our ultimate list of tools needed for mountain bike maintenance.
Step 1. Choose a Mudguard Template
Choose a mudguard template. This can be done by simply downloading a template from any of the websites mentioned earlier.
Step 2. Print Out the Template
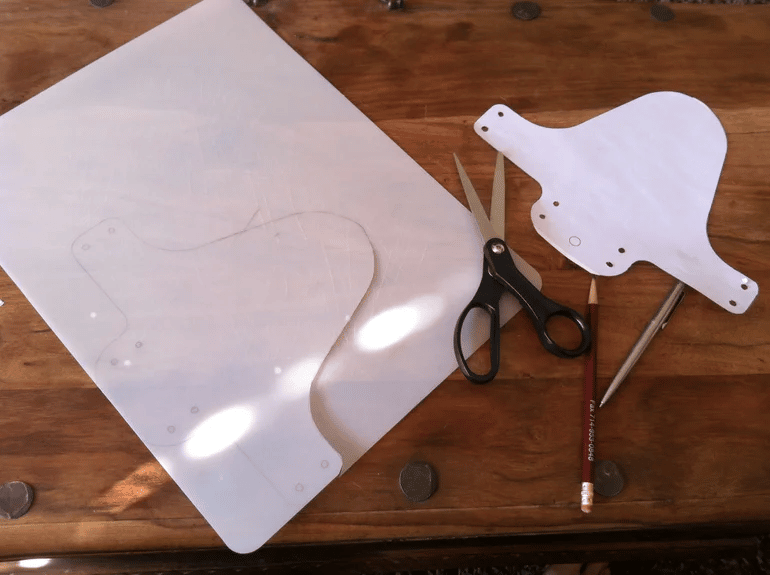
Step 3. Cut Out the Shape of the Template

Step 4. Cut the Mudguard Shape Out.
Carefully cut your mudguard out along the line that you have stenciled onto the bendable plastic that you are using.
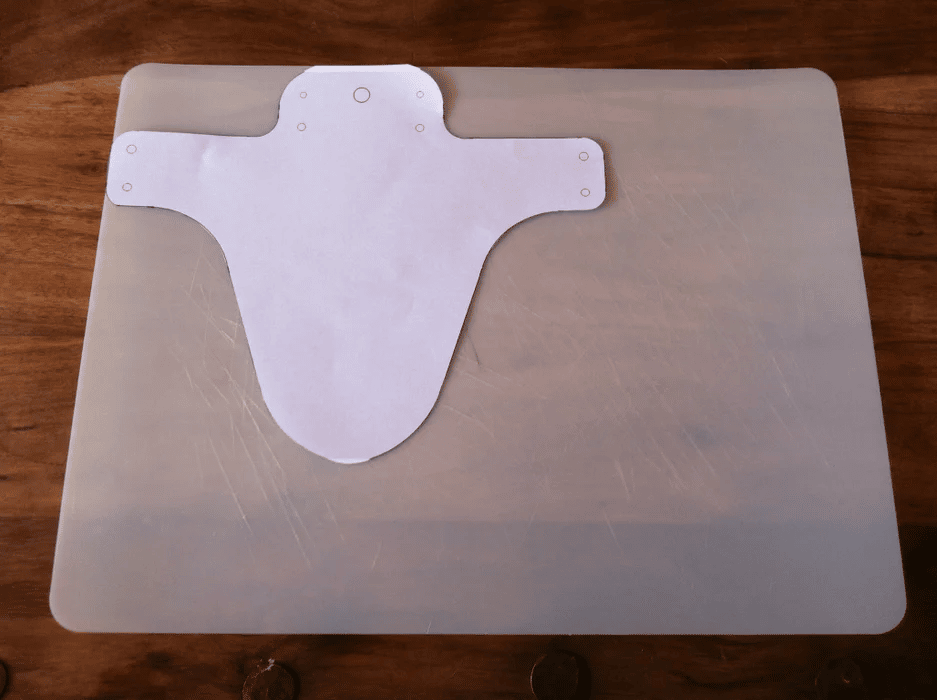
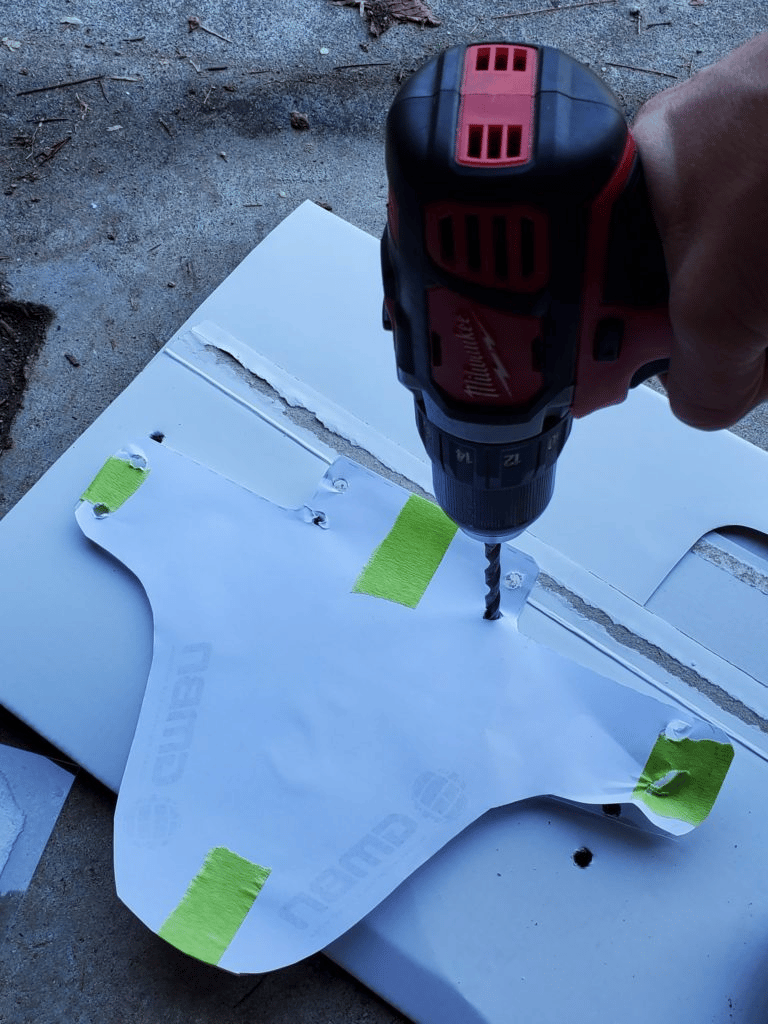
Step 5. Make Holes in the Bendable Plastic
Place the mudguard template on the bendable plastic and hold them together using paper tape like this. This is so that you can make holes in the appropriate spots of your mudguard, using a drill like this.
Step 6. Use Zip Ties to Mount the Mudguard onto the Bicycle.
Thread the zip ties like these through the holes in the mudguard. Position the mudguard and attach the ties. Before finally tightening the zip ties make sure that the mudguard is in the right place without touching the tire.
Materials Needed for a Mudguard Made With a Bottle or Jug
| Material | Why it is needed | Price |
| Plastic jugs | This becomes the body of the mudguard. | ~$15 |
| Masking tape | To glue your template to the rubber can or jug | ~$5 |
| Scissors | To cut out the shape of the mudguard | ~$10 |
| Mounting cables | To secure the mudguard on your bicycle | ~$10 |
How to Make an MTB Rear Mudguard With a Bottle or Jug
The process of making a bicycle mudguard using a bottle or jug is different from making it from bendable plastic. Using a bottle or a jar is the easier option. You do not need many materials and you can recycle bottles like large soda bottles, laundry detergent bottles, plastic jugs, and even small jerry cans to make the mudguard.
To make an MTB rear mudguard with a bottle or jug, first, print out the template and draw the pattern. Next, cut the outline using scissors and use tape to hold the template on the trimmed bottle. Drill holes into the trimmed bottle and use zip ties to mount the mudguard onto the mountain bike.
Step 1. Print the Template You Want to Use.
You can choose a template from any of the websites mentioned earlier, and print it out on an A4 or A3-size paper.
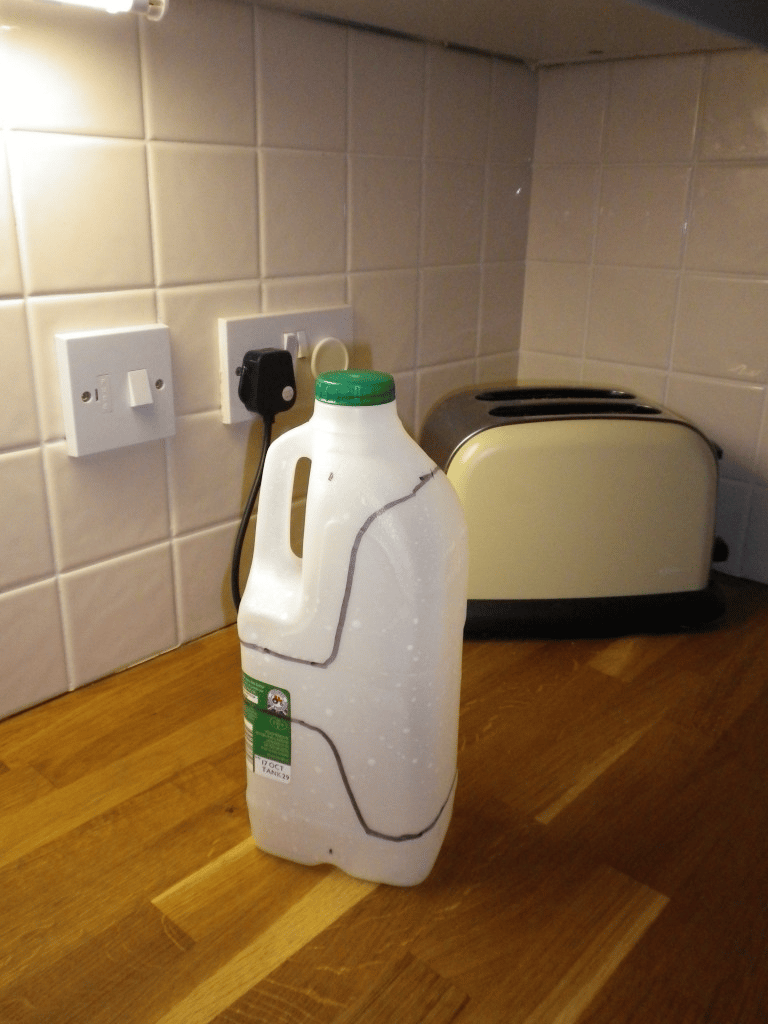
Step 2. Draw the Outline of the Mudguard on the Plastic Jug.
Using the template that you have cut out, draw the shape of the mudguard onto the plastic jug or bottle.
Step 3. Cut the Mudguard Out Along the Outline.
Use scissors to carefully cut the mudguard out along the line that you sketched on the plastic jug using the template.
Step 4. Cut or Punch the Holes According to the Template
Place the printed mudguard template on the mudguard cut from the plastic bottle and mark out the points for the zip ties. Puncture the marked spots using a hand drill like this.
Step 5. Attach the Mudguard to Your Bicycle.
As explained before, thread the zip ties through the holes that you have drilled and position the mudguard onto the bike frame so that you can connect the ties. Before tightening them make sure that your mudguard is in the correct position and isn’t touching the tire at all.
How to Attach a Front Mudguard on a Mountain Bike
Making your own bicycle mudguards can be fun and rewarding, and you get to make it the way you want it to be. the next step is to fix the mudguard on the bicycle. Check out this video by Tuto Slicy that shows how it is done.
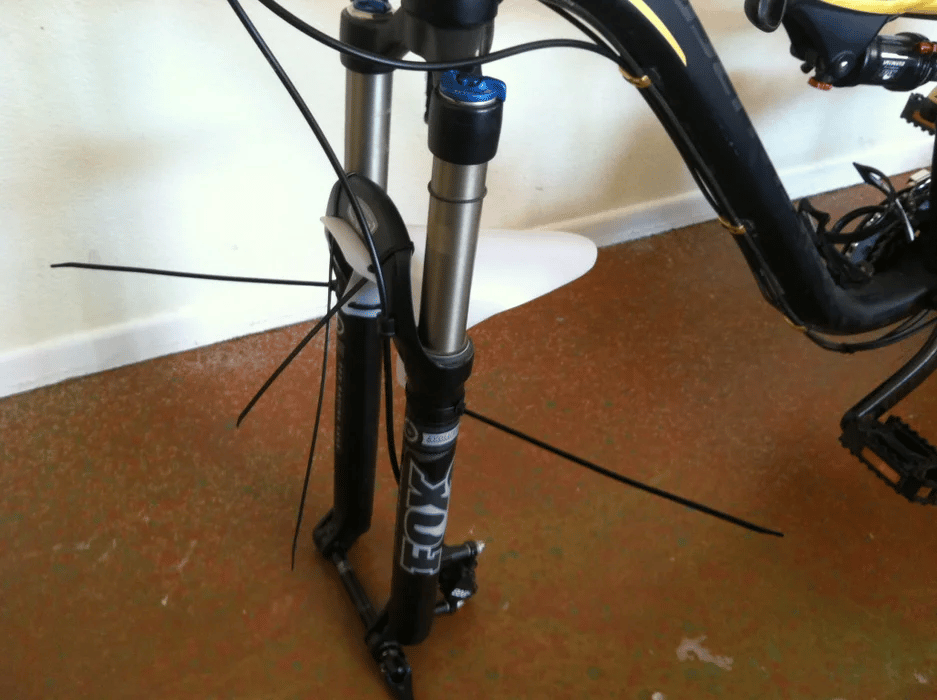
To put a front mudguard on a mountain bike first punch holes in the mudguard. Then insert the four zip ties and slide the mudguard in between the front suspension fork. Lastly, tighten the zip ties firmly onto the fork.
Step 1. Make Holes Through the Mudguard
Use a hand drill to make holes in the mudguard where the zip ties must be threaded through.
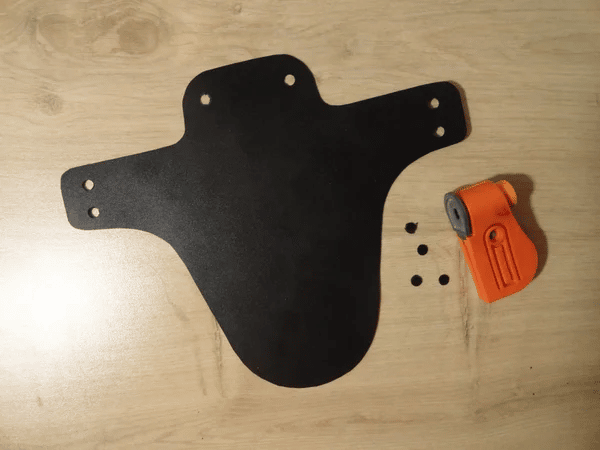
Step 2. Insert the Zip Ties
Insert four zip ties into the holes as shown in the image below.
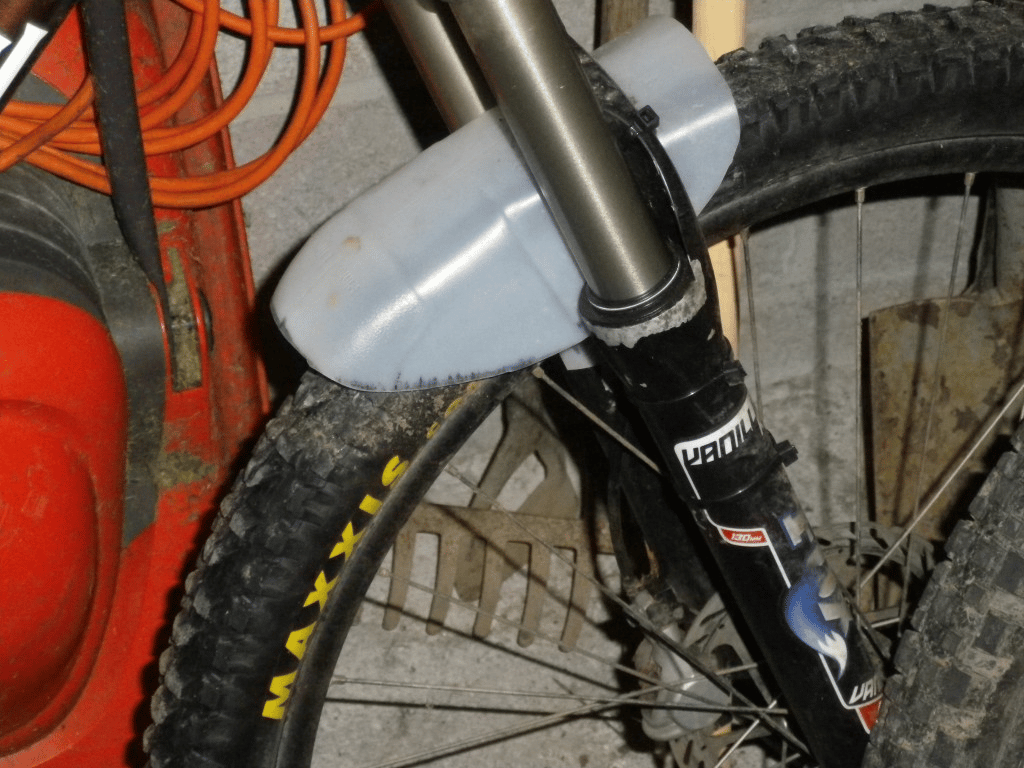
Step 3. Fix the Mudguard to the Front Fork
Slide the mudguard in between the front suspension fork of the bicycle and tie the zip ties to the fork. Make sure the zip ties or rubber ties are firmly tied so the mudguard does not come loose or bounce off the tire when riding.
Once installed, you may also find interest in learning how to fix mountain bike mudguards that wiggle. If so, be sure to take a look at our related article to find out more.
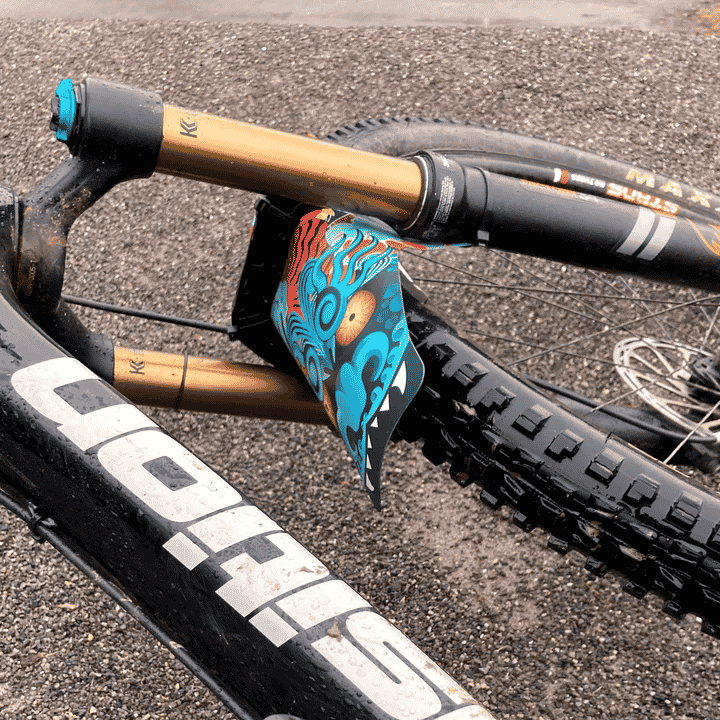
How to Make a Mountain Bike Mudguard Look Cool
Decorating the mudguard is a way to improve the overall look of your bike. Paint or stickers can be used for this purpose. Also, consider using reflective decals or stickers to increase visibility when riding in the dark.
To make a mountain bike mudguard look cool use paint and stickers to decorate it. This is an easy and inexpensive way to improve the overall look of your bike.
This research paper on Accident Reduction, by CORE suggests that one way to reduce the risk of accidents is by using reflective stickers. The study shows that colored reflectors improve visibility more than white ones. Stickers like these and bicycle paint markers like these are not expensive and can be bought for less than $15.
We explain a bit more about styling your DIY mudguard in our guide on how to make a DIY mountain bike rear fender and how to choose mountain bike fender accessories.
Paint
If you want to paint your bicycle mudguard, you can use oil paint or spray paint. If you are an experienced painter, you can paint more intricate designs such as those of Rideguard guards like these.
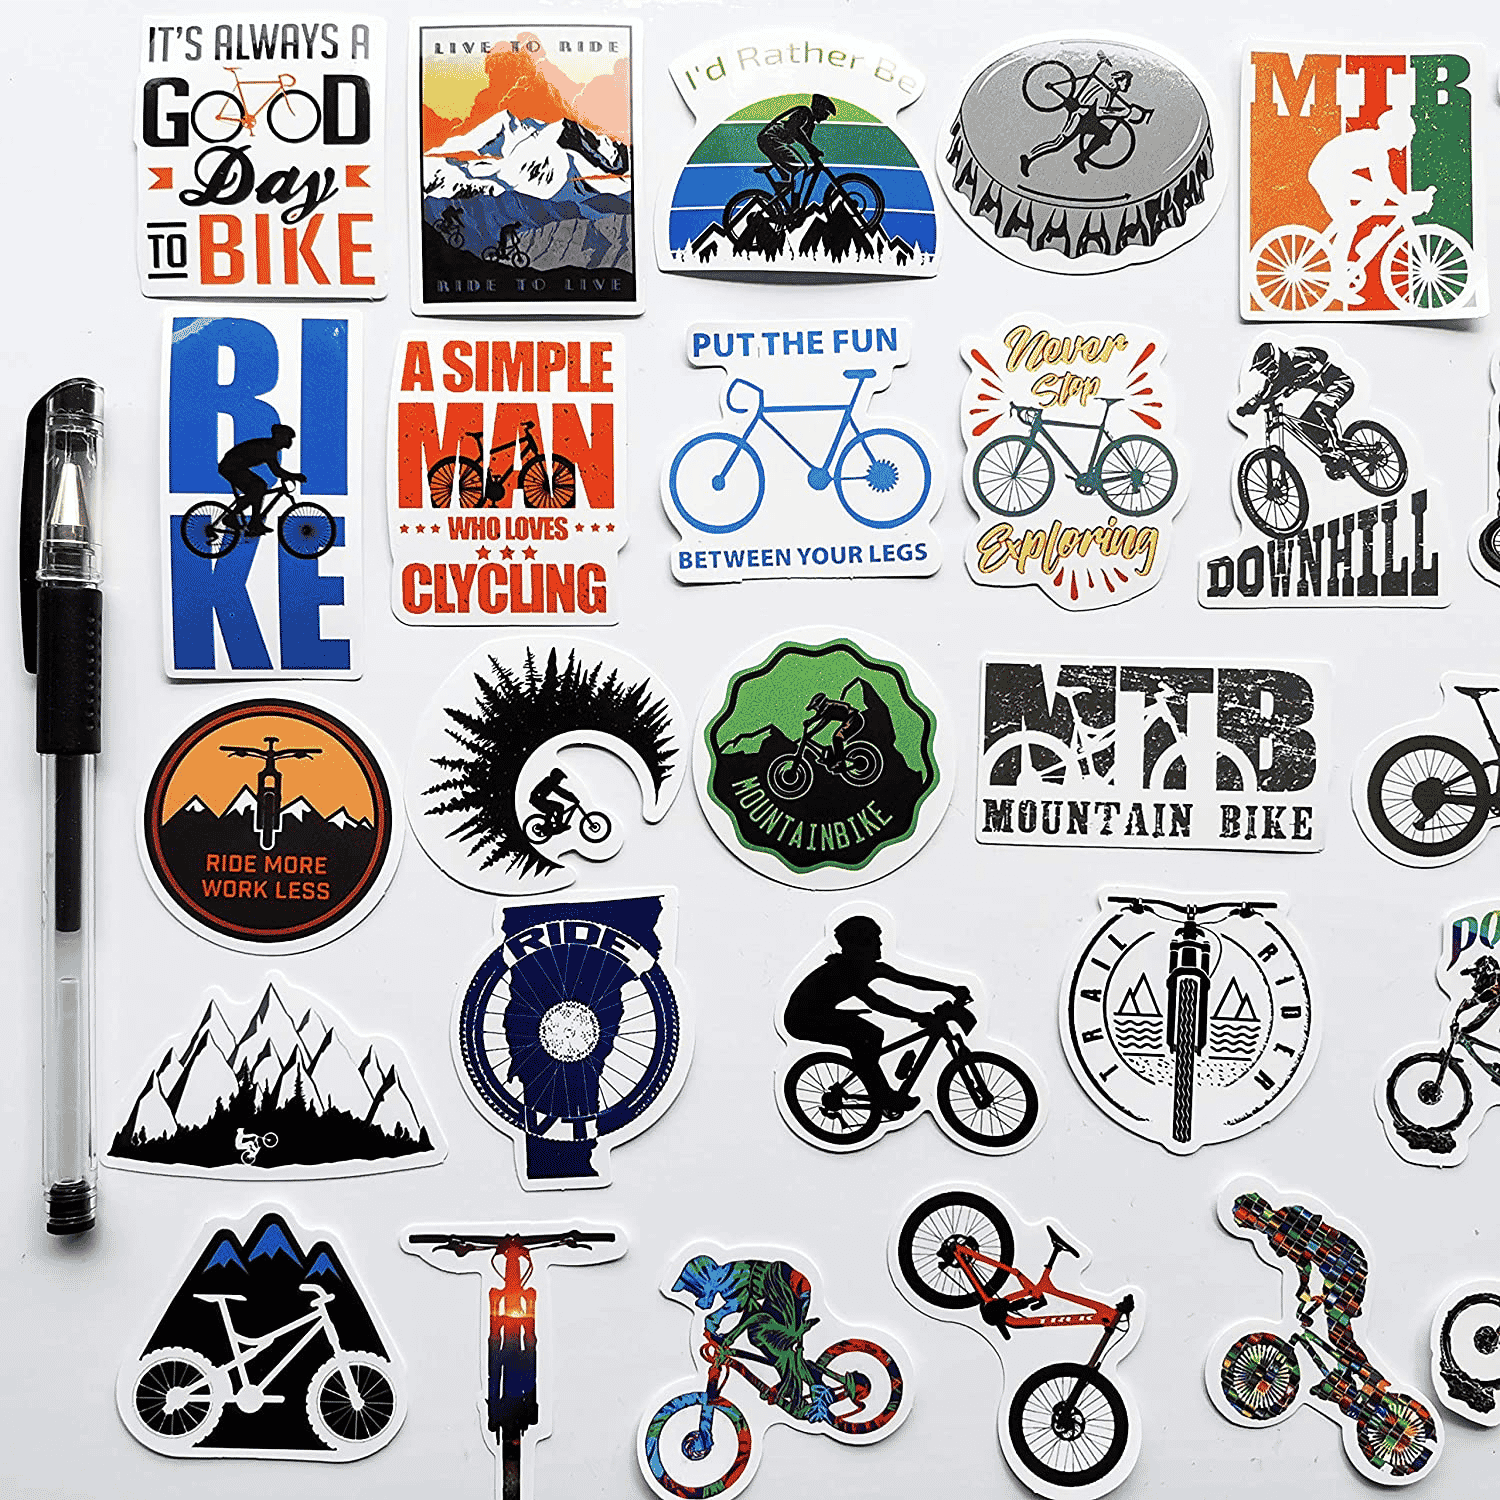
Decals
You can also use stickers like these to style the mudguard. If you have painted your mudguards, let it dry before adding any stickers. Consider using decal stickers as they are the best type for outside use.
Calligraphy
You can also decorate your mudguard using a calligraphy pen. Consider writing your initials, a slogan, or something you like to be associated with. People with bad handwriting can also consider using printed calligraphy.